How to Run Security Cameras Without Paying a Monthly Cloud Fee
Most security cameras play the same trick: the camera is cheap, but to actually keep your recordings you pay a monthly fee, forever. Stop paying, and the clips you recorded last week disappear. This guide shows you a different way — record your cameras onto a little box in your own home, keep every clip for as long as your drive has room, and pay nobody a subscription. The footage never leaves your house.
Tested on: a UGREEN DXP4800 Plus and a $7/month Hostinger VPS, both running SparkBox 1.6.315 with the built-in Frigate NVR app (Frigate 0.17.1).
1. The cloud-camera subscription trap
Here's the part the box doesn't tell you in the store. A typical cloud camera records to the camera maker's servers, and you rent that storage by the month. Miss a payment and your history is gone. Want clips kept longer than a few days? That's a higher tier. Want to view more than one camera at once, or get a person-vs-car alert instead of "something moved"? Another upsell.
Add it up across two or three cameras and you're often paying more per year in fees than the cameras cost to buy. And the whole time, video of the inside of your home is sitting on a company's servers, governed by their privacy policy, not yours.
The alternative is older than the cloud: record the cameras to a device you own, sitting in your own house. That device is called an NVR — a Network Video Recorder. It used to mean a clunky proprietary box. Now it can just be an app running on a small home server. If you're new to the idea of running your own apps at home, our plain-English explainer on what self-hosting is is a gentle place to start.
2. How recording locally actually works
SparkBox is a free setup that turns a mini PC or a UGREEN NAS into a home server with one command, and it includes a camera-recording app called Frigate. Frigate is the NVR: it watches your cameras, records the video onto your own drive, and uses object detection to tell the difference between a person, a car, and a tree branch waving in the wind — so you get useful alerts instead of one every time a cloud passes.
The important word is local. With Frigate on SparkBox, the recording and the detection both happen on your hardware. Your footage never leaves the server. There's no account with a camera company, no monthly bill, and no clip sitting on someone else's computer.
Good to know: object detection runs fastest on Intel mini-PCs and NAS units with an N100 or N150 chip (like the UGREEN DXP2800), because SparkBox hands Frigate the built-in Intel graphics for the heavy lifting. On other hardware it still works — it just leans more on the regular processor and uses a bit more power.
3. The honest part: which cameras work
This is the one thing to check before you get excited, because it's the thing that trips people up. Frigate records cameras over something called RTSP — a standard live-video stream that most cameras can produce. If your camera offers an RTSP stream, Frigate can record it. If it doesn't, Frigate can't, and no setting will change that.
Usually works: wired cameras, PoE cameras (the kind powered over their network cable), and most cameras from brands like Reolink, Amcrest, Dahua, Hikvision, and many others aimed at people who want to run their own recorder. These advertise "RTSP" or "ONVIF" support, often in the app under a "stream" or "advanced" setting.
Often won't work: cloud-first cameras that are locked to their own phone app. Some of these can be unlocked for RTSP with a firmware change or a community add-on, but out of the box they're designed to only talk to the manufacturer's servers — which is exactly the lock-in you're trying to escape. If a camera's selling point is "free cloud storage," assume it's not built to hand you a raw stream.
The honest tradeoff: a cloud camera is genuinely more plug-and-play on day one — you scan a code and you're done. Running your own recorder means picking an RTSP-capable camera and doing one bit of text editing (covered below). In exchange you stop paying monthly and your video stays home. That's the trade. For most people with more than one camera, it pays off fast.
4. Turn on Frigate NVR
Assuming SparkBox is already installed (if not, the no-terminal setup guide walks through it), turning on the camera recorder is a click:
- Open your SparkBox dashboard in a browser.
- Go to the Apps page.
- Find the Frigate NVR card and click to enable it. Give it about half a minute to start.
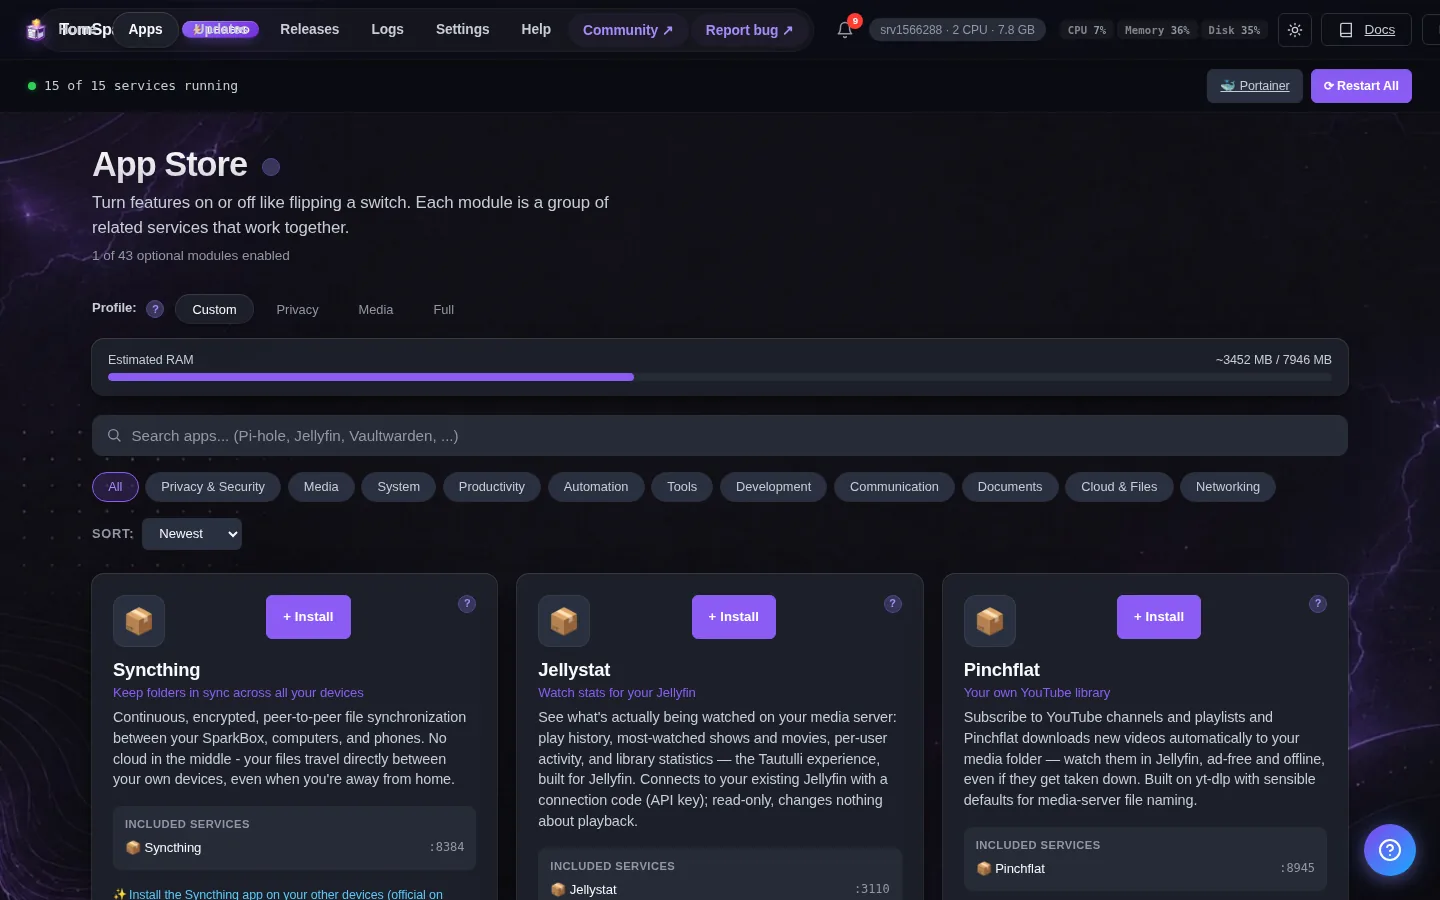
Frigate ships with a harmless placeholder configuration, so it starts up cleanly even before you've added a single camera — you won't stare at an error screen. Once it's running, you reach it at this address (swap in your server's own IP address):
https://<your-NAS-IP>:5001The first time you open it, your browser will warn you about the site's security certificate. That's expected — the connection is to your own box on your own network, using a self-signed certificate. Click through to continue (the wording is usually "Advanced" then "proceed").
5. Add your camera
Frigate makes a random admin password the very first time it starts, and SparkBox reads it out of the app's logs for you. You'll find it on the Frigate card in your dashboard — the username is admin. (Can't spot it? Every auto-generated password lives under Settings → Passwords in the SparkBox dashboard.) You can change it later inside Frigate at Settings → Users.
Now the one genuinely fiddly step, and I won't pretend it's a button. To tell Frigate about a camera, you add that camera's RTSP address to Frigate's configuration file. Each camera maker shows this address slightly differently, but it almost always looks like this shape:
rtsp://username:[email protected]:554/streamYou get that exact address from your camera's own app or settings page (look for "RTSP", "stream URL", or "ONVIF"). On the SparkBox host, Frigate's configuration file lives here:
/opt/sparkbox/modules/frigate/config/config.ymlOpen that file, add a short block naming your camera and pasting in its RTSP address, and save. Frigate's own documentation has copy-paste examples for a single camera, and the app reloads the config without a full restart. If editing a config file is new to you, that's completely fair — it's the part of this guide that asks the most. Take it one camera at a time, and if you get stuck, the d/sparkbox community will happily look at your config block.
Reassurance: you can't break SparkBox by editing this one file. If the camera block has a typo, Frigate simply won't show that camera until you fix it — nothing else on your server is affected. Start with one camera, confirm it appears, then add the rest.
6. Where your footage lives (and how much room it needs)
Recordings are bulky — with continuous recording on, expect tens of gigabytes per week per camera. SparkBox plans for that: it stores Frigate's recordings on your storage pool (your big data drive), not on the small system disk, so your camera history doesn't fill up the drive that runs everything else.
Frigate's settings and configuration are kept separately, under /opt/sparkbox/modules/frigate/config/. That's worth knowing for one reason: backups. The SparkBox dashboard's Backup tile includes that config folder, so if you ever rebuild your server, a single restore brings your camera setup back exactly as it was. (New to backups on SparkBox? See the backup setup guide.)
Because you control the disk, you control the retention. Want 30 days of history? Keep a big enough drive and tell Frigate to keep 30 days. Want to only save clips when a person is detected, to save space? Frigate can do that too. There's no tier, no upsell — the limit is your own hardware.
7. Watch from your phone, safely
The one thing a cloud camera does well is "open the app anywhere and see your camera." You can have that too, without handing your video to anyone. The clean way is a free tool called Tailscale, which SparkBox includes. It builds a private link between your phone and your home server, so when you're out of the house your phone reaches your cameras directly — no opening ports on your router, no exposing anything to the public internet.
The walkthrough is in our guide on reaching your home server from anywhere the easy way (and the Tailscale setup guide covers the app itself). Once it's on, viewing your cameras away from home is the same as viewing them at home — you just open the same address.
8. What it actually costs
Let's be straight about the math, because "no monthly fee" doesn't mean "free."
- The server: SparkBox itself is free. You need hardware to run it — a small Intel mini-PC or a UGREEN NAS. If you already have one for other things (media, photos, backups), the cameras ride along at no extra cost.
- The cameras: a one-time purchase, same as any camera. Just pick ones that support RTSP.
- The storage: a hard drive big enough for how much history you want. Also a one-time cost.
- The monthly fee: zero. That's the whole point. No subscription, no per-camera charge, no "keep my clips" tier.
The upfront cost is real, but it's once. A cloud plan is forever. If you're running cameras for years — and most people are — recording locally is cheaper surprisingly quickly, and you get private, unlimited history as the bonus.
If you'd like your home automation to follow the same no-cloud principle, the same box can run that too — see private home automation without Google or Alexa.
Next steps
Own your cameras, end the subscription.
SparkBox is a free, one-command way to turn a mini PC or UGREEN NAS into a home server — with Frigate camera recording, private photos, media, and more, all running on hardware you own. Footage stays home; nobody charges you monthly to keep it.