How to Automate Your Home Without Google or Alexa Listening
A "smart home" almost always means handing the keys to a big company. Your lights, your door sensor, the fact that you got home at 6:42pm — it all routes through Google's or Amazon's servers so an app can show you a toggle. You can keep the convenience and drop the middleman. The tool that does it is called Home Assistant, and you can run it on a small box in your own house so your devices answer to you, not to a data centre. This guide explains what actually changes, how to get it running without touching a command line for daily use, and — honestly — which parts are easy and which are still a bit fiddly.
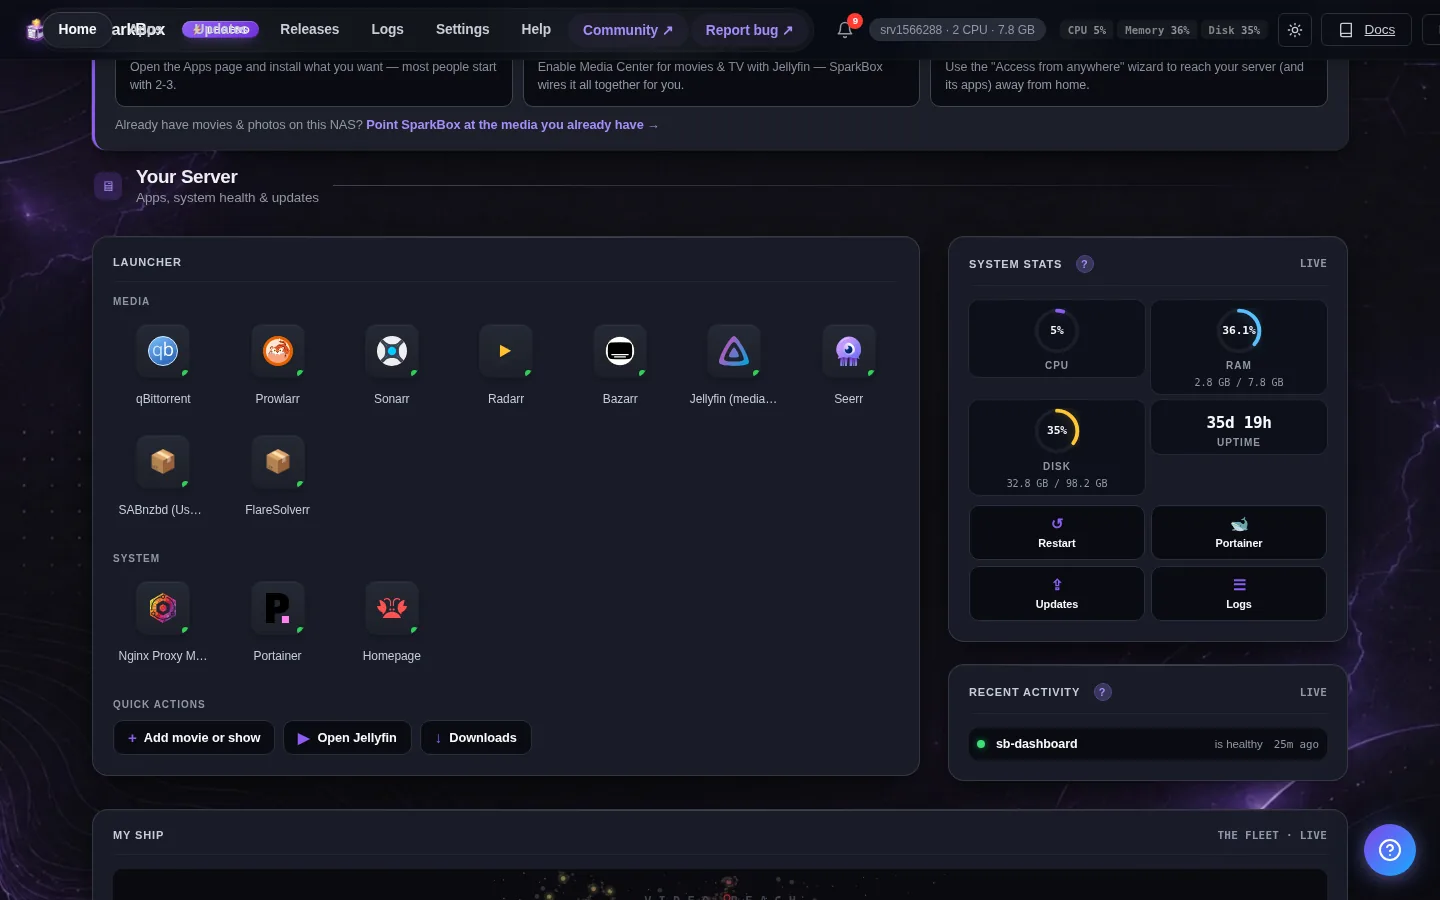
Tested on: a UGREEN DXP4800 Plus running SparkBox v1.6.176, with the same flow verified on a $7/month Hostinger VPS. No prior terminal, Linux, or Docker experience assumed.
1. What "smart" usually costs you
Here's the part the box never mentions. When you set up a typical smart bulb or plug, it talks to the manufacturer's cloud, and your phone app talks to that same cloud. You're not really controlling the bulb — you're asking a company's server to control it for you. That means three things you might not have signed up for:
- It keeps a log. When lights go on and off, when a door opens, when you arrive home — that's a record of your daily routine sitting on someone else's computer.
- It can stop working. If the company has an outage, or shuts the product down, or decides the feature now needs a subscription, your "smart" device gets dumber overnight. This has happened to real products people paid for.
- An always-on microphone is always on. Voice assistants like Alexa and Google's listen for a wake word, and the part that decides what you said usually happens in the cloud. Even with the best intentions, that's a mic in your house wired to a company.
None of this makes the devices evil. It just means the convenience comes bundled with a quiet trade: your home's data, and a dependence on a company staying interested. The good news is you can unbundle it.
2. What running it yourself actually changes
Home Assistant is free, open-source software that acts as the brain for your smart home. Instead of each gadget phoning its own maker, they all report to one hub that lives on a small computer in your house. The description from the app itself is plain enough: control smart devices, create automations, and connect to thousands of services — all running locally on your own hardware.
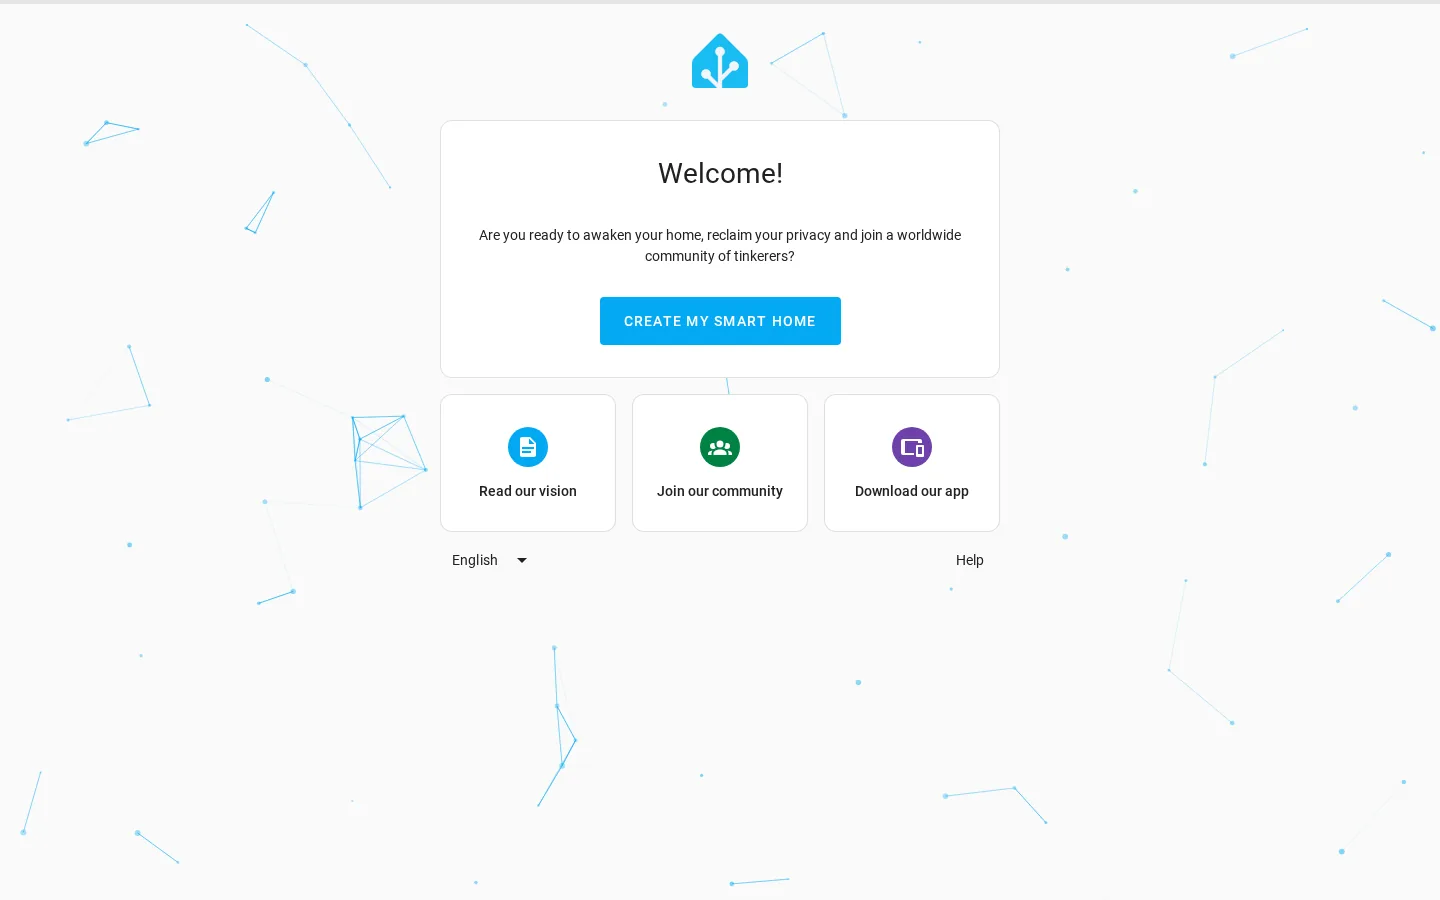
Concretely, three things flip:
- The decisions happen at home. "When the front door opens after sunset, turn on the hallway light" is a rule that runs on your box. It doesn't need the internet, and nobody outside your house sees it fire.
- One app, not eight. Most people end up with a different phone app per brand. Home Assistant pulls them into a single dashboard, so the lights, the thermostat, and the door sensor all live on one screen you control.
- It keeps working offline. Because the brain is local, your automations still run when your internet drops or a company has a bad day. That's the whole point of taking the cloud out of the loop.
The catch — and we'll be straight about it throughout — is that "runs locally" depends on the devices being willing to be controlled locally. Some are; some are stubbornly cloud-only. Section 5 sorts that out.
3. What you need to start
You need one always-on computer to be the brain. It doesn't have to be powerful — Home Assistant uses only around 400 MB of memory, which is tiny. Any of these works:
- A NAS you may already own (a UGREEN, Synology, or similar).
- A small mini PC or an old laptop sitting in a drawer with 8 GB of RAM.
- A cheap rented server (a $7/month VPS), though for home devices a box in your house is usually the better fit since it's on the same network as your gadgets.
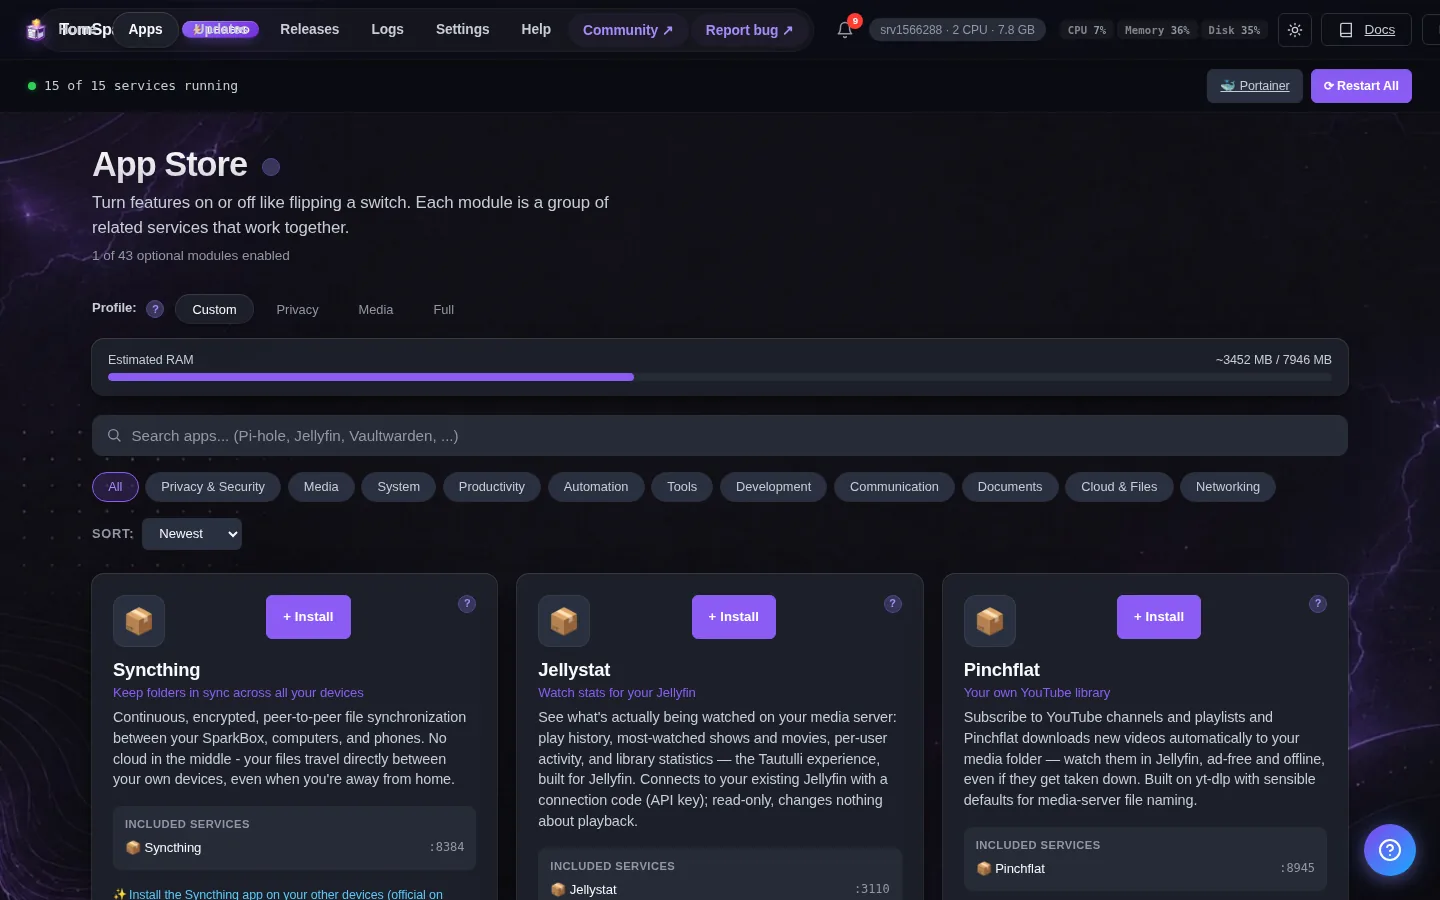
The usual way people install Home Assistant involves flashing operating systems and editing files. That's the part this guide skips. SparkBox installs Home Assistant — along with about 35 other private apps — as a one-click tile in a browser dashboard. You type a single command once to set up the dashboard itself, and after that it's all clicking. If even that one line makes you nervous, the no-terminal walkthrough reads it apart word by word, and do you need to learn Docker? answers the "what's running under the hood" question (short version: no).
4. Installing Home Assistant the easy way
If you don't have SparkBox yet, you set up the dashboard with one line, pasted once into your machine's terminal window:
curl https://get.tomsparkbox.com/install.sh | sudo bashThat downloads the installer and runs it. After a few minutes it prints a dashboard link — something like http://192.168.1.10:8443 — and from then on you can close the terminal for good. Open that link in your browser and you'll see a grid of app tiles.
To get Home Assistant running:
- Find the Home Assistant tile (the little house icon) and click Install.
- Wait about a minute while the tile shows it's working.
- Click Launch. Home Assistant opens on its own address — your box's address followed by
:8123. - The first time it loads, it walks you through a short setup wizard. The first step is making your own account — pick a username and password; this login stays on your box and isn't an account with any company.
That's the whole install. No operating system to flash, no config file to hand-edit, no port to choose — SparkBox wrote the setup file and picked safe settings behind that one Install click. If you want the full screen-by-screen version with the wizard captured step by step, the dedicated Home Assistant setup guide is the companion read.
5. Adding your first devices (local vs cloud)
Once Home Assistant is open, you add your gadgets through what it calls "integrations" — which is just its word for "support for a particular brand or type of device." There are thousands of them, and you add one by searching for your device's name and following the prompts. Here's the honest map of what you'll run into:
- Devices that speak over your network — the dream case. Plenty of smart plugs, bulbs, and sensors can be controlled directly across your home WiFi or through a small hub on your network, with no company cloud in the middle. These are the easiest win on a box like this — you add the integration and they just answer. If you're buying fresh and want maximum privacy, look for devices advertised as having "local control," or ones that use Zigbee or Z-Wave — low-power wireless standards built for smart-home gear that keep everything inside your house. (You can also go the Zigbee/Z-Wave route with a plug-in USB radio stick, but on a setup like this it takes one extra step to let the software see the stick, so a network-connected hub is the simpler place to start.)
- Devices that need their cloud — the workaround case. Some brands only let you control them through their own servers. Home Assistant can often still connect to them, but the commands travel through that company's cloud, so you don't get the full privacy win. It's a fair middle ground for gear you already own.
- Devices that are cloud-only by design — the honest no. A few products simply can't be pulled local, no matter what. Home Assistant can't rewrite how a device was built. For those, the answer is to plan to replace them over time with locally-controllable ones, not to expect magic.
The practical advice: start with one device you already have, add its integration, and see which bucket it lands in. You'll quickly learn which brands in your house are friendly and which aren't — and that knowledge guides your next purchase far better than a marketing box does.
6. The honest part: what's easy, what's fiddly
We'd rather tell you the rough edges now than have you hit them and feel misled. Here's the straight version.
Easy: Installing Home Assistant, making your account, and controlling devices that already speak locally. Building simple automations — "turn the lamp on at sunset," "flash the lights if the door opens while we're out" — is done through a visual editor with dropdown menus, no coding.
Fiddly: A couple of things genuinely take patience:
- Automatic device discovery is limited by default. Home Assistant is happiest when it can automatically spot gadgets the moment they appear on your network. To keep your apps neatly separated and secure, SparkBox runs Home Assistant in a mode that doesn't expose every network signal to it — which means some devices won't pop up on their own and you'll add them manually instead. If you lean heavily on auto-discovery (for things like casting to a TV), Home Assistant's own docs cover switching it to "host networking" for full discovery. It's an optional tweak, not a requirement, and most people get going fine without it.
- Replacing the talking speaker isn't the easy win here. Home Assistant has a whole project for private, local voice control, but the simple version of it leans on an add-on system that this one-click setup doesn't include. So if "a private Alexa replacement" is your single must-have, know up front that it's the one part this particular route doesn't hand you on a plate. For everything else — buttons, schedules, sensors, automations, and one dashboard to run them — you're in great shape.
- It rewards tinkering. Home Assistant is deep. You don't need that depth to start, but the people who love it are people who enjoy poking at settings. If you want strictly "set it and forget it," lean on a few solid automations rather than trying to wire up your whole house in week one.
What does not happen: you don't need to write code, you don't need a separate account with anybody, and your routines don't get logged on a company's server. That's the trade — a bit more setup effort up front in exchange for a home that's actually yours.
7. Reaching it from your phone — privately
At home, you open Home Assistant by tapping its address in your browser or its free app. The natural next question is "what about when I'm out?" The wrong answer — the one a lot of old guides give — is to poke a hole in your home internet so the whole world can reach your box. Don't do that.
The clean way is a tool called Tailscale, which SparkBox includes as another one-click app. It builds a private link between your phone and your home box that only your devices can use — nothing is exposed to the open internet, and there's no router fiddling. Install the Tailscale app on your phone, sign both it and your box into the same free Tailscale account, and your home automation is reachable from anywhere as if you were sitting on your own couch. The Tailscale setup guide walks it through. It's the same approach we recommend for reaching any of your private apps away from home.
If part of your "no Big Tech" goal is also private cameras — a doorbell or driveway cam that records to your own box instead of a subscription cloud — SparkBox has a tile for that too; the camera/NVR guide is the place to start, and it pairs naturally with the same local-first idea.
8. Where to start
The whole path, start to finish:
- Pick an always-on box: a NAS you own, a mini PC, or an old 8 GB laptop.
- Set up SparkBox with the one command, then open the dashboard link it prints and close the terminal.
- Click Install on the Home Assistant tile, then Launch, and make your account in the wizard.
- Add one device you already own to see whether it speaks locally, over the cloud, or not at all.
- Build one small automation you'll actually use — that first "it just did that by itself" moment is what hooks people.
You'll have a smart home where the lights, sensors, and routines answer to a box in your house — not to an account you don't really control. And if you're tackling this on a fresh NAS that shipped with its own data-collection turned on, the NAS privacy lockdown guide is the sensible companion to lock the hardware down first.
Next steps
A private smart home, without the command line.
SparkBox installs Home Assistant and 35+ other private apps as one-click tiles in a browser dashboard — it writes every config file, picks every port, and generates every password for you. It runs on a NAS, a mini PC, or a cheap VPS, and it's free and open. The only line you type is the one that installs the dashboard.