How to Access Your Home Server From Anywhere (Without Port Forwarding)
You set up a home server, it works great on your couch — and then you leave the house and can't reach it. The usual fix people hand you is "just forward a port on your router," which is fiddly, breaks when your home internet address changes, and quietly opens a door to your network that the whole internet can knock on. There's a much easier way that opens nothing. This guide walks you through it in plain English, one click at a time.
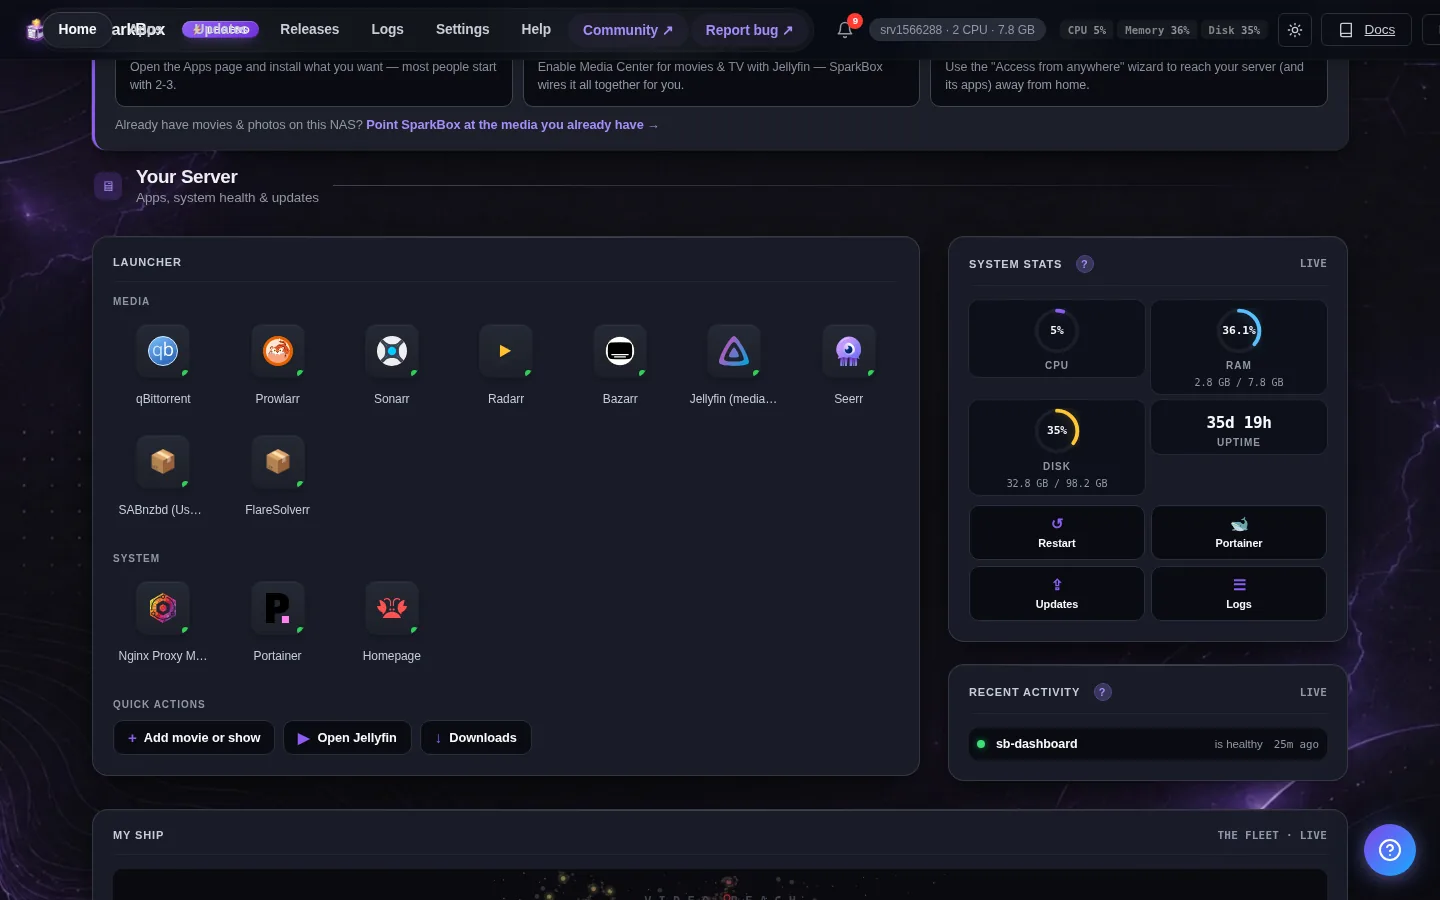
Tested on: a UGREEN DXP4800 Plus NAS and a $7/month Hostinger VPS, both running SparkBox 1.6.177, reached from an iPhone and a laptop on mobile data (not on the home Wi-Fi).
- Why reaching your server from outside is normally a pain
- The easy way: a private network just for your devices
- Before you start: two free toggles in your Tailscale account
- Turn on remote access in SparkBox (step by step)
- Open your dashboard from your phone
- Share access with family — without giving out your password
- The honest gotchas that trip people up
- Next steps
1. Why reaching your server from outside is normally a pain
When you're at home, your phone and your server are on the same Wi-Fi, so they can talk directly. The moment you walk out the door, your phone is on mobile data and your server is sitting behind your home router, which by design blocks anything from the outside trying to reach in. That's a good thing — it's the wall that keeps strangers off your network.
The old-school way around it is port forwarding: you log into your router and tell it "when something from the internet asks for door number 8443, send it to my server." It works, but it comes with three real headaches:
- It pokes a permanent hole in your router. That door is now open to the entire internet, not just you. Anything you expose this way needs to be locked down perfectly, forever.
- Your home address keeps changing. Most home internet plans hand you a new public address every so often, so the link you carefully set up just stops working one day for no obvious reason. The usual patch for that — "dynamic DNS" — is one more thing to set up and babysit.
- Some internet providers don't even allow it. If you're on certain mobile or apartment-building connections, port forwarding simply won't work no matter what you do.
So the goal is to reach your server from anywhere without opening any doors on your router. That's exactly what the tool below does.
2. The easy way: a private network just for your devices
SparkBox includes a one-click app called Tailscale. The simplest way to picture it: it builds a small private network that only your own devices are invited to. Your server, your phone, your laptop — once they're all signed in to the same Tailscale account, they can talk to each other directly, as if they were all sitting on your home Wi-Fi, even when they're scattered across the world.
Nothing is opened to the public. Other people can't see your server or even knock on it — they aren't on your private network, so for them it may as well not exist. Under the hood it uses WireGuard, a modern, well-regarded way of building an encrypted tunnel, but you never have to touch any of that. You install an app, sign in, and it works.
It's free for personal use, and the SparkBox app is tiny — it uses about 50MB of memory on your server. When it's on, SparkBox even gives your dashboard a proper web address with a padlock (a real HTTPS certificate), so opening it from your phone looks and feels exactly like any normal website.
3. Before you start: two free toggles in your Tailscale account
This is the step people skip and then wonder why remote access "doesn't work." It takes two minutes. You'll make a free Tailscale account, then flip one switch in it. It's free, you only do this once, and SparkBox needs it to hand your dashboard that nice padlocked web address.
- Go to login.tailscale.com and sign up. You can use an account you already have (Google, Microsoft, GitHub, Apple) — there's no separate password to invent.
- Open the Features settings page at
login.tailscale.com/admin/settings/features. - Turn on HTTPS Certificates. (If your account also shows a separate Tailscale Serve switch — older accounts do — turn that on too. Newer accounts only have the one switch, and that's fine.)
Why this matters: if you leave this off, SparkBox will still install Tailscale and it'll look fine — but the off-Wi-Fi web address for your dashboard just returns a blank page, and you'll think something's broken. Flip the switch now and you'll save yourself the confusion.
4. Turn on remote access in SparkBox (step by step)
Now you'll get a one-time "key" from Tailscale and paste it into SparkBox. Think of the key as a sealed invitation that lets your server join your private network on its own.
Get your key: while still signed in to Tailscale, go to login.tailscale.com/admin/settings/keys and click Generate auth key. Turn on the Reusable option before you create it — that lets your server quietly reconnect by itself after a reboot, instead of needing a fresh key every time. Copy the key it gives you. It starts with tskey-auth- and looks like this:
tskey-auth-xxxxxxxxxxxxxxxxxxxxTreat that key like a password — anyone who has it could add a device to your network, so don't paste it into a public chat. It's safe to put into your own SparkBox dashboard.
Paste it into SparkBox:
- Open your SparkBox dashboard (on your home Wi-Fi for now).
- Find the Tailscale tile in the apps list and click to enable it.
- When it asks for the Tailscale Auth Key, paste the
tskey-auth-key you just copied, and save. - Give it a minute. Behind the scenes your server signs into your private network and grabs its padlock certificate.
That's the whole setup on the server side. For the deeper version — where Tailscale stores its data, how to back it up, exit nodes — see the full Tailscale setup guide.
5. Open your dashboard from your phone
Your server is now on your private network. The last piece is putting your phone (and laptop) on the same network so they can reach it.
- Install the Tailscale app from your phone's app store (it's also available for Windows, Mac, and Linux).
- Open it and sign in with the same account you used in step 3.
- Flip Tailscale on in the app. Your phone is now on your private network from anywhere.
- In the Tailscale app, look at your list of machines — your server appears there with a name ending in
.ts.net. That's the address you open in your browser.
Open that .ts.net address in your phone's browser and your SparkBox dashboard loads — padlock and all — over mobile data, from anywhere, with nothing opened on your router. Bookmark it on your phone and that's your one-tap way in from now on.
Quick test: the honest way to know it's really working is to turn your phone's Wi-Fi off so you're on mobile data only, then open the .ts.net address. If it loads, you've genuinely got remote access — not just "it works because I'm still home."
6. Share access with family — without giving out your password
Say you want your partner to reach the photo library, or a friend to use your media server while travelling. You don't hand them your account or your dashboard password. Instead, in your Tailscale admin console you share the server with their own Tailscale account. They install the Tailscale app, accept the share, and now they can reach exactly what you allowed — nothing more — using their own login. Take the share away anytime and their access ends. It's a much calmer way to let people in than mailing around passwords.
7. The honest gotchas that trip people up
This setup is genuinely easy once it clicks, but here are the three things that catch beginners, so you can skip the frustration:
- No key pasted = it runs but goes nowhere. If you enable Tailscale without pasting the auth key, the app starts and shows a green light, but your server never actually joins your network — so nothing connects and there's no obvious sign why. If remote access isn't working, the first thing to check is that the auth key is filled in. You can paste it later under your dashboard's settings if you skipped it.
- That account toggle really is required. The blank-page problem from step 3 is the single most common "it's broken" report, and it's almost always the HTTPS Certificates switch being off. Two minutes now saves an hour of head-scratching.
- Use a reusable key so reboots don't lock you out. A one-time key works once; after your server reboots it may not be able to rejoin on its own. The Reusable option in step 4 avoids that.
None of these break anything — they're just the spots where the instructions are easy to half-follow. If you hit a wall, the full Tailscale setup guide has the longer troubleshooting walkthrough.
Next steps
Once you can reach your dashboard from anywhere, the rest of your apps come along for free — your photos, your media, your files all live behind that same one address now. If you're still finding your way around the dashboard itself, the beginner's tour of the SparkBox dashboard is a good next read, and running a home server without touching the terminal covers the bigger picture of doing all this without code.
One command, then it's all clicks.
SparkBox installs a browser dashboard that runs 35+ self-hosted apps as one-click tiles — including Tailscale for remote access. It writes every config file, picks every port, and generates every password for you. Free and open. The only line you type is the one that installs it.