How to Set Up a Private VPN at Home (And Why You'd Want To)
A private VPN at home means one simple thing: when you're at a coffee shop, at work, or on vacation, your phone or laptop can reach the apps running on your home server — your photos, your movies, your files — through an encrypted tunnel that only your own devices can use. Nothing gets opened up to the wider internet, no stranger can even see that your server exists, and you don't pay a monthly fee for it. This guide explains the two very different things people mean by "VPN," then walks you through the beginner-friendly way to get a private one (about ten minutes, no router settings), the do-it-yourself way, and — honestly — what a home VPN will not do for you.
Tested on: a UGREEN DXP4800 Plus and a $7/month Hostinger VPS, both running SparkBox v1.6.407. No terminal experience needed for the recommended path.
- "VPN" means two opposite things — figure out which one you want
- What a private VPN at home actually gets you
- The beginner path: Tailscale
- Setting up Tailscale, step by step
- The DIY path: WireGuard
- Tailscale or WireGuard — which should you pick?
- The honest part: what a home VPN does NOT do
- Next steps
1. "VPN" means two opposite things — figure out which one you want
This is the single biggest source of confusion, so let's clear it up first. When people say "VPN" they mean one of two tools that point in opposite directions:
- A privacy VPN (the kind you subscribe to). Services like Surfshark or NordVPN. Your traffic goes out through their servers, so websites and your internet provider can't easily see what you're browsing. You pay monthly, and it protects your traffic on the way out to the internet.
- A private VPN at home (the kind this guide is about). A tunnel into your own house. It doesn't hide your browsing — it lets your own devices, and only your own devices, reach the apps on your home server from anywhere in the world. It's free, because the "VPN server" is your own hardware.
They're not competitors — plenty of people run both. If what you want is "watch my own movie library from a hotel" or "check my security camera from work," you want the home kind, so keep reading. If what you want is "hide my browsing from my internet provider," that's the subscription kind — we compare the options in our VPN choice guide.
2. What a private VPN at home actually gets you
Once your home VPN is running, your phone and laptop behave as if they were sitting on your home Wi-Fi — no matter where they actually are. Concretely, that means:
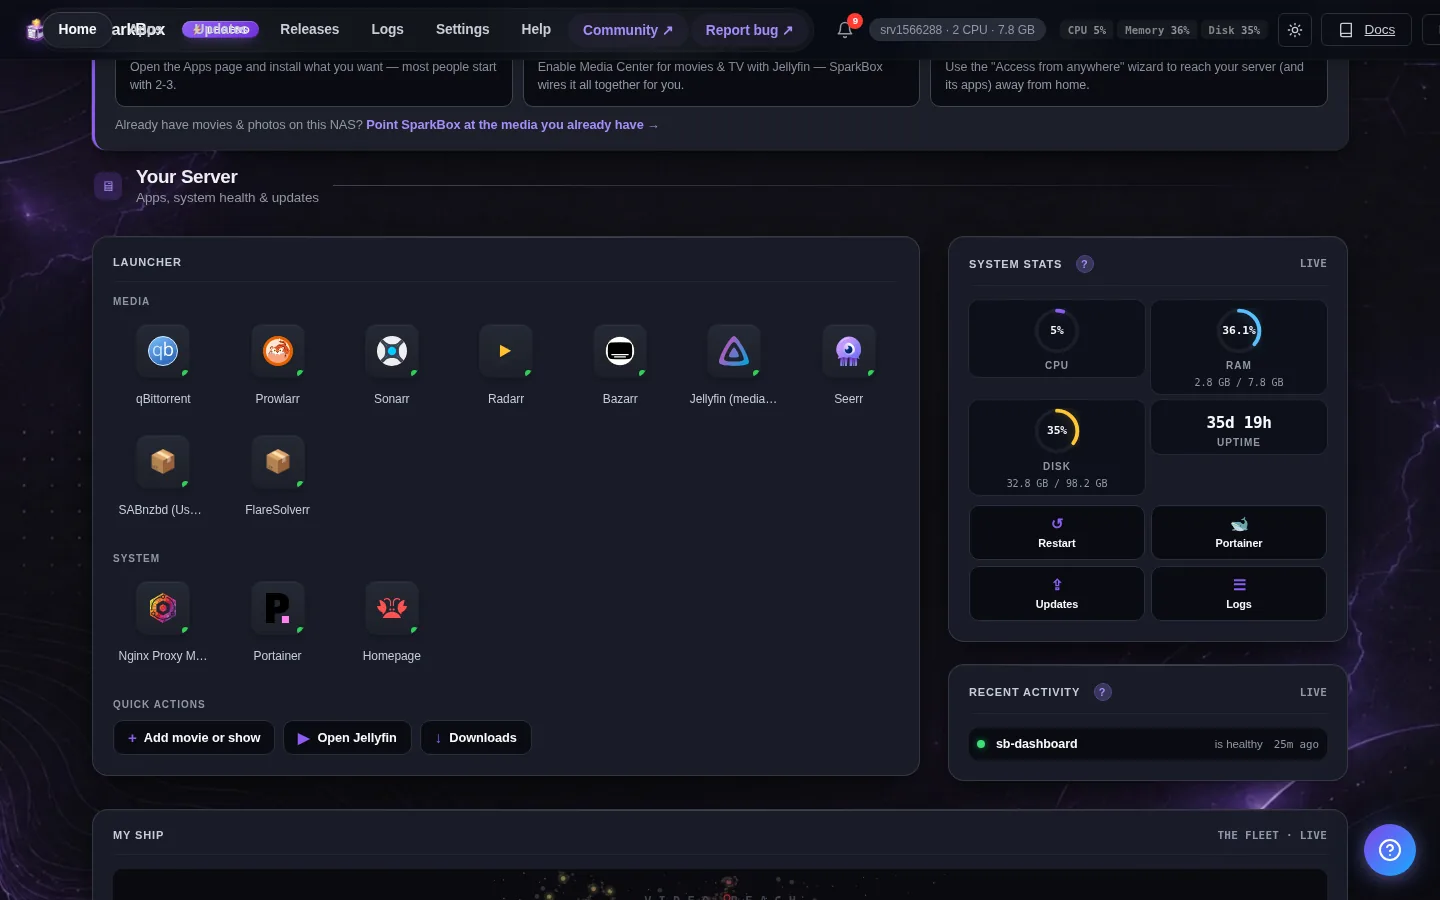
- Your apps work from anywhere. The same address that opens your photo library or movie server at home opens it from a beach in Portugal.
- Nothing is exposed to the internet. This is the part that surprises people. The old way to reach a home server remotely was "port forwarding" — poking a hole in your router so the whole internet could knock on your server's door, and hoping your password held. A VPN tunnel skips that entirely: to everyone except your own signed-in devices, your server simply isn't there.
- No monthly fee. The tunnel runs on hardware you already own.
- You can share selectively. Want your parents to see the photo library but nothing else? Both tools below support inviting specific people to specific apps.
Don't have a home server yet? Everything below assumes you have SparkBox running — it's a free dashboard that sets up 35+ self-hosted apps as one-click tiles, including both VPN options in this guide. The whole install is one pasted line, explained word by word in our no-terminal walkthrough.
3. The beginner path: Tailscale
Tailscale is the option we recommend to almost everyone starting out, because it removes the two hardest parts of running a VPN: router configuration and addresses.
Here's the idea in plain English. You make a free Tailscale account, and every device you sign in on — your server, your phone, your laptop — joins your own private network (Tailscale calls it a "tailnet"). Devices on it can talk to each other over encrypted tunnels; devices not on it can't see anything at all. There is no port to open on your router, no hole punched anywhere, and it works even behind the awkward network setups you can't control — apartment buildings, hotel Wi-Fi, phone hotspots.
Tailscale (the company) runs the coordination service that introduces your devices to each other — that's why there's an account. Your actual traffic flows device-to-device through the encrypted tunnel, and the underlying encryption is WireGuard, the same modern protocol as the DIY path below. The free account is all you need for personal use.
On a SparkBox install, the Tailscale tile also does one extra nice thing: it automatically serves your dashboard at a proper secure address on your tailnet (a name like your-server.tailXXXX.ts.net, with a real HTTPS certificate) — so on your phone you get a padlocked, bookmark-able address instead of a raw IP and port number.
4. Setting up Tailscale, step by step
Two one-time steps in your Tailscale account, then one paste in SparkBox. That's the whole setup:
- Create a free account at tailscale.com — signing in with a Google, Microsoft, or GitHub account you already have is fine.
- Turn on HTTPS certificates. In the Tailscale admin console, go to Settings → Features (the page at
login.tailscale.com/admin/settings/features) and switch on HTTPS Certificates. This is the toggle that lets your dashboard get its padlocked address. If your account also shows a "Tailscale Serve" switch, turn that on too. Skipping this step is the #1 setup mistake — everything seems to work, but the secure remote address quietly won't. - Create an auth key. Still in the admin console, go to Settings → Keys and generate an auth key — a one-time sign-in code for your server that starts with
tskey-auth-. Pick reusable when it asks, so your server can reconnect on its own after a restart. - Install the Tailscale tile in SparkBox. Open your SparkBox dashboard, find the Tailscale tile, click Install, and paste the auth key when it asks. That's the only thing it needs from you. The container is tiny — about 50 MB of memory.
- Put Tailscale on your phone and laptop. Install the Tailscale app from the app store, sign in with the same account, and flip it on. Your devices are now on the same private network as your server.

To test it, take your phone off Wi-Fi (use mobile data), make sure the Tailscale app shows Connected, and open your dashboard's tailnet address. If it loads, you have a working private VPN — that was the whole thing. The full walkthrough with screenshots lives in our Tailscale setup guide, and the broader picture of remote access options is in access your home server from anywhere.
One quirk worth knowing: your phone reaches your apps when the Tailscale app is switched on. If something that worked yesterday won't load today, check the Tailscale app says Connected before troubleshooting anything else — nine times out of ten, that's it.
5. The DIY path: WireGuard
WireGuard is the modern VPN protocol itself, run entirely by you — no third-party account, no coordination service, nothing in the middle. SparkBox ships it as the Remote Access VPN tile, using a friendly web panel (wg-easy) so you never touch a config file.
Setup is genuinely pleasant for what it is:
- Install the Remote Access VPN tile from your SparkBox dashboard. It runs in about 30 MB of memory and sets a password for its management panel during install (or generates one for you).
- Open the WireGuard panel from your dashboard and click to add a client — one per device you want to connect.
- A QR code appears. Install the official WireGuard app on your phone, point the camera at the code, and the phone is configured. Laptops import a downloaded file instead.
The catch — and the reason this is the second path, not the first — is reachability. WireGuard listens on port 51820/UDP, and your devices out in the world have to be able to reach that port at your house. The SparkBox installer configures your server's own firewall for this automatically, but your router also needs to forward that port to your server, and your home connection needs an address your devices can find (a domain name or a dynamic-DNS name if your provider changes your IP, which most do). None of that is hard individually, but it's exactly the kind of router-and-ISP fiddling Tailscale exists to spare you — and on connections where the provider shares one public address among many customers (increasingly common), port forwarding may not be possible at all.
6. Tailscale or WireGuard — which should you pick?
Honest answer: they use the same encryption, so this isn't a security choice — it's a "who handles the plumbing" choice.
- Pick Tailscale if you want it to just work. No router settings, no domain names, works behind hotel Wi-Fi and shared-address internet connections, and sharing an app with a family member is an email invite. The trade-off: a third-party account is involved in introducing your devices to each other (your traffic itself stays in the encrypted tunnel), and you're trusting Tailscale's free tier to stay generous — it has for years.
- Pick WireGuard if you want zero third parties. Everything runs on your hardware, full stop. The trade-off: you own the plumbing — port forwarding, a findable address, and re-doing the QR dance per device. If your router is friendly and your internet provider gives you a real public address, it's very solid.
If you're unsure, that itself is the answer: start with Tailscale. You can add the WireGuard tile later — or run both — without either interfering with the other, since they're separate tiles in SparkBox.
7. The honest part: what a home VPN does NOT do
Guides that only sell you the upside cost you an afternoon of confusion later, so here's the other column:
- It does not hide your browsing. A tunnel into your house doesn't disguise traffic leaving your house. When you're sitting at home browsing the web, a home VPN changes nothing about what your internet provider can see. That job belongs to a subscription privacy VPN — SparkBox's media apps route through one for exactly that reason, set up in our Surfshark setup guide. If you want one, Surfshark is what we run (87% off + 4 months free): get.surfshark.net.
- It's only as fast as your home upload speed. Streaming a movie from your server pushes data up your home connection, and upload is the number your provider brags about least. A 20 Mbps upload streams comfortably; if yours is slower, expect the occasional buffer on big files away from home.
- It doesn't protect a server that's off. Obvious, but it catches people: if the power blips and your box doesn't come back, neither does your tunnel. Both tiles here reconnect automatically when the server boots — but the server has to boot.
- It's not a backup. Reaching your photos from anywhere is not the same as having a second copy of them. That's a different, equally important project — start with the backup guide.
Next steps
Once the tunnel works, remote access stops being a project and starts being a habit: your movie server on vacation (here's that guide), your files from work, your camera feed from the airport. The pattern is always the same — flip the VPN app on, open the same address you use at home.
Both VPN paths are one-click tiles.
SparkBox is a free browser dashboard that runs 35+ self-hosted apps — including Tailscale and WireGuard — as one-click installs. It writes the configs, picks the ports, and generates the passwords so you don't have to. The only command you ever type is the one that installs it.