Can You Self-Host Without Learning Docker? (Yes — Here's How)
Almost every guide about running your own apps at home tells you to "just learn Docker" early on. If you've tried, you've probably hit a wall of YAML files, port numbers, and volume mounts, and quietly closed the tab. So here's the honest answer to the question in the title: no, you do not have to learn Docker to run your own photo library, movie server, or password manager. Docker is what runs underneath — but something can drive it for you, and then the whole thing becomes clicking tiles in a browser. This guide explains what Docker even is, shows you the exact stuff you'd normally have to write, and then shows you how to skip all of it.
Tested on: a UGREEN DXP4800 Plus running SparkBox v1.6.155, with the same flow verified on a $7/month Hostinger VPS. No prior Docker or Linux experience assumed.
- What Docker actually is (in plain English)
- What you'd normally have to write
- The shortcut: let something else drive Docker
- Installing an app, start to finish, without seeing Docker
- The honest part: when Docker still pokes through
- "What if I want to learn Docker later?"
- What this frees you from — and what it doesn't
- Where to start
1. What Docker actually is (in plain English)
Docker is a tool that packages an app together with everything it needs to run — the app itself, the right version of every library, the default settings — into one sealed bundle called a container. The point is that the bundle runs the same way on any machine, so the people who make an app (say, the photo-library app Immich) can hand you a container and trust it'll behave identically on your NAS, on a rented server, or on an old laptop.
That's genuinely useful, and it's why nearly every self-hosted app today ships as a Docker container. The catch is that Docker, on its own, has no friendly screen. You talk to it by typing commands and by writing small text files that describe what you want running. That text-file part is where most beginners bounce — not because it's truly hard, but because there's a lot of fiddly detail and one wrong character means the app won't start.
So the real question isn't "is Docker too hard for me?" It's "does someone have to write those files by hand?" And the answer is no.
2. What you'd normally have to write
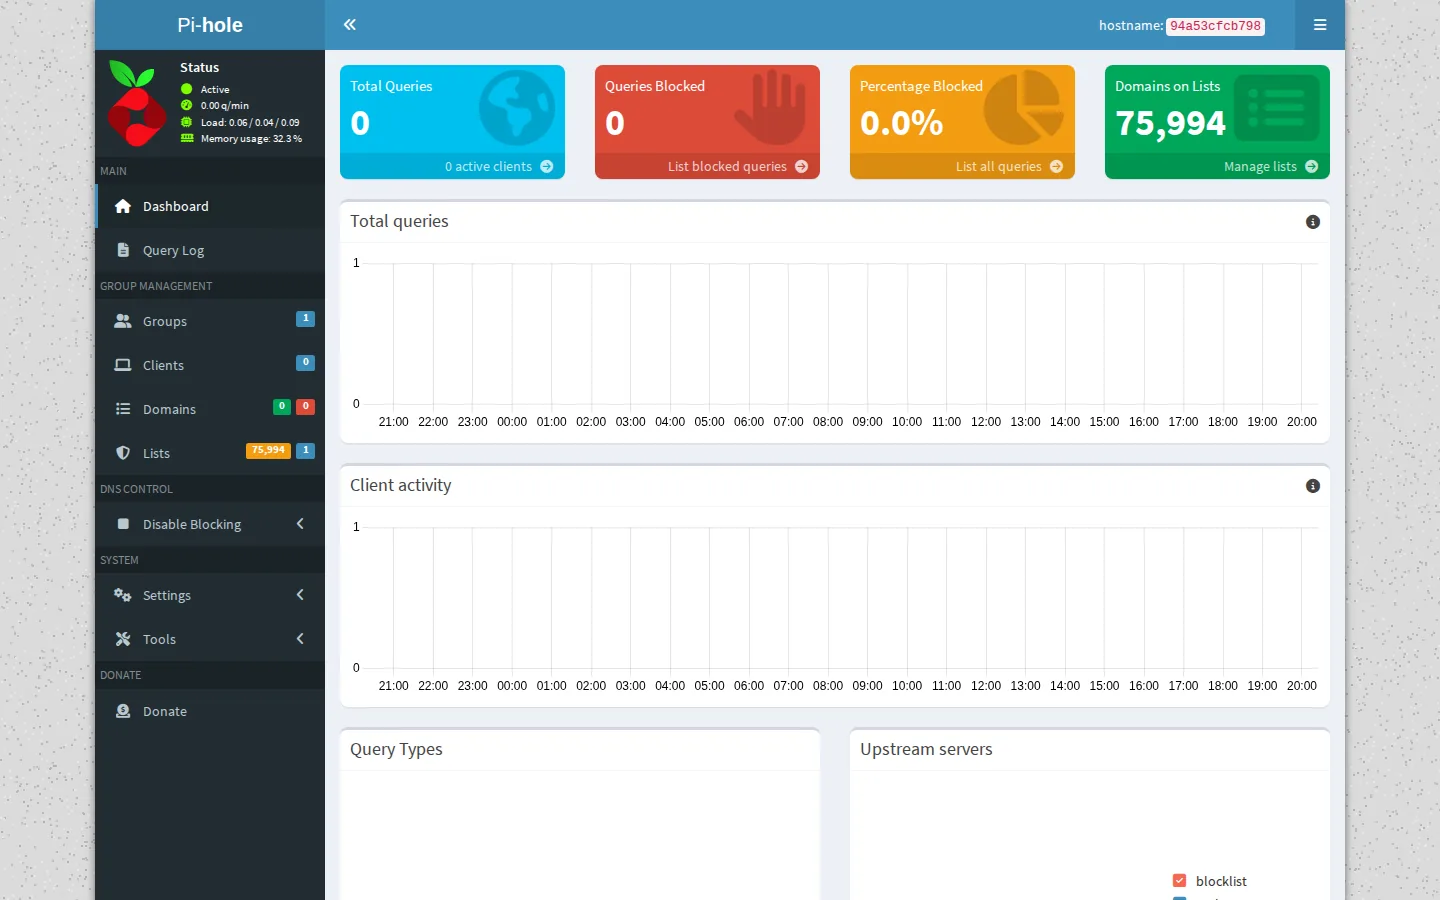
Let's make the thing you're avoiding concrete, so you know exactly what you're skipping. To run one app — Pi-hole, the network-wide ad blocker — the traditional way, you'd open a text file called docker-compose.yml and write something like this by hand:
services:
  pihole:
    image: pihole/pihole:2026.05.0
    container_name: sb-pihole
    ports:
      - "53:53/tcp"
      - "53:53/udp"
      - "8053:80"
    environment:
      - TZ=UTC
      - FTLCONF_webserver_api_password=changeme
    volumes:
      - ./config/pihole:/etc/pihole
    restart: unless-stopped
That's the real shape of it — taken straight from how SparkBox runs Pi-hole today. Now look at everything a beginner is expected to just know here: which image name and version tag to pin, that DNS needs both a tcp and a udp port, that 53 is the DNS port and 80 is the web page, where to mount the folder that keeps your settings between restarts, and what a sensible restart policy is. Get the version tag wrong and nothing downloads. Forget the volume line and your settings vanish every time the app restarts. Pick a port another app is already using and it silently fails to start.
And that's one app. A full setup — ad blocker, photo library, movie server, password manager, the download tools that feed the movie server — is a dozen of these files that all have to agree with each other about ports, folders, and which app is allowed to talk to which. This is the wall. It's not that any single line is impossible; it's that there are a hundred of them and no screen telling you which one you got wrong.
3. The shortcut: let something else drive Docker
Here's the shift that makes "self-hosting without learning Docker" true in 2026: a few projects exist whose entire job is to write all those files for you and then hand you a normal web page with buttons. Docker is still down there doing the work — but you never open a .yml file, never pick a port, never type docker anything. SparkBox is one of these. Its job is to be the layer between you and Docker.
Getting it onto your machine takes exactly one command, pasted once, into a window your NAS or server already gives you:
curl https://get.tomsparkbox.com/install.sh | sudo bashThat command downloads an install script and runs it. The script installs Docker for you if it isn't already there, downloads the default settings for about 35 self-hosted apps, and starts a dashboard you reach in your browser at http://<your-box-ip>:8443. It takes roughly 5–10 minutes and prints the dashboard link when it's done. From that point on, you don't go back to that window — everything happens in the dashboard. If the idea of pasting a command you didn't write makes you uneasy (it's a fair instinct), we cover exactly what it does and how to read it first in our no-terminal walkthrough.
4. Installing an app, start to finish, without seeing Docker
This is the part that replaces the whole YAML file above. To run Pi-hole — the same app the hand-written file was for — here's the entire process:
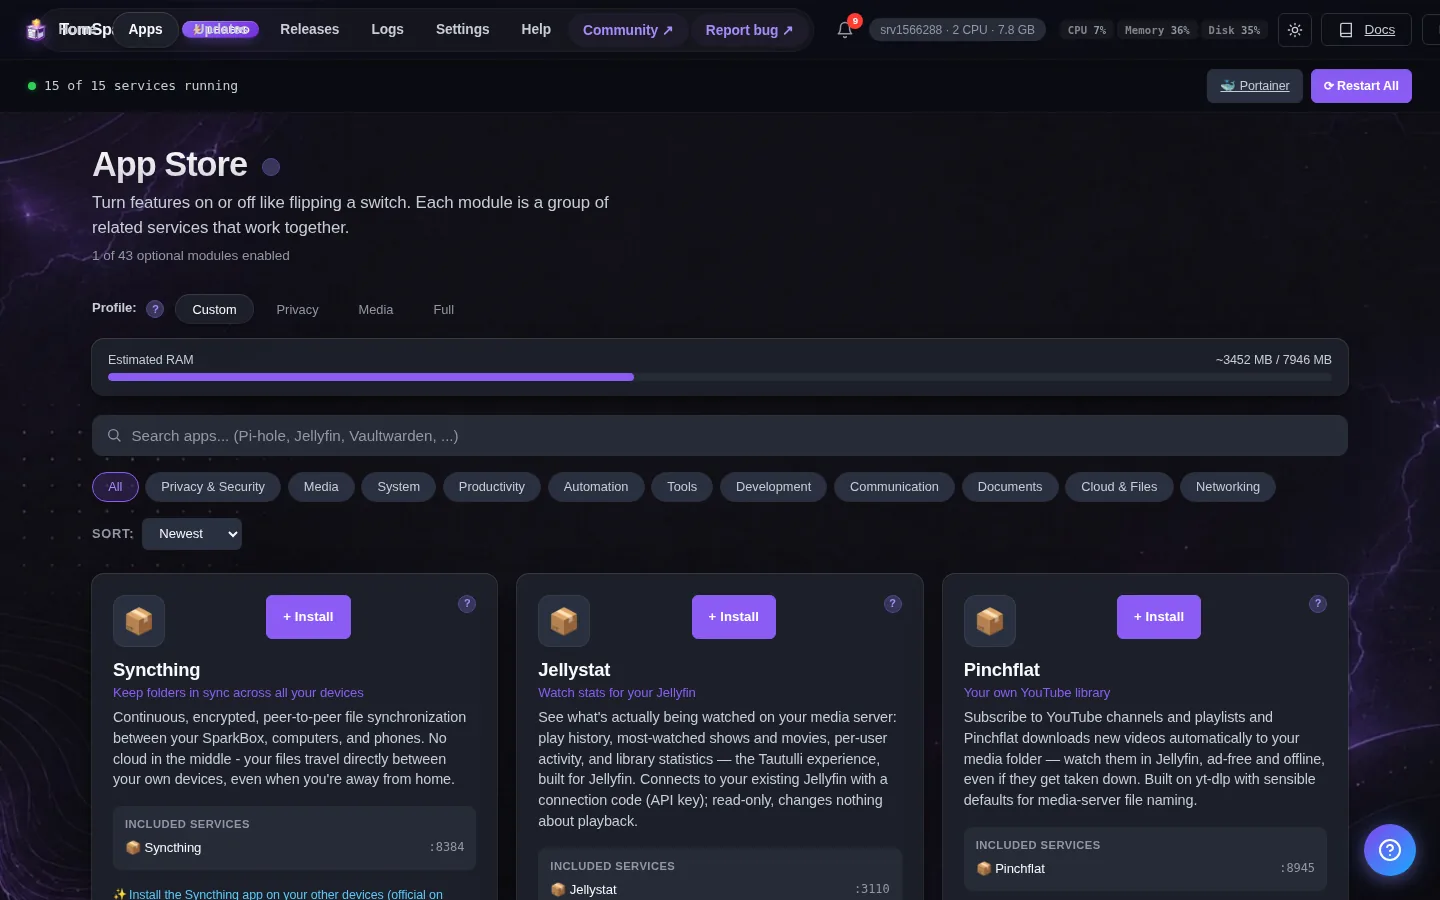
- Open the dashboard in your browser.
- Find the Pi-hole tile and click Install.
- Wait about 30 seconds.
- Click Launch. A small popup shows the address and the password, which were generated for you.
- Click the address, paste the password, you're in.
No image tag to look up. No port to choose. No folder to mount. No password to invent — it's made for you and shown to you when you need it. Behind that single Install click, SparkBox wrote the exact kind of file from section 2, picked safe ports, mounted the right folders so your settings survive restarts, and started the container. You just didn't have to see any of it.
The same five-click flow installs your own Netflix-style movie server, a private photo library that replaces Google Photos, a password manager, your own cloud-storage drive, and about thirty other apps. Each one also gets a hand-written setup guide here on the site that walks the rest of the configuration with screenshots — for example, the Pi-hole guide shows you how to point your router at it so every device gets ad-blocked.
5. The honest part: when Docker still pokes through
We're not going to pretend the word "Docker" never appears again. For normal use — installing, launching, updating, changing settings — it genuinely doesn't. But there are a few edge cases where it surfaces, and you deserve to know them up front rather than feel ambushed later:
- Something breaks in a way the dashboard can't explain. Once in a while an app misbehaves and the fix involves looking at that app's logs over an SSH connection. In practice beginners almost never hit this, and when they do, the usual path is to post in d/sparkbox with a screenshot — we'll typically reply with one exact line to paste, not a Docker lecture.
- The optional VPN-protected download stack. If you set up the movie-download tools, you paste your VPN login into one settings field. That's a form, not a Docker file, but it's the most "advanced" thing a typical user touches.
- Locking down a brand-new UGREEN NAS. A fresh UGREEN ships with its stock system phoning home; our privacy lockdown guide has a few one-time commands for that. It's separate from Docker, and it's a one-and-done.
That's the complete list. None of it is "learn Docker." It's "occasionally paste one line we hand you," which is a very different commitment.
6. "What if I want to learn Docker later?"
Skipping Docker now doesn't lock you out of learning it later — and this is where SparkBox differs from a closed appliance that hides everything. The files it writes for you are real, ordinary Docker Compose files sitting in plain folders on your machine (under /opt/sparkbox/). If curiosity strikes in six months, you can open them and read exactly the kind of thing from section 2 — except now you have working examples instead of a blank file. A lot of people learn Docker far more comfortably this way: start with a setup that already runs, then peek under the hood when you feel like it, rather than being asked to write it all correctly on day one.
So the honest framing is: you're not avoiding Docker forever, you're avoiding it as a prerequisite. You get the apps running first. Learning the plumbing becomes optional, and on your own schedule.
7. What this frees you from — and what it doesn't
It's worth being clear about the boundary so your expectations are right.
What you no longer have to do: write or edit Docker Compose files, choose and remember port numbers, figure out volume mounts, install Docker by hand, pull and pin app images, or generate passwords. All of that is handled.
What's still on you (because no tool can do it for you): you need a machine to run this on — a NAS, a cheap rented server, or an old computer — and you need to keep it powered on, since it's your server now. You'll want to back up the data that matters to you, the same as you would with anything. And you still have to make real decisions: which apps you actually want, and basic settings like "who in my house gets an account." Those are choices a dashboard presents clearly, not Docker chores. If you don't own hardware yet, the absolute-beginner guide walks through the cheapest ways to get a box to run this on.
8. Where to start
If the YAML wall was the thing stopping you, it's gone. The path from here is short:
- Pick a machine: an existing NAS, a $7/month VPS, or an old laptop with 8 GB of RAM.
- Open its built-in terminal window (UGREEN App Center → Terminal, or your VPS panel's terminal).
- Paste the one command from section 3 and wait for it to finish.
- Open the dashboard link it prints, and install one app you actually care about — ad blocking, phone-photo backup, or a password manager.
- Follow that app's setup guide to finish wiring it in.
You'll have a real self-hosted app running, and you'll have written zero lines of Docker to get there. If you want the click-by-click version with screenshots, the no-terminal guide and the dashboard-first guide pick up exactly where this one leaves off.
Next steps
Docker can stay under the hood. You just want the apps.
SparkBox writes every Docker file, picks every port, and generates every password for you, then hands you 35+ self-hosted apps as one-click tiles. Free and open — the only command you type is the one that installs it.