Self-Hosting for Complete Beginners (No Code, No Linux)
"Self-hosting" is a word that sounds like it belongs to people who code for a living. If you've seen it mentioned on Reddit or in a YouTube comment and assumed it requires Linux skills you don't have, that was a fair assumption — five years ago. It isn't anymore. In 2026 the technical bar has dropped sharply, and for most people self-hosting now means pasting one command into a window once, and then using a normal web dashboard for everything else. This guide is the beginner's mental model: what self-hosting actually is, why people do it, three concrete subscriptions you could replace today, and the honest list of what it does and doesn't get you.
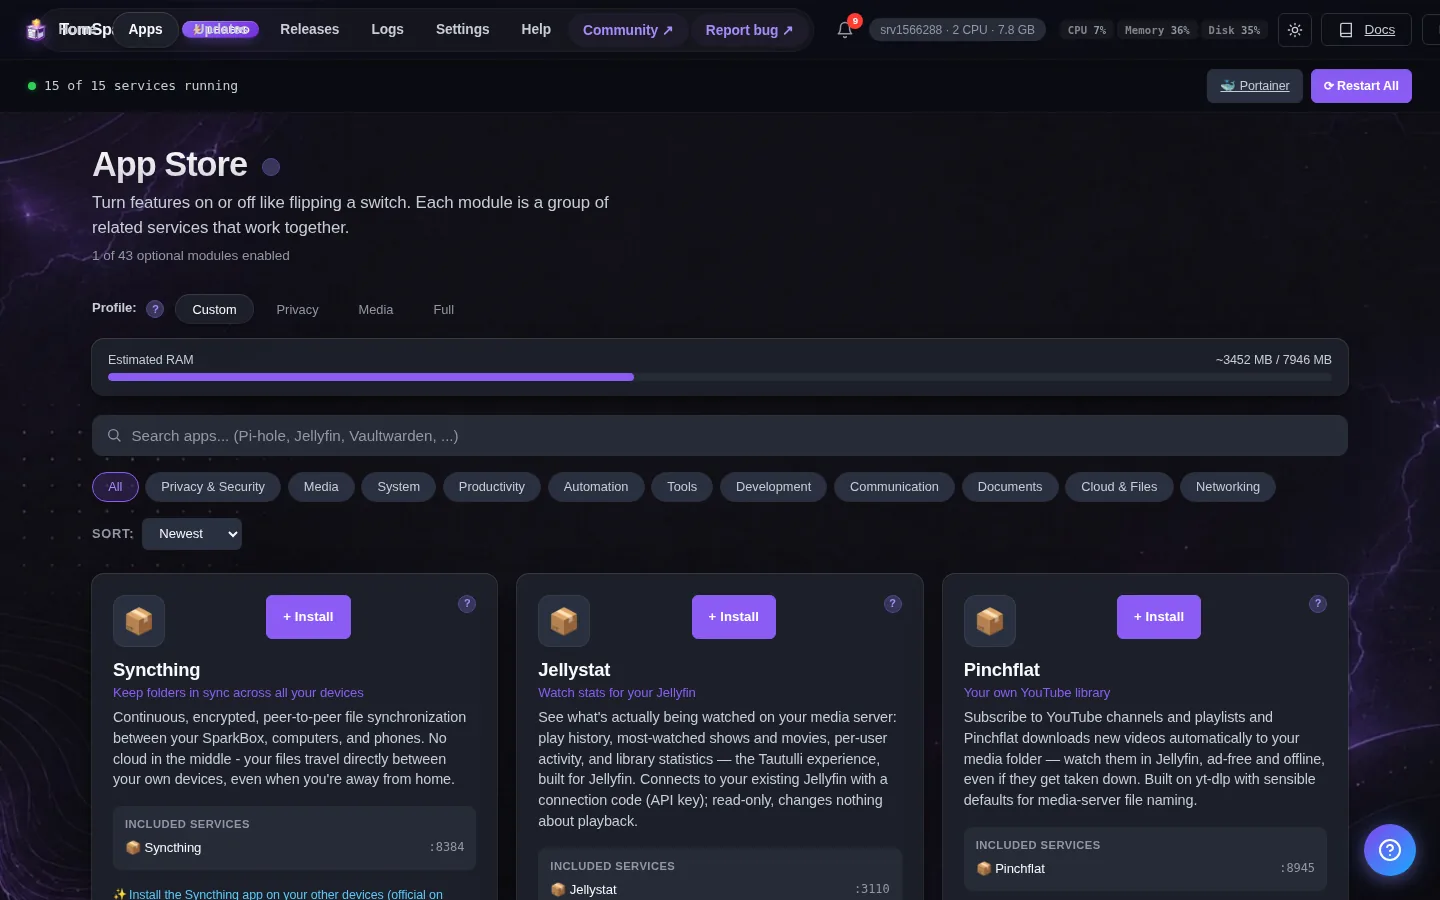
Tested on: a UGREEN DXP4800 Plus running SparkBox v1.6.154 and a $7/month Hostinger VPS running the same version. Every claim and command in this guide has been walked through end-to-end by people who don't write code for a living.
1. So what actually IS self-hosting?
Almost every app you use day-to-day lives on someone else's computer in a datacenter you've never seen. Gmail runs on Google's servers. Your password manager runs on 1Password's servers. Your photos sit on Apple's or Google's servers. Your Netflix queue is on Netflix's servers. You pay a monthly fee, and they handle everything else.
Self-hosting just means running those same kinds of apps on a computer that you control. The computer can be a laptop you already own, a $30 Raspberry Pi, a $200 home NAS, or a $7/month rented server in a datacenter. The apps themselves are usually free, open-source equivalents of the mainstream ones you already know — Nextcloud instead of Google Drive, Immich instead of Google Photos, Vaultwarden instead of 1Password, Jellyfin instead of Netflix, and so on.
You're trading "let someone else run it" for "I run it." In exchange, you stop paying recurring subscriptions for that category of app, your files stop being scanned and used to target ads or train AI, and no company decision about pricing, features, or your account can ever take the service away from you. The price is that you're now the one responsible for keeping it running, and you have to think about backups. That's the whole shape of the deal.
2. Why people do it (the three real reasons)
There are basically three reasons people start self-hosting, and being honest about which one applies to you helps you decide whether it's worth it.
- Privacy and data ownership. What you store on Google or Apple gets scanned to varying degrees — for security, for ad targeting, increasingly to train AI models. On a self-hosted setup, the files live on hardware you physically control and no one else has access. For some people this is a "nice to have." For people who deal with sensitive personal information, journalism, or work for clients who care about confidentiality, it's the whole point.
- Cost over a few years. A typical adult pays for several "cloud" subscriptions: cloud storage ($3–10/month), photo backup ($3–10/month), a password manager ($3–5/month), maybe a Notion or Evernote plan ($5–15/month), and a media subscription or two on top. Add it up and you're at $30–80/month, $400–1,000/year, on apps that all run perfectly well on a $200 NAS that lasts 5+ years. Self-hosting is one of the few categories where buying once genuinely beats renting forever.
- Control and longevity. If Google retires an app (they've killed many), changes the free tier (regularly), or locks your account (it happens, and customer support is whoever happens to answer email), you lose access to your stuff. If Nextcloud is running on a box in your closet, none of that can happen. The app is open-source — even if the original maintainer disappeared tomorrow, the code is forever forkable.
Be honest with yourself: if none of those three reasons land for you, self-hosting probably isn't worth the time. The people happiest with their Google or Apple services aren't doing anything wrong by staying. Self-hosting is for people who DO care about those things, not as a moral hierarchy.
3. The mental model in one paragraph
A self-hosted setup is just four things stacked on top of each other: (1) a small computer somewhere, (2) a free piece of software called Docker on it that knows how to run apps in safe little boxes, (3) the apps you want, installed into Docker, and (4) a web URL on your network that opens each app in any browser. That's it. The reputation self-hosting has for being intimidating comes from people manually doing each of those four steps themselves — picking an operating system, installing Docker, finding the right Docker image for each app, writing config files, managing networking, and so on. Each one is a wall a beginner can hit, and stacked together most people give up. The whole bet of modern self-hosting platforms is that all four steps collapse into one command and one dashboard.
4. Three things you can replace today
The fastest way to feel what self-hosting actually is is to replace one subscription you're already paying for. These three map cleanly to mainstream apps you almost certainly already use:
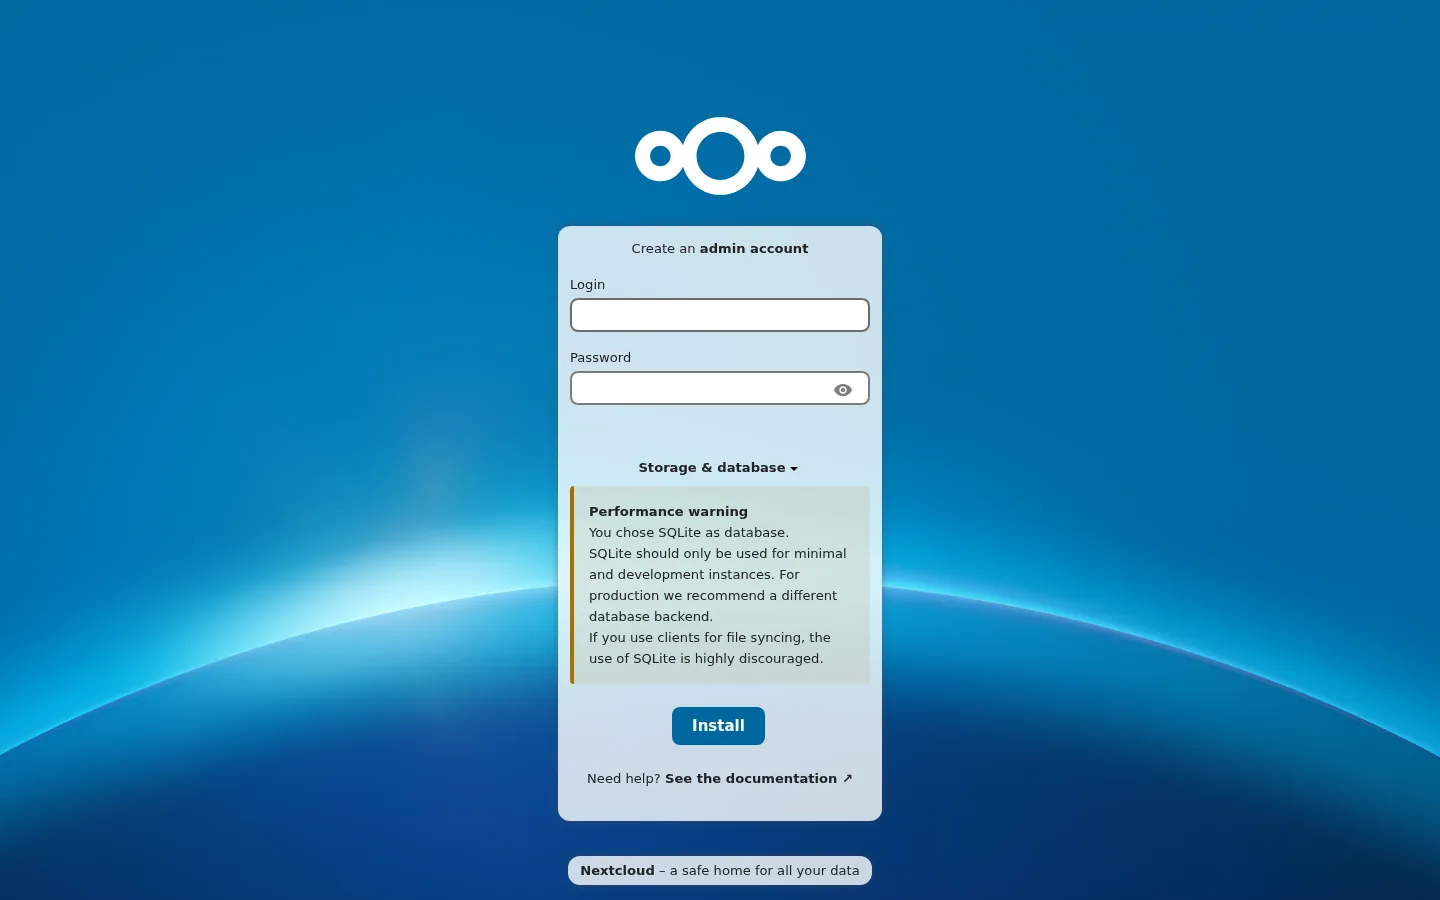
Nextcloud (replaces Google Drive / Dropbox / iCloud). Cloud storage with sync clients for Mac, Windows, iOS, and Android. Drop a file into the Nextcloud folder on one device and it shows up on every other. The interface looks and behaves like Drive. The difference is the files live on your box, not Google's. No 15 GB cap, no upgrade prompts, no scanning. Most people use it for documents, scans, shared family folders, and as the place laptop backups land.
Immich (replaces Google Photos / Apple Photos). Automatic phone-photo backup, face recognition, search by content ("dog at beach"), shared albums, family-library mode — the whole Photos feature set. The phone app uploads new photos to your server in the background. From then on you browse your library through Immich's web UI or its mobile app. The full library never leaves your network unless you specifically share something out.
Vaultwarden (replaces 1Password / LastPass). A password manager that's compatible with all the official Bitwarden clients — browser extensions for every browser, mobile apps for iOS and Android, desktop apps for Mac and Windows. Same interface, same auto-fill, same family-sharing. The encrypted vault lives on your box. If you're already on a paid password manager you can usually import directly from a CSV export.
In SparkBox, each of those three is a single tile in the app catalog. You click "Install," wait about 30 seconds, click "Launch," and the dashboard pops up the URL and the auto-generated admin password for you. No Docker command, no config file, no port to look up. After that you set up the official client on your phone or laptop, point it at your box, and the experience from then on is identical to the commercial app.
5. How you actually start (the one command)
The fastest path from reading this article to having a real self-hosted server is to paste one command into the terminal on any Linux computer, NAS, or VPS:
curl https://get.tomsparkbox.com/install.sh | sudo bashThat command installs Docker if it isn't already there, downloads about 35 app configs, and starts the SparkBox dashboard on a URL it prints when it finishes — usually http://<your-server-IP>:8443. The whole install takes about 5–10 minutes. From that point on, every interaction happens in the dashboard in your browser, not in a terminal.
For a deeper, click-by-click walkthrough of that flow on a real UGREEN NAS — including how to find the terminal window, what each step is doing, and the honest answer to "isn't piping curl into bash dangerous?" — we have a dedicated companion article: How to Run Your Own Home Server Without Coding. That's the right next read if you've never opened a terminal before in your life.
If you don't have a computer to install on yet, the no-friction options are: (a) a $7/month Hostinger VPS (web terminal, paste the command, you have a server in 15 minutes), (b) a small UGREEN DXP-series NAS (one-time hardware cost, lives at home), or (c) an old laptop you already own with 8 GB+ of RAM and the lid open.
6. The honest list: what self-hosting is NOT
If a guide tries to sell you on self-hosting without naming the tradeoffs, it's not being straight with you. Here are the real ones, plainly:
- It's not free. You pay either with hardware ($150–400 for an entry NAS, plus the drives), or with rent ($5–10/month for a small VPS), or with your own electricity bill (an old laptop running 24/7 is roughly $5–15/month depending on your rates). For most people who'd be paying for 4–5 cloud subscriptions anyway, the math still wins over a 2–3 year horizon — but it's not zero up front.
- It's not zero-effort. Apps need to be updated. Occasionally something breaks. Modern platforms hide most of this (SparkBox has a single "Update" button for everything, and self-healing for the most common failure modes), but the marketing claim "set it once and never think about it" is overselling. You'll touch the dashboard every few weeks at minimum.
- It is NOT automatically more secure than Google. Google has whole teams of security engineers protecting your data. Your home setup has you. A reasonably configured self-hosted box, behind a normal home router and not exposed to the open internet, is generally safer than Google for one specific reason: nobody knows it exists, so nobody's targeting it. That's safety by obscurity, not by fortification. If you're going to publish your box to the internet (with a domain, a reverse proxy, etc.), assume you've now signed up for the responsibility of keeping it patched. Most beginners shouldn't expose their box publicly at all — keep it on your home network and use the built-in VPN / Tailscale options for remote access when you're away from home.
- It does not replace everything. Some categories are technically hostable but practically miserable for an individual — your own Gmail server, your own Spotify, your own YouTube. Self-hosting is at its strongest for storage, photo backup, password management, media playback, ad blocking, and home automation. It's at its weakest for things that depend on massive content libraries or 99.99% uptime someone else's whole business depends on.
Naming the tradeoffs up front is how you avoid the "I tried this for a weekend and gave up" trap that bounces a lot of would-be self-hosters. Going in with calibrated expectations is the single biggest predictor of sticking with it.
7. Where to go from here
If you read this far you've already done the hard part — building the mental model. The remaining steps are mechanical:
- Pick one of: existing NAS, Hostinger VPS, or old laptop with 8 GB+ RAM.
- Open its terminal window (UGREEN: App Center → Terminal; Hostinger: web panel → Terminal; laptop: just open Terminal).
- Paste the one command from section 5.
- Wait ~10 minutes, then open the URL it printed in your browser.
- From the dashboard, install one app that solves a real problem for you — Vaultwarden if you're tired of paying for a password manager, Immich if you're filling up Google Photos, Nextcloud if you want your files off Dropbox.
- Set up that one app's client on your phone, move some real data into it, and let yourself feel what running your own version is like. That's the moment self-hosting clicks.
If you get stuck at any step, post a screenshot in d/sparkbox — real humans answer, and we track where beginners get stuck so we can either fix the install or add a guide.
Self-hosting is just one command and a dashboard now.
SparkBox bundles 35+ self-hosted apps — Nextcloud, Immich, Vaultwarden, Jellyfin, Pi-hole, and more — into one install + one dashboard. Free, open, no subscription. The only command you'll type is the one that installs it.