The Easiest Self-Hosting Dashboard for People Who Aren't Developers
If you've decided to start hosting your own apps at home — your own photo library, your own movies, your own password manager — you don't actually want to learn Linux. You want a single screen that shows everything you've installed, lets you add new things with one click, and tells you when something has gone wrong. That single screen is what people mean when they say "self-hosting dashboard." This guide explains what one is, what to look for if you're new to all this, and walks you through the one that's built specifically for people who don't write code.
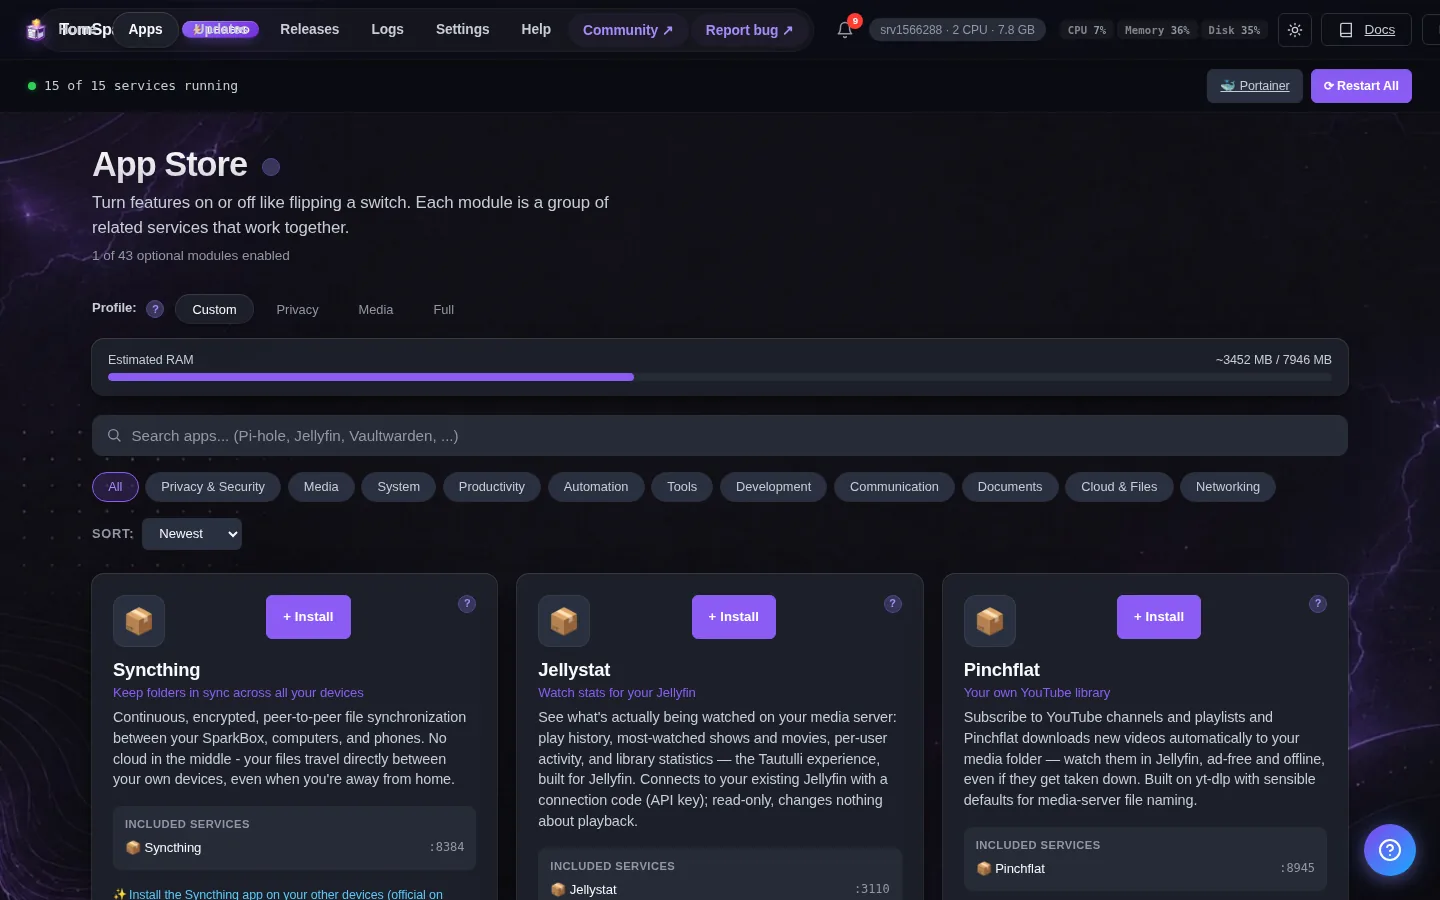
Tested on: a UGREEN DXP4800 Plus running SparkBox v1.6.154 and a $7/month Hostinger KVM2 VPS running the same. Both produced the same dashboard, same one-click app installs, no terminal needed after the first paste.
1. What a self-hosting dashboard actually does
A self-hosting dashboard is a single web page — running on your own NAS, server, or old laptop — that lists every app you can install, every app you've already installed, and the buttons to start, stop, configure, or open each one. That's it. It's the front desk for everything else.
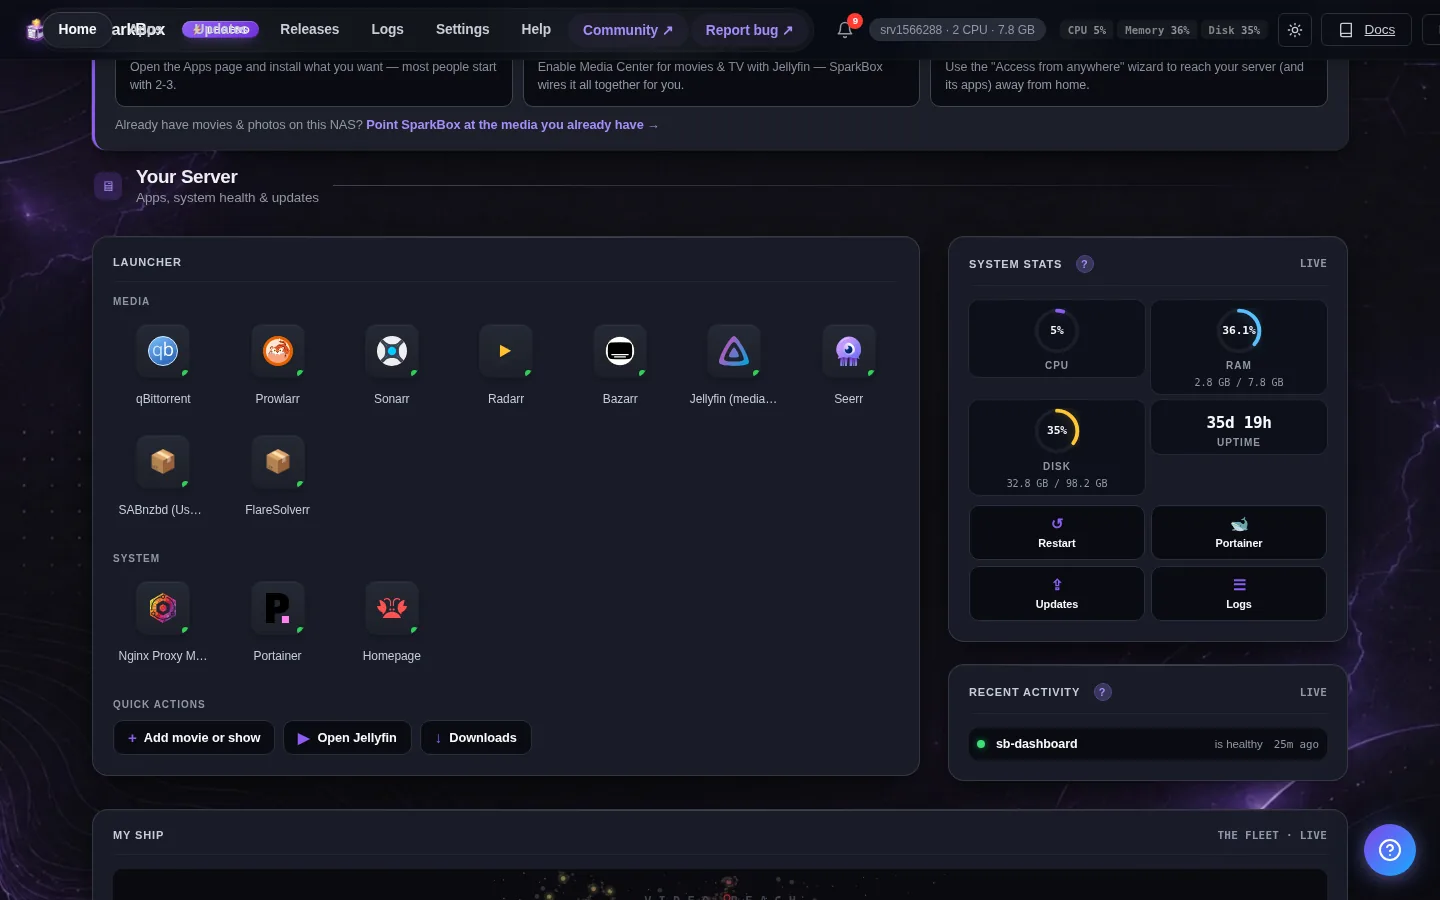
Without a dashboard, "self-hosting" means logging into your machine over SSH, finding the right Docker image for each app, hand-editing a config file called docker-compose.yml, generating passwords yourself, figuring out which port each app uses, and writing it all down so you don't lose it. Each one of those steps is a small wall a beginner can hit. Stack them together and most people walk away.
A dashboard collapses all of that into a grid of tiles. Each tile is an app — Jellyfin for movies, Immich for photos, Vaultwarden for passwords, Pi-hole for ad blocking, and so on. You click a tile, the dashboard installs the app for you in the background, generates a password, picks a port, writes the config file you would have written by hand, and hands you back a "Launch" button. The technical plumbing still exists, but you never see it.
This is the part that confuses people who've only read older self-hosting tutorials: you can do this in 2026 without learning anything about Docker, Linux file permissions, or networking. The dashboard does that work. You just click.
2. What to look for if you've never done this before
There are a handful of self-hosting dashboards out there. Most of them were built by developers, for developers — they assume you're comfortable in a terminal and they expose a lot of options. That's fine for some people. It's exhausting for everyone else. Here's the short list of features that actually matter if you're not a developer:
- One-command install. You should be able to set the whole thing up by pasting a single line into a window once. If a dashboard asks you to install Docker first, then "git clone" something, then edit a YAML file, then run a script — that's not built for beginners, regardless of how the website describes it.
- App catalog with one-click installs. Adding an app should be: click the tile, click Install, wait, click Launch. Not: pick a Docker image, choose a tag, set environment variables, pick a port, mount a volume.
- Passwords shown to you, not hidden in files. The dashboard generates a strong random password for each app. It should also show you that password in a popup when you launch the app, so you don't have to SSH in and
cata file. Sounds obvious; many dashboards don't do this. - One "Update everything" button. Self-hosted apps update constantly. A real beginner-friendly dashboard updates the whole stack — every installed app, plus the dashboard itself — with one button. If you have to update apps one by one, or worse, by editing config files, the system is fighting you.
- Honest error messages when something breaks. When an app fails to start, the dashboard should tell you which one and why, in plain English. Not "exit code 137." Not silence.
Those five features sound basic. They are. They're also the difference between a dashboard you'll still be using in a year and one you'll abandon in a weekend.
3. One screen, every app, every password
Here's the dashboard built around exactly those five features. SparkBox is the project we make — it's free, open source, and the only self-hosting platform we know of where the design brief was "your parent should be able to install Immich." When you finish the one-command install (see the no-coding walkthrough for the full paste), you open a URL on port 8443, and this is what you see:
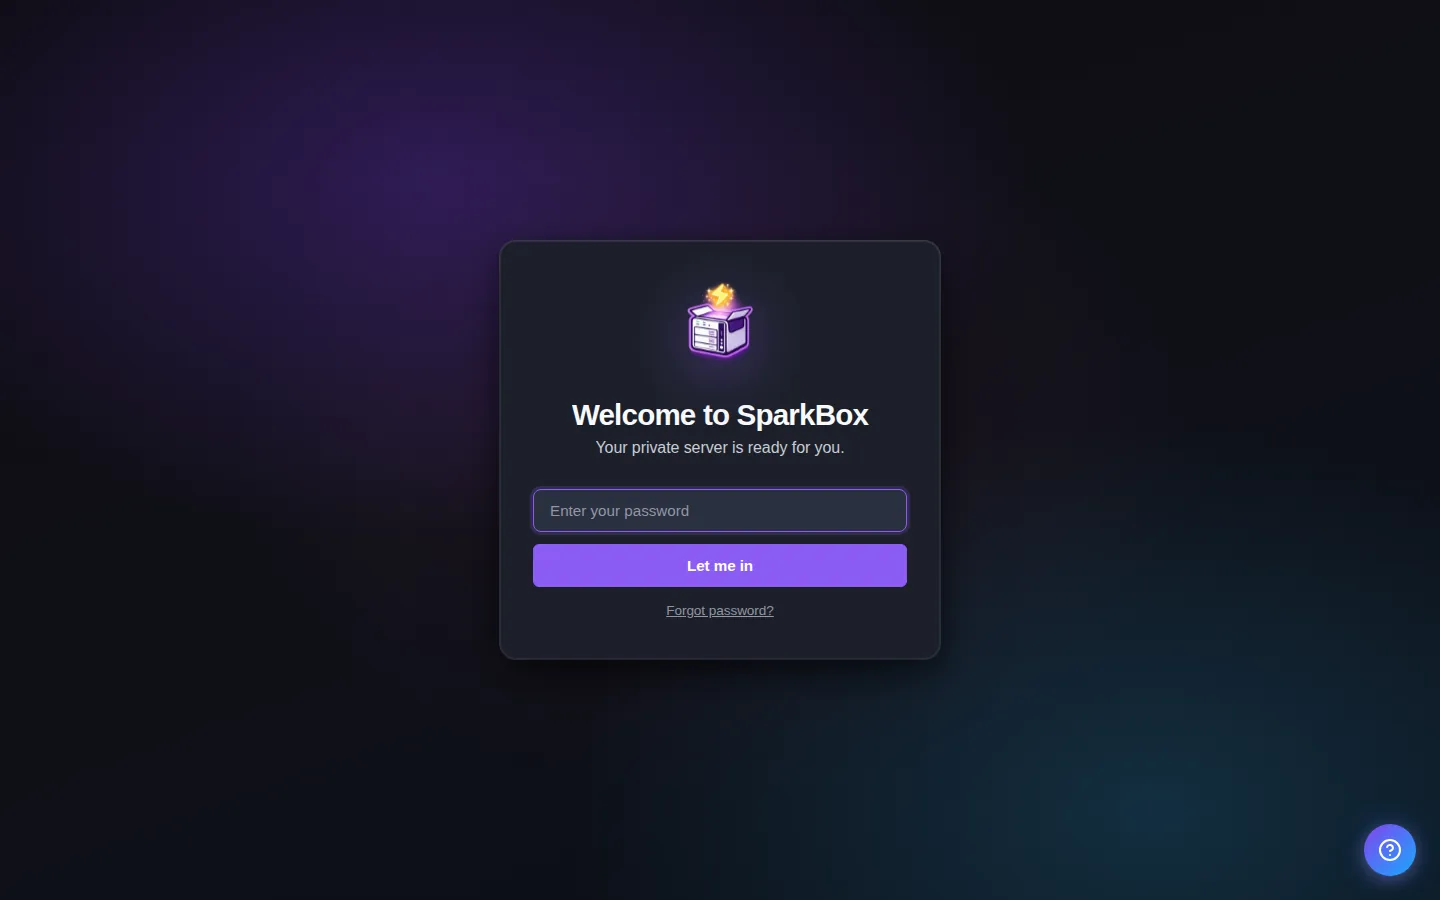
Apps are grouped into categories so you can find them — media (Jellyfin, Plex, Audiobookshelf, Navidrome), privacy (Vaultwarden, Pi-hole, AdGuard, SearXNG), photos (Immich, PhotoPrism), documents (Paperless, Stirling PDF), productivity (Nextcloud, Mealie, Actual Budget), and so on. Every tile in the catalog corresponds to a real, mature, well-supported open-source app. Nothing here is a side project that hasn't been updated since 2022.
When you install an app, the tile flips from "Install" to "Launch." Click Launch and a popup shows you the URL to open and the password the dashboard generated for you. Copy, click, paste, you're in. No editing files, no hunting through documentation to find where the default admin password is stored.
4. Installing an app in five clicks
Here's the exact flow for installing your first app — let's use Vaultwarden, the self-hosted Bitwarden-compatible password manager, because it's a good first one to install: you actually use it every day, and it replaces something most people pay $40/year for.
- Click 1. Open the dashboard at
http://<your-NAS-IP>:8443. - Click 2. Click the Vaultwarden tile in the Privacy section.
- Click 3. Click Install. Wait about 30 seconds while it pulls the image and starts.
- Click 4. Click Launch. A popup appears with the Vaultwarden URL and the auto-generated admin password.
- Click 5. Click the URL. Vaultwarden opens. Create your account. Done.
That's the entire flow. No docker run command. No port to remember (the dashboard picks one and exposes it through the Launch button). No password to invent (the dashboard generated a strong one and showed it to you). No config file to edit — though if you want to change settings later, every app has a Settings tab in the dashboard that exposes the relevant options as form fields, not as raw YAML.
The exact same five-click flow installs Jellyfin (your own Netflix), Immich (your own Google Photos), Pi-hole (ad blocking for every device on your network), Nextcloud (your own Google Drive), and the other ~30 apps in the catalog. The catalog covers 35 user-installable apps as of v1.6.154 across media, privacy, photos, documents, productivity, automation, monitoring, and network categories.
5. The "update everything" button
Self-hosted apps update constantly. Immich ships an update every couple of weeks. Vaultwarden, Jellyfin, the *arr stack — all on regular release cycles. If you had to update each one by hand you'd quit after a month.
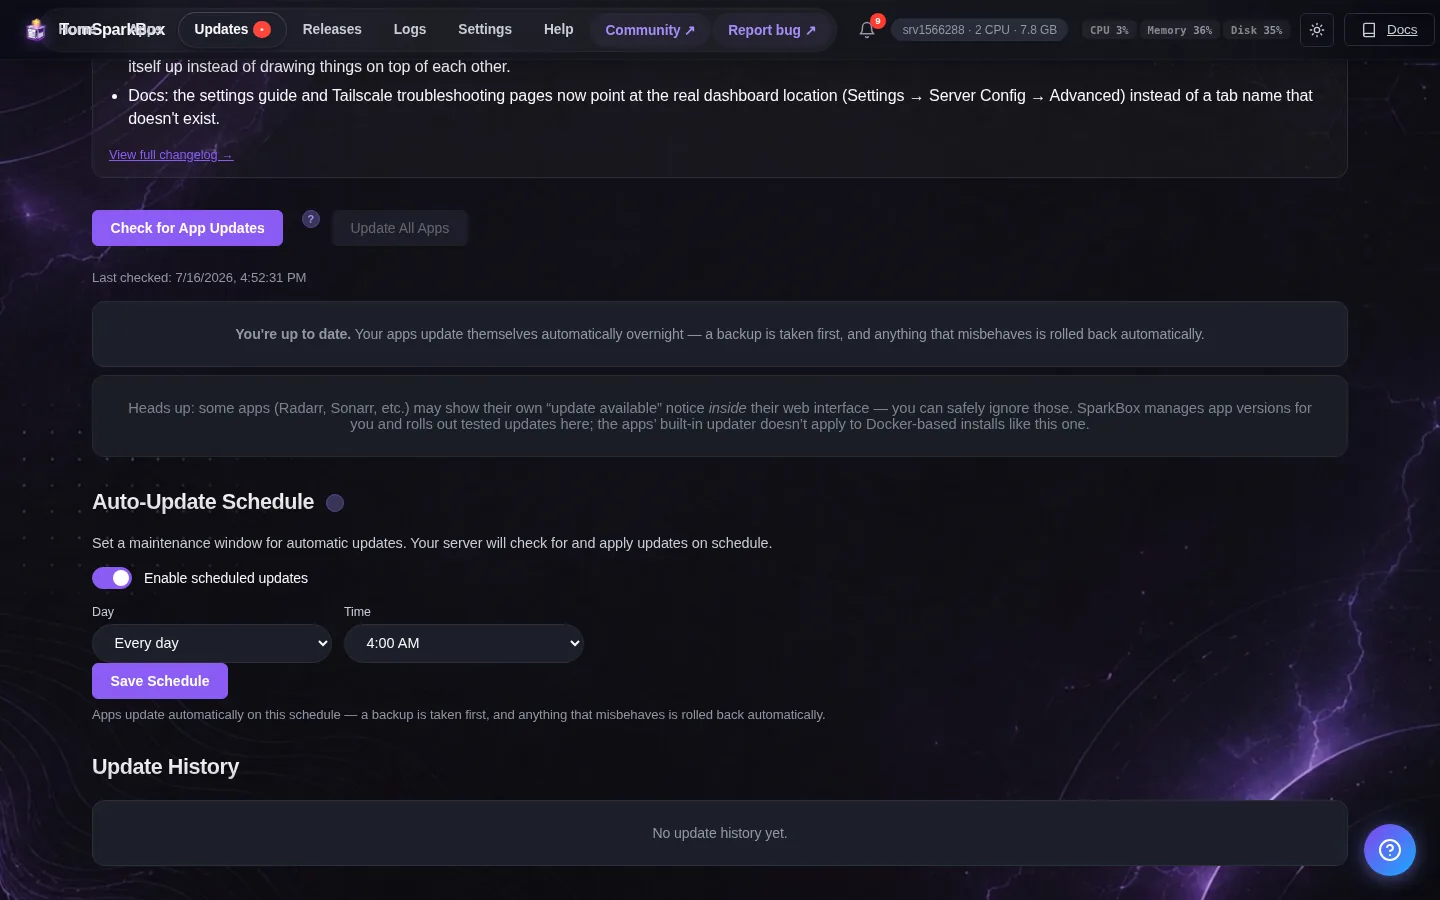
The dashboard has a single button labeled "Update SparkBox" in the Settings area. Clicking it does all of the following in one go: pulls the latest version of the SparkBox platform itself, pulls the latest image for every installed app, restarts each one in the right order, and runs a health check afterward to confirm everything came back up. If anything fails, the dashboard rolls back to the previous working state automatically — you don't end up with a half-updated, half-broken system.
The point is you can press that button without thinking about it, on any cadence that works for you. Once a week, once a month, whenever you remember. The dashboard handles the rest.
6. When something looks broken
Things occasionally break. A container fails to start. An app you just installed shows a red dot instead of a green one. Pretending otherwise would be dishonest. What matters is what the dashboard tells you when that happens.
When an app's tile shows a red status, you can click it to see two things: a plain-English explanation of what's wrong ("Plex couldn't find a graphics chip to use for video processing"), and a one-click "Repair" button when the dashboard knows the fix. About 80% of the most common failures have a one-click repair behind them — VPN credentials missing, a download folder that doesn't exist yet, a password file that got corrupted on a hard reboot. The repair is usually fast and almost always works.
For the other 20% — anything weirder than the common cases — there's a built-in chat assistant in the dashboard called Tom AI. It's not a generic chatbot; it reads your specific dashboard state and recent error logs and gives you a direct paste-this-one-line answer. If even that doesn't get you unstuck, you can click "Share to demox" and the question (sanitized — no passwords, no personal info) gets posted in the community at d/sparkbox where a real human (often Tom) will answer.
The reason any of this works for beginners is that the path from "I see a red dot" to "it's working again" is short. You're not expected to read container logs. You're not expected to know what a Docker network is. You click the red dot, click Repair, and most of the time you're done.
7. The honest list of tradeoffs
Every product has tradeoffs. Pretending otherwise is how you end up writing AI-generated reviews that no one trusts. Here's the honest list for using a dashboard like this versus assembling everything yourself:
- You're trusting our app choices. The catalog has 35 apps. If you want something specific that isn't in the catalog (say, a niche home automation tool), you have two options: ask in the community and we'll often add it, or set up that one app yourself alongside SparkBox. Most beginners never hit this.
- The dashboard makes some defaults for you. Storage paths, port numbers, authentication settings. The defaults are sane and the dashboard exposes them as editable form fields, but the philosophy is "good defaults that 95% of people don't need to touch." If you want to deeply customize everything, you can — but you'll be opening Settings tabs more often than someone running it as-is.
- One platform updates all your apps together. This is mostly a feature: you don't end up with a half-broken system because you forgot to update one component. The tradeoff is that you can't pin one app to an older version while updating others. For 95% of people that's a non-issue; for someone running a complex production setup, it can be.
- It's free, but the project funds itself partly through affiliate links. If you sign up for a VPN through our link or buy a NAS through our recommendation, we get a small cut at no extra cost to you. We're transparent about which links are affiliate. The dashboard itself is free, open source, and doesn't have any locked premium features.
What's not on this list: you don't give up your data, your privacy, or your control. Everything runs on your hardware. The dashboard doesn't phone home with your usage data unless you opt into telemetry. Your apps, your data, your network — same as if you'd built it all yourself, just without spending a weekend doing it.
8. Where to actually start today
The mechanical path from "I just read this article" to "I have my own apps running" is short:
- Pick where it runs. A UGREEN NAS at home is the most common pick. If you don't have one yet and want to try this today without buying hardware, a Hostinger KVM2 VPS at about $7/month is the same setup, running in someone else's datacenter. (That's our affiliate link — it supports the project at no cost to you.)
- Open its built-in terminal window. UGREEN has one inside the NAS admin UI. Hostinger has one in the VPS panel. You're going to use it once.
- Paste the one install command. The full walkthrough including the exact command is in our no-coding guide. It takes 5–10 minutes to finish.
- Open the dashboard URL it prints when it's done. That's the screen this whole article has been about.
- Install one app that matters to you. Vaultwarden for passwords, Pi-hole for ad blocking, Immich for phone photos — pick whichever one solves a problem you already have. Then read the per-app guide for that one app to wire it into your life.
The reason to start with one app instead of installing everything at once is that it gets you a real win — your passwords now live on your hardware, or your phone photos now back up to home — within an hour. After that you'll know whether the dashboard is what you wanted, and adding more apps is one tile click each.
If you get stuck at any step, post in d/sparkbox with a screenshot. Real humans answer, and we track where beginners get stuck so we can either fix the dashboard or improve the guide.
Next steps
Still weighing your options? We wrote an honest, no-winner roundup of the best self-hosted dashboards for beginners — Homarr, Dashy, Heimdall, Homepage, Glance and CasaOS — so you can see exactly where a turnkey approach fits and where it doesn't.
One screen, every app, no Docker config.
SparkBox is the free, open-source self-hosting dashboard built for people who don't want to learn Linux. 35+ apps, one-click installs, one update button, and a real community when something goes wrong.