How to Turn an Old Laptop Into Your Own Private Server
There's a good chance you already own the hardware for your first home server — it's the laptop in a drawer that got replaced two upgrades ago. You don't need to buy a NAS or rent anything in the cloud to start running your own ad blocker, password manager, or photo library. An old laptop will happily do the job, and this guide walks the whole thing in plain English: what your particular machine can realistically run, the one gotcha that's unique to laptops, and the exact steps from "dusty laptop" to "dashboard open in my browser."
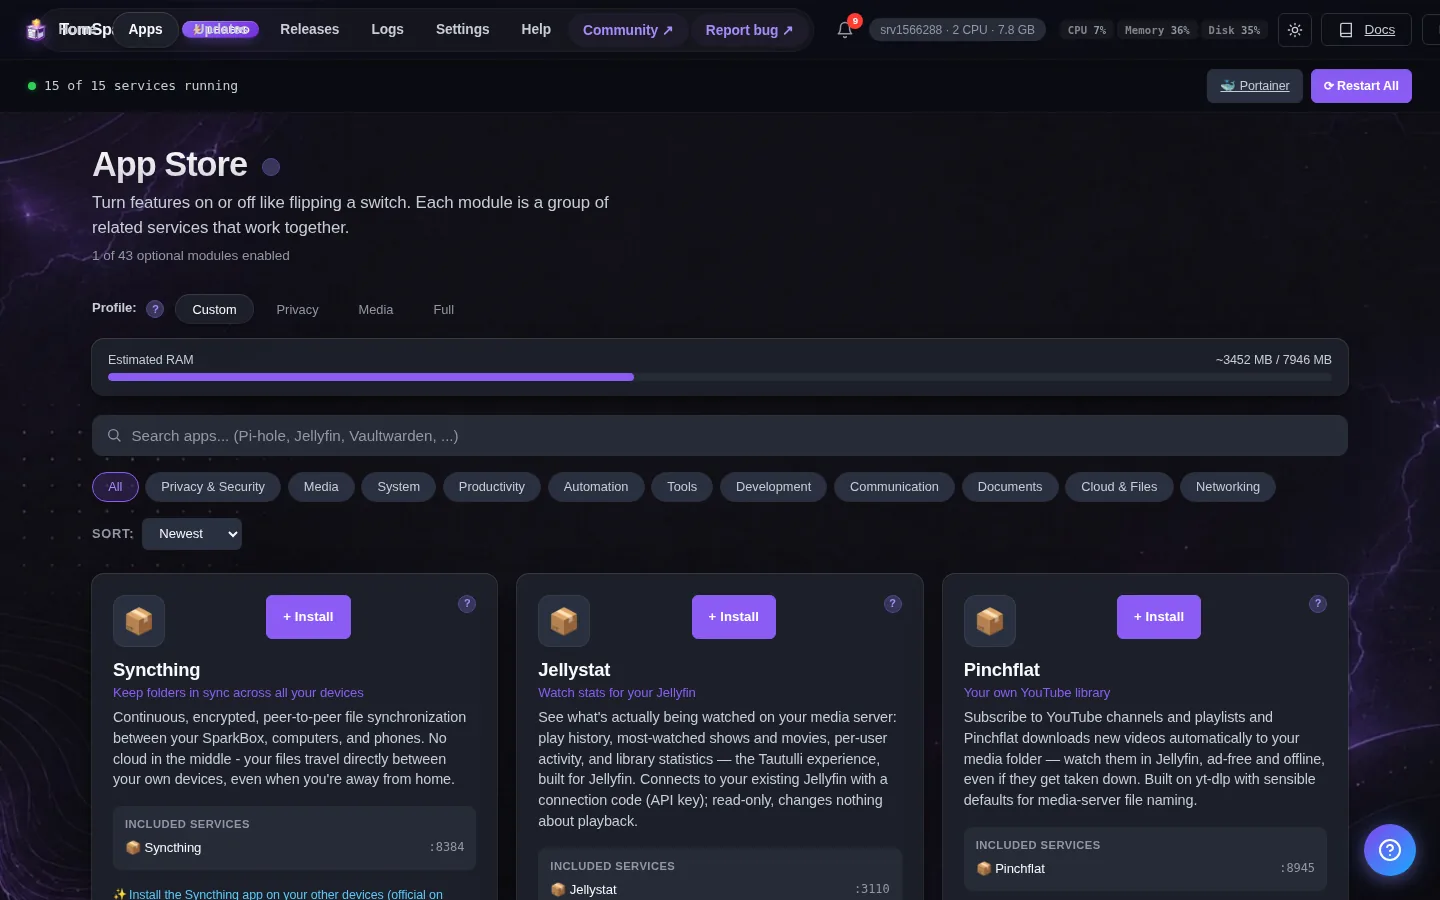
Tested on: a UGREEN DXP4800 Plus and a $7/month Hostinger VPS, both running SparkBox v1.6.196. The install steps are identical on a laptop running Ubuntu — that's the whole point of this guide. No prior Linux, terminal, or Docker experience assumed.
- Why an old laptop makes a surprisingly good first server
- What your laptop can actually run (the honest version)
- Before you start: what this does to the laptop
- Step 1 — Put Linux on it
- Step 2 — Stop it sleeping when you close the lid
- Step 3 — Install SparkBox with one command
- Step 4 — Open the dashboard and add your first app
- The honest limits, and where to go next
1. Why an old laptop makes a surprisingly good first server
A server is just a computer that stays on and runs apps for the other devices in your house. That's a description an eight-year-old laptop fits perfectly. And it comes with three things a bare mini-PC or a Raspberry Pi doesn't:
- A built-in screen and keyboard — handy for the one-time setup, so you're not hunting for a spare monitor.
- A battery — which acts like a tiny backup power supply. If the power flickers, your server doesn't drop instantly the way a desktop would.
- It's free. You already paid for it. The cheapest way to find out whether self-hosting is for you is to use hardware that owes you nothing.
The trade-off is that a laptop isn't built to run flat-out for months, and an old one has an old battery — we'll deal with both honestly below. But as a first server to learn on, it's hard to beat the price.
2. What your laptop can actually run (the honest version)
The single number that decides what your laptop can comfortably do is its RAM (its memory). You can usually find this in seconds: on Windows, right-click the Start button → System; it'll say something like "8.0 GB." Here's the honest mapping, using SparkBox's real measured memory use for each setup:
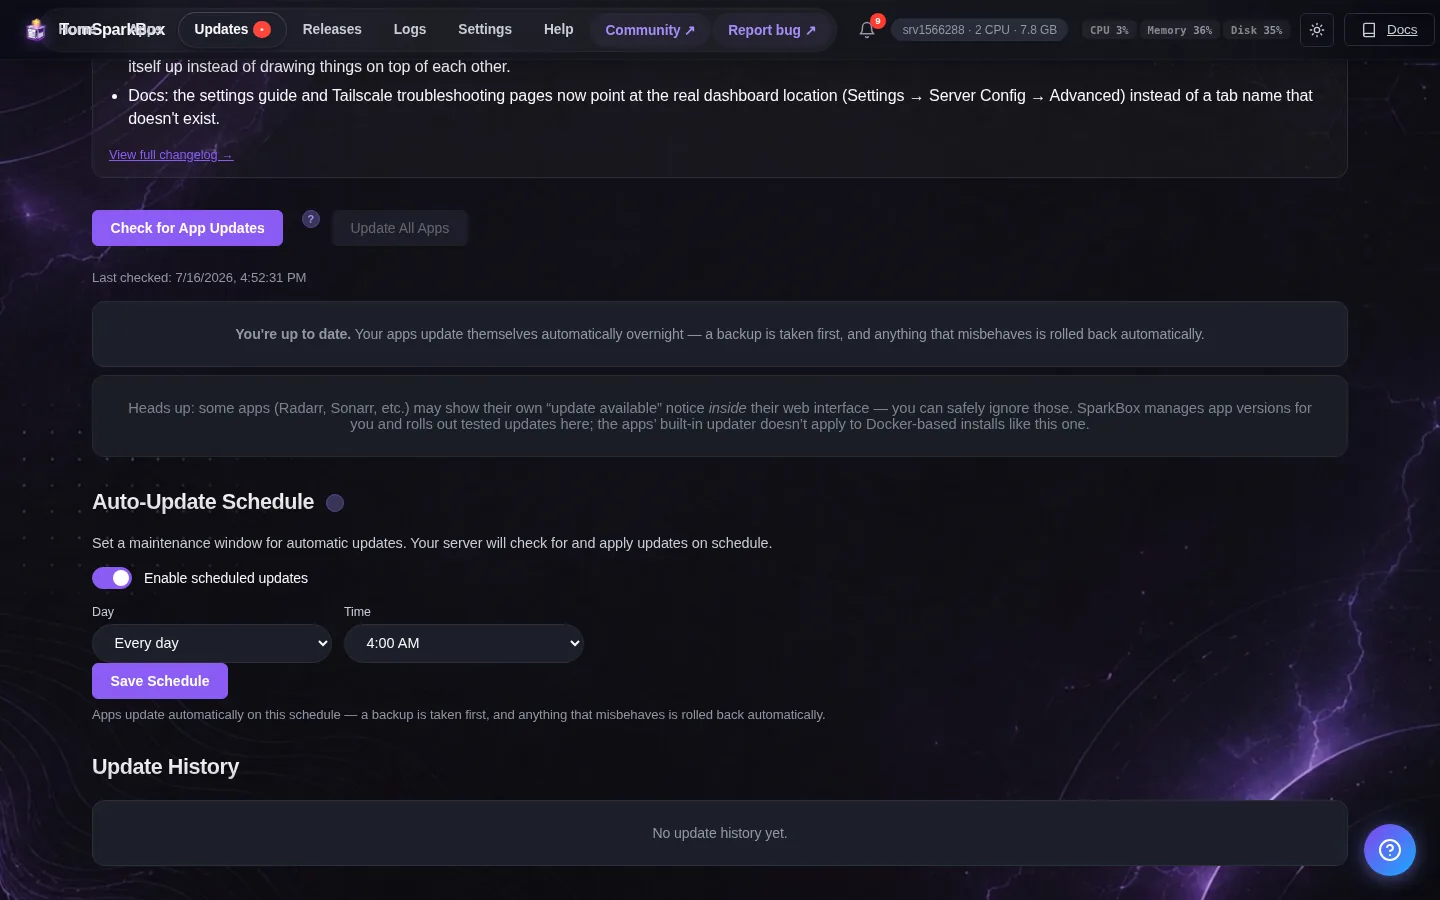
- 2–4 GB of RAM: plenty for the privacy starter set — a network-wide ad blocker (Pi-hole), a password manager (Vaultwarden), and the dashboard itself. That whole group idles at around 750 MB, so a 4 GB laptop has room to spare.
- 8 GB of RAM: now you can add a movie/TV server. The full media set (the download tools plus Jellyfin for streaming) idles around 2.5 GB, which sits comfortably in 8 GB.
- 8 GB and up: you can run close to everything at once — privacy apps, media, a personal cloud drive, document storage. The "everything" setup idles around 5–6 GB, so this is where 8 GB is the sensible floor and more is better.
The official minimum to install at all is 2 GB of RAM, 1 processor core, and 20 GB of free disk space, with 4–8 GB recommended. Translation: almost any laptop made in the last decade clears the bar for the privacy apps. It's the heavy media and photo-AI features that want the 8 GB machines.
3. Before you start: what this does to the laptop
Here's the honest part up front, because it's the thing most "reuse your old laptop" articles skip: the clean way to do this replaces whatever is on the laptop now. A laptop running a fresh, light copy of Linux makes a far better and more reliable server than the same laptop running an aging copy of Windows in the background. So the plan is to wipe it and start fresh.
That means: if there's anything on that laptop you still want — old photos, documents, browser bookmarks — copy it off to a USB stick or another computer first. Once we install Linux, the old contents are gone. For a laptop that's been sitting unused, that's usually a non-issue, but check before you commit.
One more honesty note: this particular path asks a little more of you than the NAS path does, because you'll briefly use the keyboard to type a couple of things. If even that feels like a lot, that's completely fine — read self-hosting without the terminal first; it shows that the day-to-day running is all browser clicks, and that the typing is a one-time doorbell-ring, not a lifestyle.
4. Step 1 — Put Linux on it
SparkBox runs on Ubuntu 22.04 (or newer) or Debian 12. Ubuntu is the friendlier of the two for a first-timer, so that's what we'll use. Installing it is a well-trodden, click-through process:
- On any working computer, go to the official Ubuntu website and download "Ubuntu Desktop." You'll get a single file called an ISO.
- Download a free tool called balenaEtcher (or the official "Startup Disk Creator"). It turns a spare USB stick (8 GB or bigger) into an Ubuntu installer. Plug in the stick, pick the ISO, click Flash, and wait a few minutes.
- Put that USB stick into the old laptop and turn it on while tapping the boot-menu key (often F12, F2, or Esc — the laptop usually flashes it on screen for a second). Choose to boot from the USB stick.
- Ubuntu starts up and offers "Install Ubuntu." Follow the prompts. When it asks about the disk, choose to erase and install — that's the clean wipe we talked about. Pick a username and password you'll remember; you'll need that password for the next steps.
When it finishes and restarts, pull out the USB stick. You now have a laptop running Linux — which is to say, a perfectly good little server waiting for something to do. While you're here, plug it into your router with an Ethernet cable if you can. A server you reach over a steady wired connection beats one on flaky Wi-Fi every time.
5. Step 2 — Stop it sleeping when you close the lid
This is the one step that's unique to laptops, and it's the thing that trips people up: by default, closing the lid puts the laptop to sleep — and a sleeping laptop is a server that's switched off. You'll want it running with the lid shut, tucked next to the router, out of the way.
You only do this once. Open the app called Terminal (click the grid of dots in the corner, type "Terminal," open it), and paste this single line, then press Enter:
echo "HandleLidSwitch=ignore" | sudo tee -a /etc/systemd/logind.confIn plain English, that tells Linux "when the lid closes, do nothing — keep going." It'll ask for the password you set during install (the screen won't show anything as you type it — that's normal). Then reboot the laptop once so the change takes effect. After that, you can close the lid and the laptop keeps running happily. Success looks like this: close the lid, and from your phone or another computer you can still reach the laptop on your network.
6. Step 3 — Install SparkBox with one command
Now the part that's identical to every other SparkBox install, laptop or not. Open Terminal again and paste this one line:
curl -fsSL https://get.tomsparkbox.com/install.sh | sudo bashThat downloads the SparkBox installer and runs it. You can open that same web address in a browser first and read the whole script yourself if you'd like to — nothing about it is hidden. When you run it, it does the heavy lifting for you, in order:
- Installs Docker (the engine the apps run inside — you never touch it directly) if the laptop doesn't already have it.
- Downloads the ready-made settings for around 35 apps.
- Sets up the firewall, opening only the ports that need to be open.
- Starts the dashboard and prints a link to it — something like
http://192.168.0.50:8443, which is your laptop's address on the network followed by:8443.
This takes roughly 5–10 minutes, mostly downloads. When the text stops scrolling and shows you that dashboard link, the server side is done. Copy the link — that's the front door to everything from here on.
7. Step 4 — Open the dashboard and add your first app
Open that link in a browser on any device in your house — your normal laptop, your phone, doesn't matter. The first time, you'll claim the box (set yourself as the owner). Then you'll see a grid of tiles, one per app. Adding your first one is four clicks, and every app works the same way:
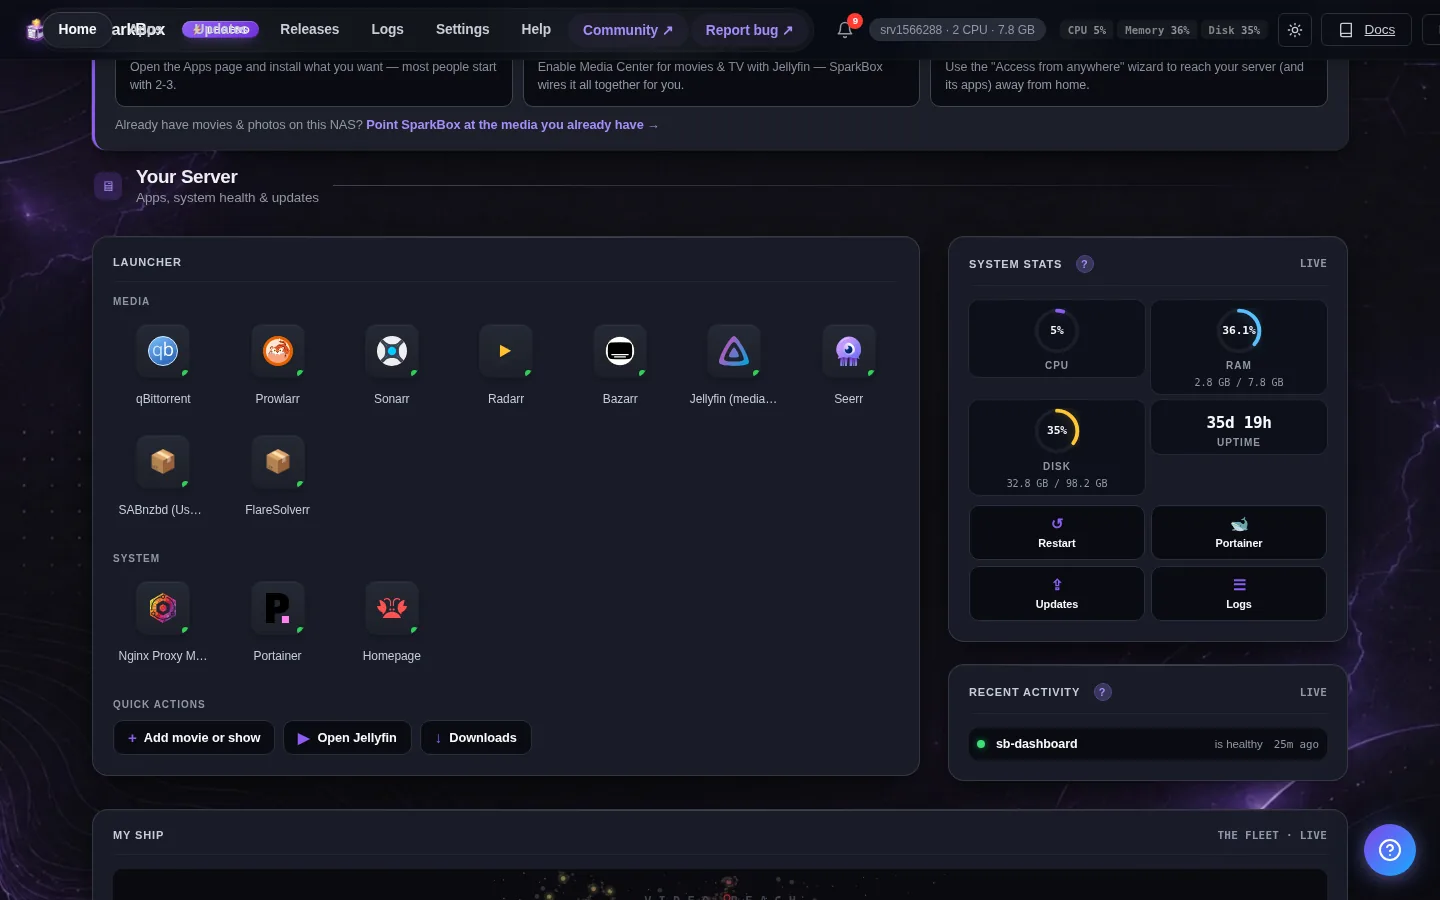
- Find an app's tile — let's say Pi-hole, the network-wide ad blocker — and click Install.
- Wait about 30 seconds while the tile shows it's working.
- Click Launch. A small popup gives you the app's address and a password that was generated for you — you don't have to invent one.
- Click the address, paste the password, and you're in.
No port to choose, no config file to edit, no password to think up. That same four-step rhythm installs a password manager, a private cloud drive to replace Dropbox, document storage, and — if your laptop has the 8 GB for it — a movie server. If you want to walk the dashboard side more slowly with screenshots, the dashboard for beginners guide is the natural next read, and do you need to learn Docker? answers the question lurking in the back of your mind (short version: no).
8. The honest limits, and where to go next
An old laptop is a great place to start, and it's only fair to tell you where it runs out of road so nothing surprises you:
- The full media stack wants real memory. A 4 GB laptop is great for the privacy apps but will struggle to also stream and convert video. If a movie server is your main goal, aim for an 8 GB machine.
- Streaming to lots of devices at once can be too much for very old graphics. Older laptops can usually play a video straight through fine, but converting it on the fly for several screens at once is where a decade-old chip taps out. One or two viewers, original-quality files: usually fine.
- Mind the battery. A laptop battery that's swollen or completely dead is worth removing (many older laptops run fine on the charger alone). A healthy battery is a bonus backup; a bad one is a thing to deal with.
- Heat and dust. A laptop that's been in a drawer for years often has dusty fans. If it runs hot, a quick clean-out keeps it from throttling or shutting down.
None of that takes away from the core point: the cheapest, lowest-risk way to find out whether running your own private apps is for you is the laptop you already own. If you outgrow it, everything you set up moves over to a NAS or a cheap cloud server with the same dashboard and the same clicks — nothing you learn here is wasted.
Your old laptop is one command away from being a server.
SparkBox installs a browser dashboard that runs 35+ private apps as one-click tiles — it writes every config file, picks every port, and generates every password for you. Free and open. It runs the same on a reused laptop, a NAS, or a cheap cloud box.