Cord-Cutting Without Coding (How to Get Your Own Netflix-Like Setup)
Cancelling cable is easy. The scary part is what comes next: people tell you to build your own movie library, and suddenly the instructions are full of terminals, Docker, and config files. You wanted to watch TV, not learn Linux. This guide is the calm version — what a "your own Netflix" setup actually is, what it gets you, the one honest catch nobody mentions up front, and how to get there without typing a single command. Tested on: SparkBox 1.6.314, running on a UGREEN DXP4800 Plus NAS and a $7/month Hostinger VPS.
- What "cord-cutting without coding" really means
- The Netflix-like part: a player called Jellyfin
- How you actually add a movie: you just ask for it
- The robots working behind the scenes
- The honest catch: you still need a VPN
- Setting it up without a terminal
- Watching on your TV, phone, and tablet
- What this setup does NOT do
- Next steps
1. What "cord-cutting without coding" really means
When people online talk about replacing Netflix, they usually mean running a small stack of apps on a computer that's always on — a NAS (a little always-on storage box, like a UGREEN), an old laptop, or a cheap rented server. Those apps fetch movies and shows, organize them with the right artwork and descriptions, and stream them to your TV in an app that looks and feels like Netflix.
The reason it has a reputation for being hard is that the popular guides set up each app by hand. There are usually six or seven of them, and they all have to be told how to talk to each other. Do it manually and yes — you'll be in a terminal for an evening.
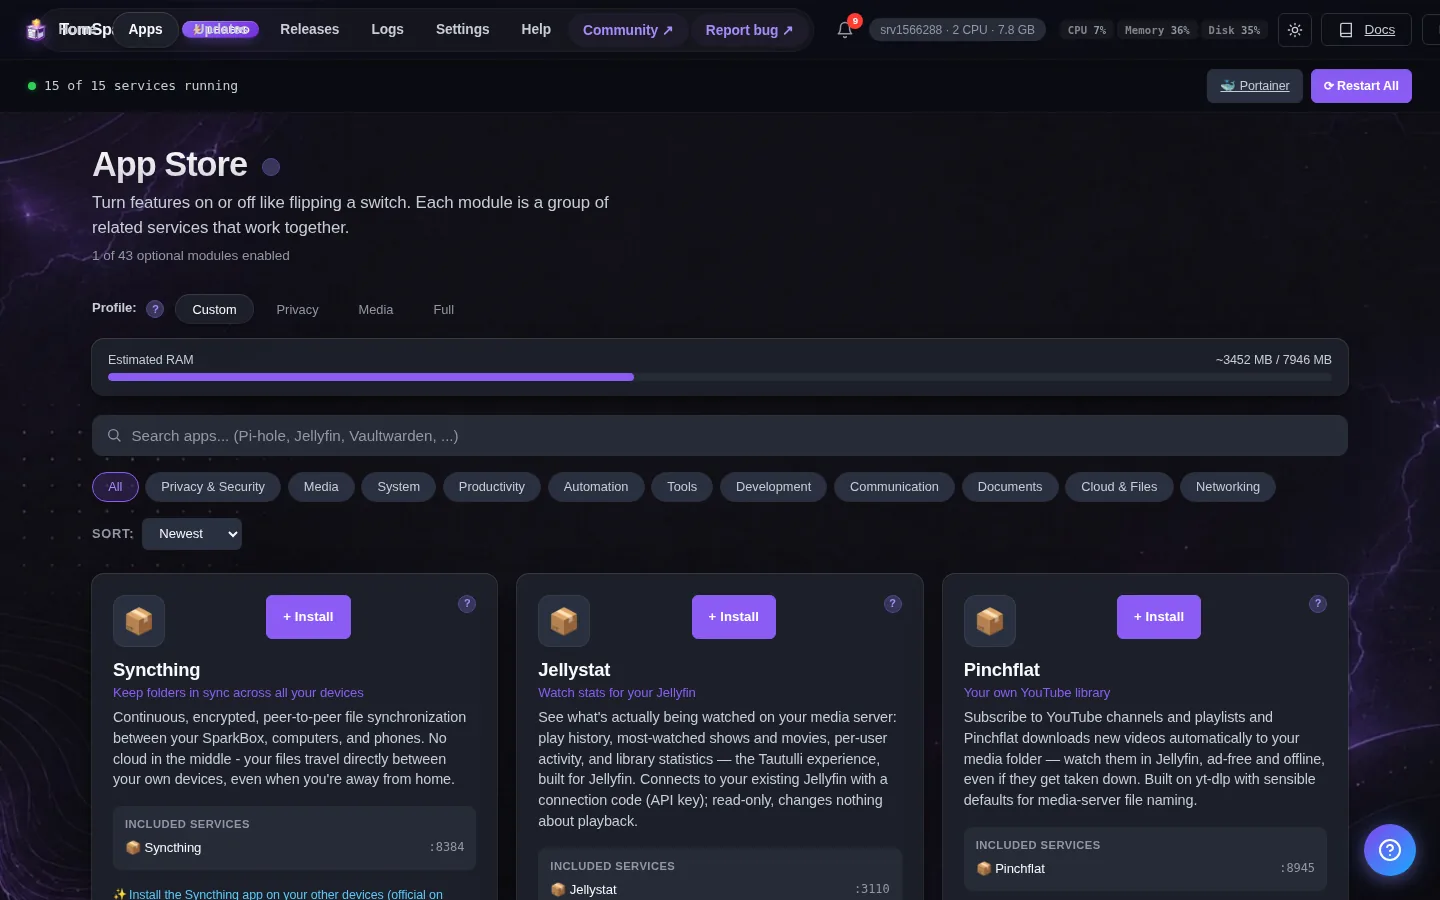
"Without coding" means letting something else do that wiring for you. That's exactly what SparkBox is: it installs all of those apps at once and connects them together automatically, so the thing you're left with is a normal website you log into and click around. If you've ever set up a router by opening a page in your browser, you already have every skill you need. For the bigger picture on this, see our guide on running your own apps without ever opening a terminal.
2. The Netflix-like part: a player called Jellyfin
The front door of your setup — the part that actually looks like Netflix — is an app called Jellyfin. It's a free media player. You open it in a browser or on your TV, and you see rows of movie posters, "Continue Watching," show seasons, descriptions, and ratings. Press play and it streams, just like you'd expect.
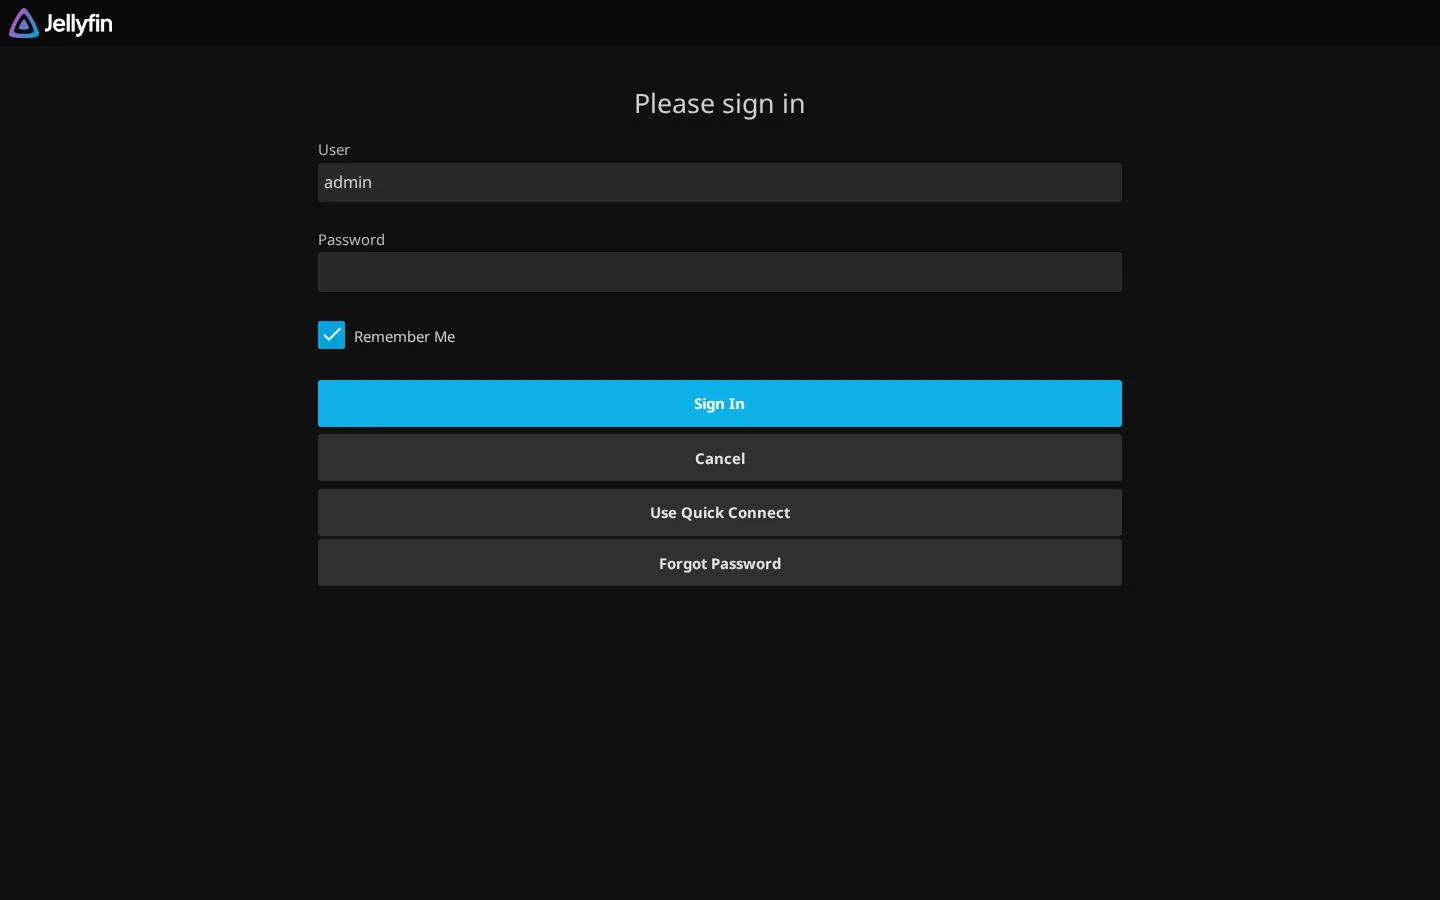
The nice thing about Jellyfin is that it's genuinely yours. There's no monthly fee, no "this title is leaving on the 30th," and nothing watching what you watch. SparkBox sets Jellyfin up for you during install — it even creates your login automatically. Your username is sparkbox, and the password is shown the first time you click the Jellyfin button on your dashboard.
3. How you actually add a movie: you just ask for it
Here's the part that surprises people. You don't go hunting through websites to find a movie file. Instead, SparkBox includes a request page (an app called Seerr). It looks like a search box. You type the name of a movie or show, you see it with its poster, and you click Request. That's it.
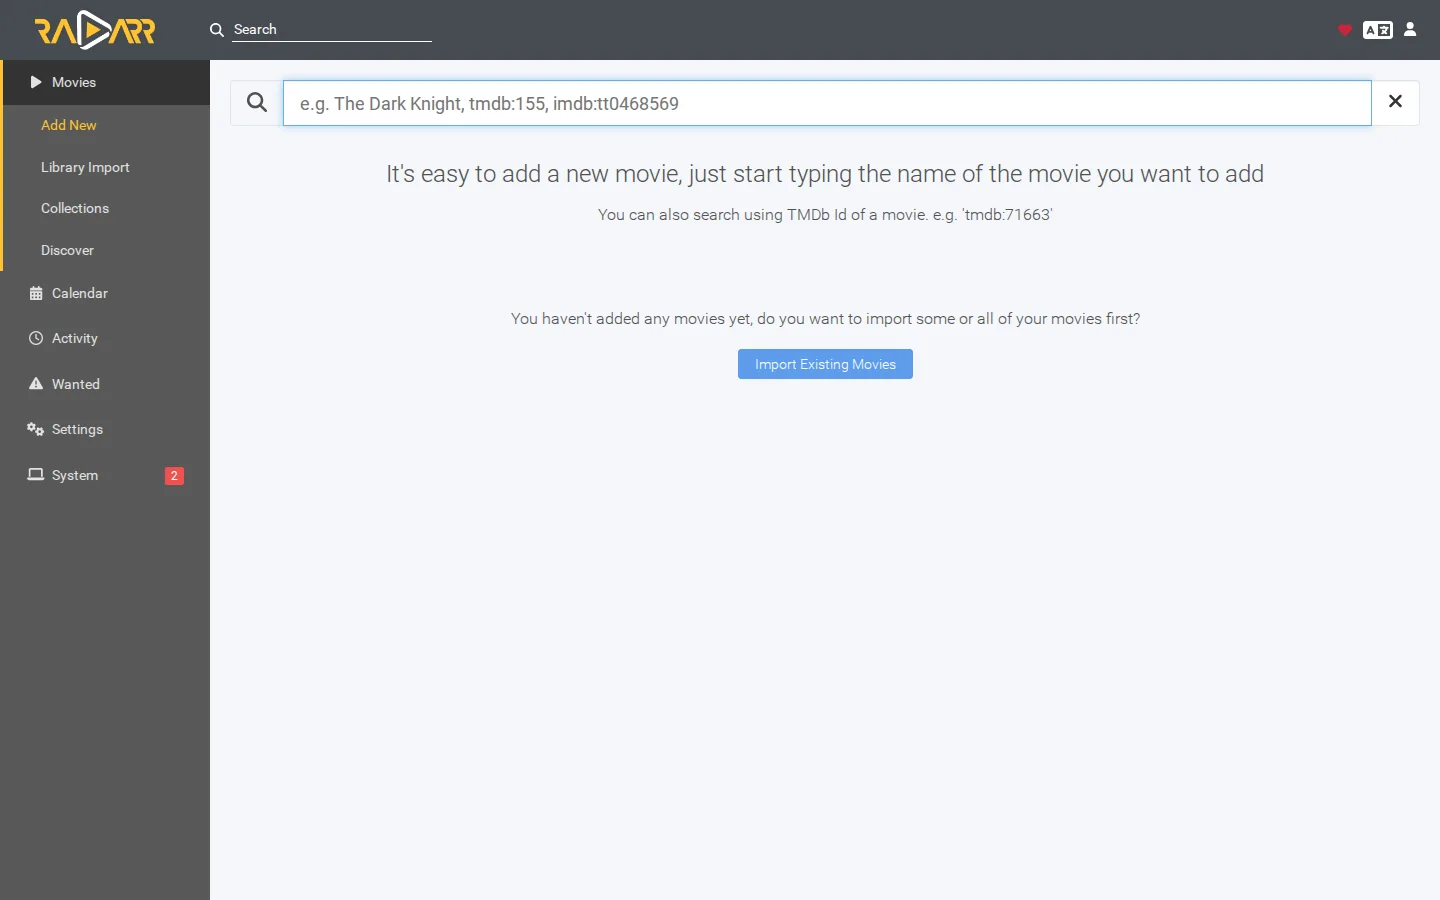
From there, the rest of the system goes and finds it, downloads it, names it properly, grabs the artwork, and a little while later it simply appears in Jellyfin — ready to play. You didn't touch a file, a folder, or a single setting. You asked for a movie like you'd add something to a wishlist, and it showed up in your library.
That request-page experience is the whole point of doing it this way instead of the hard way. If you want to see it end to end with screenshots, our set up a media server and request your first movie guide walks the full path.
4. The robots working behind the scenes
You don't need to learn these, but it helps to know they exist so nothing feels like a black box. When you click "Request," a few small helper apps do the work:
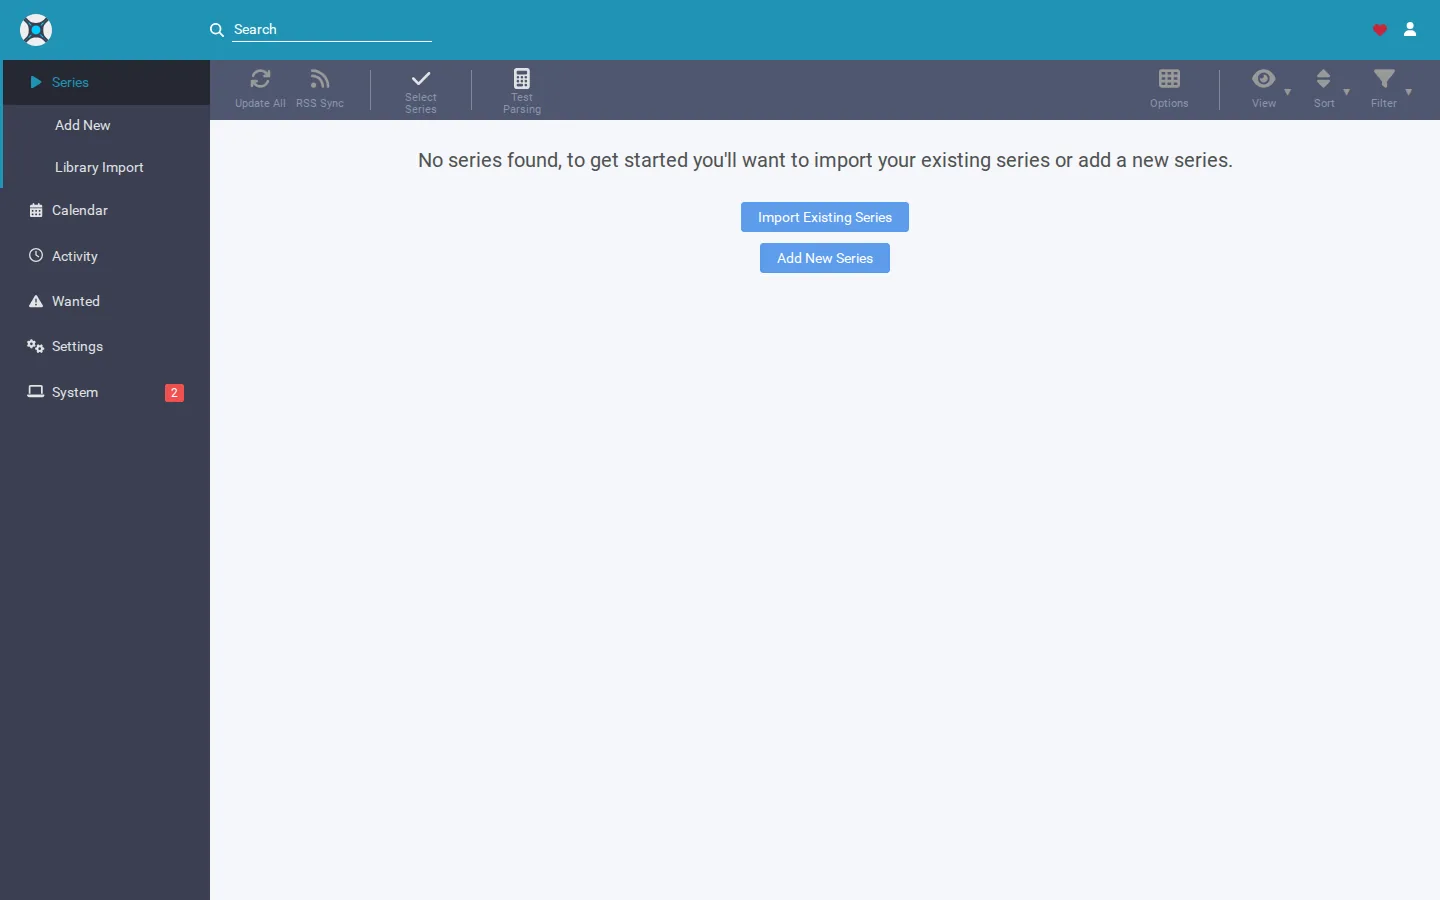
- Radarr handles movies — it watches for your request, finds a good copy, and keeps your movie folder tidy.
- Sonarr does the same for TV shows, including grabbing new episodes of a series automatically as they come out.
- Prowlarr is the search engine. It's the one place you tell the system where to look for files (more on that below — it's your one real setup task).
- qBittorrent is the actual downloader. It pulls the file down quietly in the background.
- Bazarr finds matching subtitles so your shows have captions without you doing anything.
SparkBox connects all five of these to each other and to Jellyfin during install — that's the wiring that normally eats an evening. You won't open most of them ever again.
5. The honest catch: you still need a VPN
This is the part a lot of guides quietly skip, and I'd rather just tell you. The downloader (qBittorrent) needs a VPN — a paid privacy service that hides your downloading from your internet provider — and SparkBox is deliberately strict about it. If the VPN isn't connected, the downloader doesn't run at all. There's no "oops, it leaked" mode. That's on purpose, and it's a feature: your internet provider should never see this activity.
So a VPN subscription is a real, ongoing cost you should plan for — usually a couple of dollars a month. SparkBox supports several, but the one we recommend and use ourselves is Surfshark, mostly for speed. In our own testing on the same NAS, Surfshark was about 16x faster for this kind of downloading than ProtonVPN, because Surfshark allows this traffic on every one of its servers while some providers quietly slow it down on most of theirs.
Tip: If you're shopping for one, Surfshark currently runs 87% off + 4 months free: grab the deal here. That's an affiliate link — it helps fund SparkBox at no extra cost to you. ProtonVPN, NordVPN, Mullvad, and IVPN all work too; our honest VPN comparison guide explains the speed differences.
One more honest note: you'll point Prowlarr at search sources ("indexers"), and you should only use ones you're actually entitled to use. SparkBox ships with none configured on purpose — what you connect, and what you download, is your call and your responsibility. The tool is neutral; how you use it is up to you.
6. Setting it up without a terminal
There is exactly one moment where you'll paste a single line of text, and then you're done with anything that looks technical. On your always-on computer or NAS, the install is one line:
curl -sSL https://get.tomsparkbox.com/install.sh | sudo bashYou can copy that exactly as written. When it finishes (give it a few minutes), you'll have a dashboard you open in your browser. Everything after this point is clicking, not typing. During install, SparkBox automatically sets up Jellyfin, creates your library, signs the request page in, and connects all the helper apps — the step that's normally the hard part is already done.
After install, your to-do list is genuinely one item:
- Open Prowlarr from your dashboard and add at least one indexer (a search source). This is the only thing the system can't guess for you, because it depends on which sources you're entitled to use. Once one indexer is in, the request page works.
That's the whole setup. Enter your VPN details (a username and password from your VPN provider) when SparkBox asks, add one indexer, and you have a working personal Netflix. If you'd like the picture-by-picture version, the request your first movie guide covers it slowly.
7. Watching on your TV, phone, and tablet
A personal library is only worth it if you can watch it from the couch, not just at your desk. Jellyfin has free apps for the things you already own: smart TVs (Android TV, Google TV, Amazon Fire TV), Roku, the Apple App Store and Google Play for phones and tablets, and it works straight in any web browser too.
You install the Jellyfin app on your TV, type in the address of your server once, log in with that sparkbox account, and your whole library is right there — same posters, same "Continue Watching," picking up on your TV exactly where you left off on your phone. If you're coming from Plex and want that comparison specifically, see running your own setup without paying for Plex Pass.
8. What this setup does NOT do
I'd rather you go in with clear eyes than be disappointed, so here's the honest list of limits:
- It's not instant. When you request something, it has to download in the background. Popular titles can be ready in minutes; rarer ones take longer. It's a library that fills itself, not a button that plays immediately.
- It needs a computer that stays on. A NAS, a mini PC, or an old laptop you leave running. If the box is off, your library is off — just like unplugging your own little streaming server.
- The VPN is a real monthly cost. A couple of dollars a month, and it's required for the downloader. Budget for it; don't be surprised by it.
- You're the one responsible for what you connect it to. SparkBox ships with no download sources configured. Only use indexers you're entitled to use.
- The very first install touches the terminal once. That single paste-one-line step is the only command in the whole experience — but it's honest to say it's there.
None of these are dealbreakers for most people. They're just the trade you make for owning your library instead of renting access to someone else's.
9. Next steps
Cord-cutting without coding isn't a myth — it's just a matter of letting the boring wiring happen automatically instead of by hand. You bring an always-on box and a VPN subscription; SparkBox brings the player, the request page, and the robots that do the fetching. You end up clicking "Request" and watching movies, which is all you wanted in the first place.
Ready to try it? SparkBox is free to download and sets up your whole media library in one step. Add a VPN, add one indexer, and you've got your own Netflix.
Download SparkBoxNew to all of this? Start with running your own apps without a terminal, then come back here.