Set up your media server on SparkBox — from zero to requesting your first movie
This is the full walkthrough for building your own movie-and-TV server on SparkBox: a private, Netflix-style box where you (and your family) search for a film, click "Request," and a few minutes later it's sitting in your library ready to play. The whole point of doing this on SparkBox is that you don't hand-configure five different apps. SparkBox wires them together for you. Your real job is just three clicks and one VPN login. This guide is written for someone who has never touched a terminal — every step is numbered, every command is copy-paste, and there's an honest troubleshooting section for the two or three places people actually get stuck.
The one thing to understand: SparkBox auto-wires the media stack. You will not be copying API keys between apps or "connecting Sonarr to qBittorrent" by hand — SparkBox does all of that. You enable Media, give it your VPN, let it wire itself, set up your watch app, and request a movie. That's the whole story.
- What you're building
- What you need first (the one hard requirement)
- The cast: what each app does, in one line
- Step 1 — Enable Media + enter your VPN
- Step 2 — Let SparkBox wire everything
- Step 3 — Set up your watch app (Jellyfin)
- Step 4 — Request your first movie
- Troubleshooting (the spots people get stuck)
- Where to get help
1. What you're building
Picture a request box that looks and feels like Netflix — posters, search, "Request" buttons. Someone in your house opens it, searches for a movie or show, and taps Request. Behind the scenes, your server finds it, downloads it safely through a VPN, files it away neatly, and it shows up in your watch app (Jellyfin) ready to stream to the TV, phone, or tablet. No subscription, no "this title left the service," nothing leaves your home except the downloading, which goes through a VPN you control.
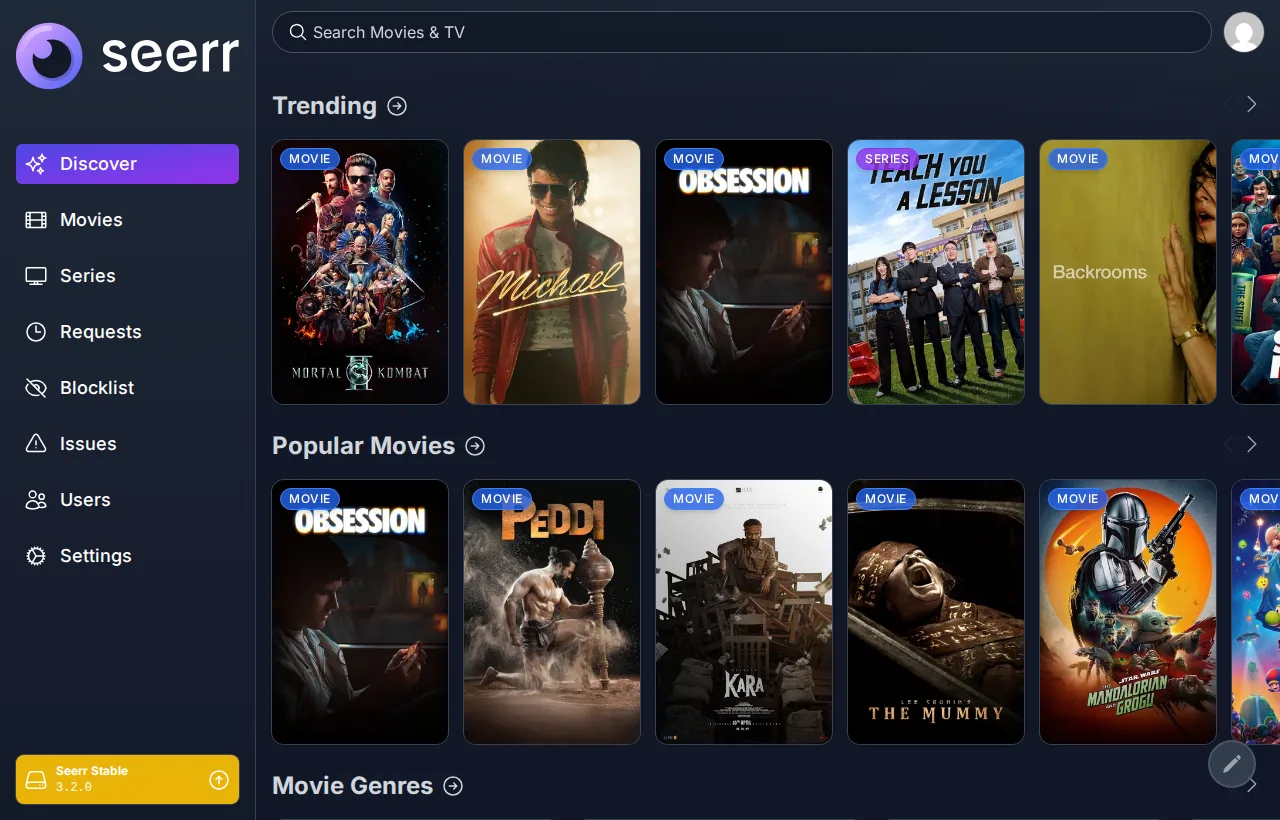
The grown-up name for this is "the *arr stack" (Sonarr, Radarr, and friends). Normally setting it up means installing a half-dozen apps and painstakingly connecting each one to the others. SparkBox skips all of that. When you enable Media, SparkBox installs the whole stack and connects the pieces together automatically. You end up living in just one app — the request box (Seerr) — and watching in another (Jellyfin). The rest runs in the background and you rarely open it.
2. What you need first (the one hard requirement)
There's exactly one thing you must have before starting:
- A commercial VPN subscription. All downloading runs through a VPN — that's not optional, and SparkBox won't let downloads run without one. SparkBox supports 30+ VPN providers, but the one we set up as a true one-click experience and actively support is Surfshark. (The Surfshark affiliate links are also what fund this free project, so it's the pick we can give hands-on help with.) See the Media Guide's VPN section for the full provider list and per-provider steps.
You'll also need SparkBox already installed with its dashboard claimed (the one-command install + the login code you got from the installer). If you're not there yet, do that first — this guide picks up from a working dashboard.
3. The cast: what each app does, in one line
You don't need to learn these — SparkBox connects them for you — but here's who's who so the rest of the guide makes sense:
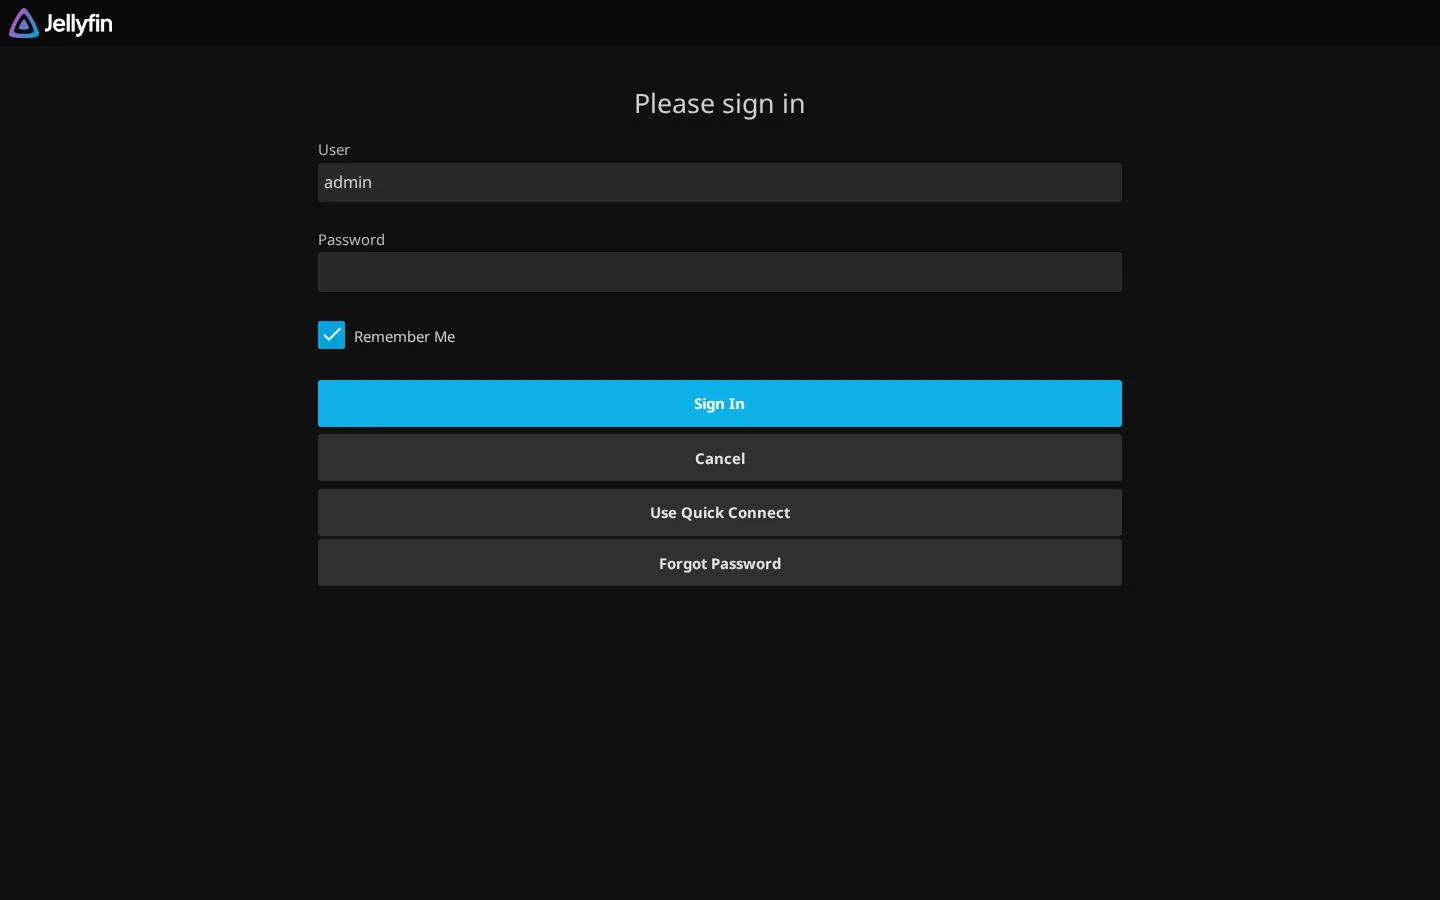
- Jellyfin (or Plex / Emby) — the watch app. This is where you actually play your movies and shows, on any screen.
- Seerr (Jellyseerr) — the request box. The Netflix-style page you and your family live in: search, click Request, done.
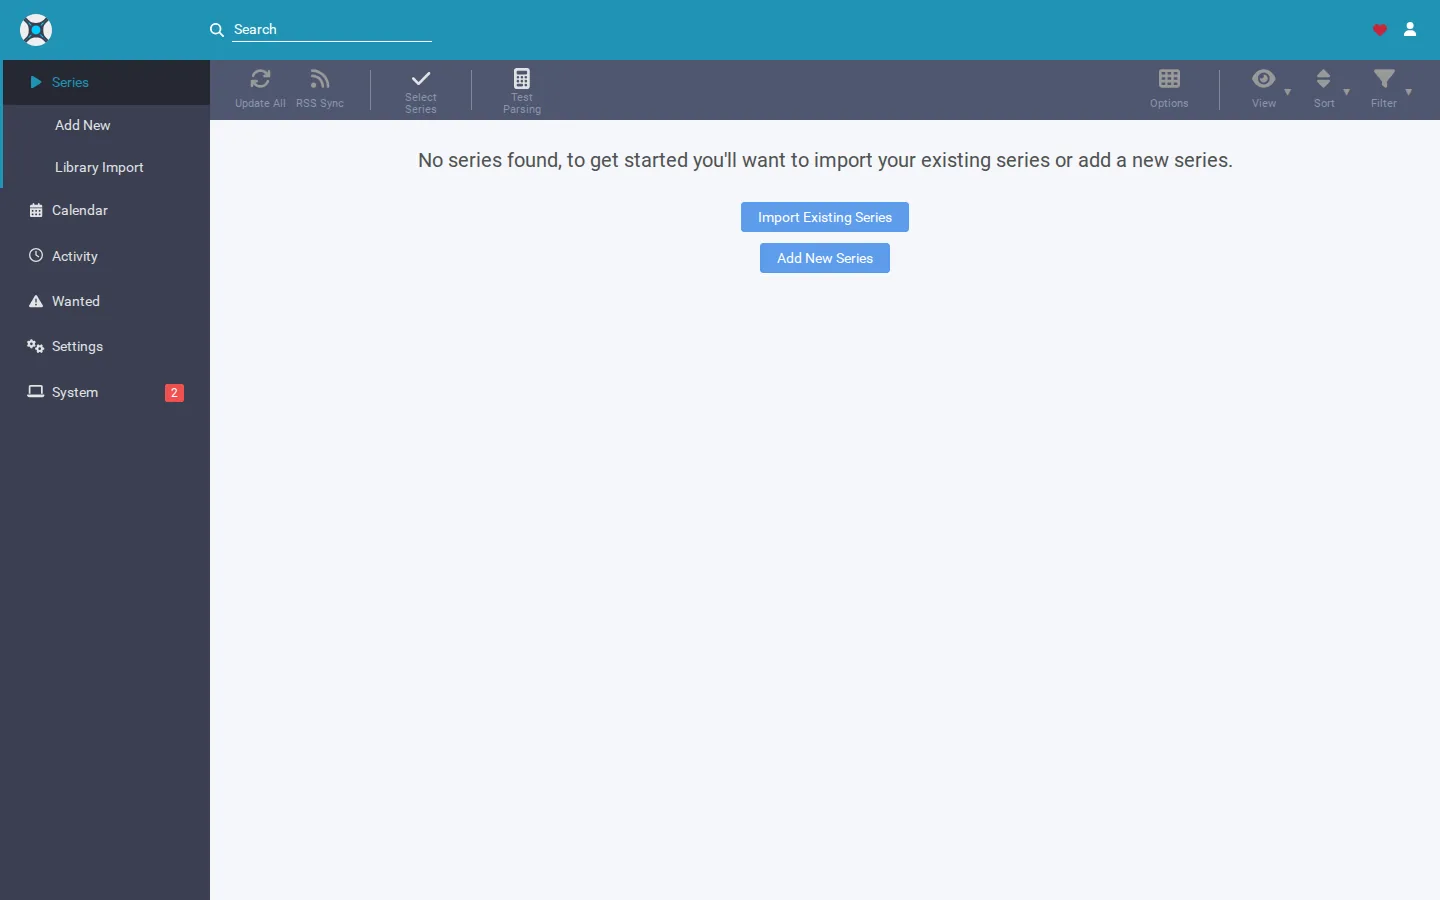
- Radarr — the movie manager. Watches for the movie you requested and grabs it.
- Sonarr — the same thing, but for TV shows and episodes.
- Prowlarr — the search engine. It knows where to look for releases and feeds those sources to Radarr and Sonarr.
- qBittorrent — the downloader. It does the actual downloading, and all of its traffic runs through your VPN.
SparkBox wires Seerr → Radarr/Sonarr → Prowlarr → qBittorrent → Jellyfin into one chain for you. You enable it; it connects itself.
4. Step 1 — Enable Media + enter your VPN
From the SparkBox dashboard:
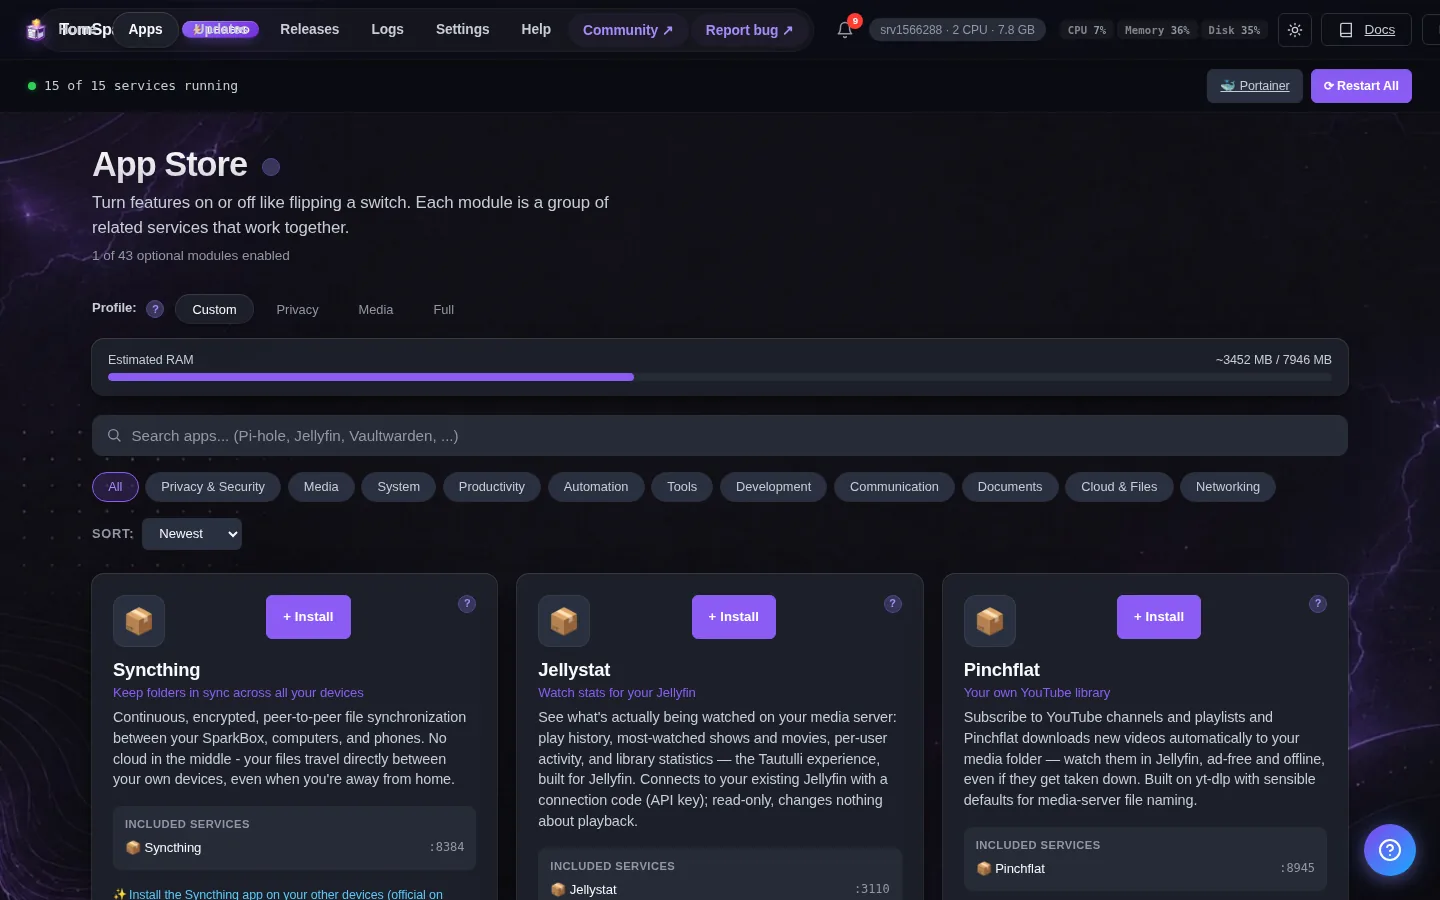
- ☐ Go to the Apps page and turn on the Media Center module (one click).
- ☐ When it asks for your VPN, fill in the VPN settings panel:
- VPN Provider: pick Surfshark (recommended) — or your own provider from the list.
- Protocol: WireGuard (recommended).
- WireGuard Private Key and WireGuard Address: paste the service credentials from your provider's manual-setup page (see the warning above). For Surfshark the address is typically
10.14.0.2/16— but copy yours exactly from the provider page. - VPN Server Country: the country you want your VPN to exit through, e.g.
United States.
- ☐ Save. SparkBox starts the media stack and brings up the VPN tunnel.
You can always come back and change the VPN later from the dashboard's VPN settings (Edit VPN settings) — rotating a key or switching providers just restarts the media stack and pauses downloads for about 30 seconds.
5. Step 2 — Let SparkBox wire everything
This is the part that would normally be a long, fiddly afternoon. On SparkBox it's automatic. As soon as Media is enabled, SparkBox runs its wiring step in the background — it:
- Connects Sonarr and Radarr to qBittorrent as their downloader.
- Registers Sonarr and Radarr inside Prowlarr (so any search source you add gets pushed to both automatically).
- Connects Seerr to Radarr and Sonarr so your requests flow through.
- Creates the media folders (Movies, TV, downloads) with the right permissions.
What "give it a few minutes" looks like: the first wiring pass takes roughly 90 seconds to 3 minutes while every app starts up and gets connected. You don't have to watch it. The two signs it's done:
- ☐ The dashboard's VPN banner turns green — that means downloads are tunneled and safe.
- ☐ Your media apps (Jellyfin, Seerr, etc.) appear on the dashboard and open without errors.
If you ever want to re-run the wiring by hand — for example after changing something — the command is safe to run any number of times:
sudo sparkbox arr-bootstrapIt only does work if something's missing, so re-running it never hurts.
6. Step 3 — Set up your watch app (Jellyfin)
Jellyfin is where you'll actually watch. There's one thing only you can do (because it's a security step), and one thing SparkBox can do for you.
The part you do: create the admin account
Open Jellyfin from the dashboard. The first time, it runs a short setup wizard:
- ☐ Create an admin account — pick a username and a password you'll remember. This is the account Seerr signs in with, so don't lose it.
- ☐ Skip the "set up your media libraries" step. Let SparkBox create the libraries instead (next part) — it's tidier and matches the folders SparkBox already made.
(SparkBox can't create that first admin account for you — Jellyfin won't allow an account to be made through automation on a brand-new server, by design. Everything after this point can be automated.)
The part SparkBox does: create your libraries
After you've created the Jellyfin admin and signed in to Seerr once (Step 4 below), run:
sudo sparkbox media-finishThat command creates your Movies and TV Shows libraries in Jellyfin automatically, tells Seerr to sync them, and finishes off Seerr's setup wizard so you land straight on the request page. Like the wiring step, it's safe to re-run.
Want the truly hands-off version? SparkBox can even drive Jellyfin's first-run wizard for you and create the admin account with a generated password:
sudo sparkbox media-autoseed   # creates the Jellyfin admin + signs Seerr in
sudo sparkbox media-finish     # then creates the libraries
If you used media-autoseed, your generated Jellyfin admin password is saved on the server and shown in the dashboard's credentials area. Most people just do the wizard by hand (it takes a minute) and then run media-finish — either path lands in the same place.
7. Step 4 — Request your first movie
This is the payoff. Open Seerr from the dashboard:
- ☐ On the sign-in screen, choose Jellyfin and sign in with the Jellyfin admin account you just made. (When it asks for the Jellyfin URL, just type your server's IP like
192.168.0.x— Seerr adds the rest.) - ☐ Run
sudo sparkbox media-finishif you haven't yet — it finishes Seerr's setup so you skip the rest of the wizard and land on the discover page. - ☐ Search for a movie you want.
- ☐ Click Request.
Now watch the chain do its thing on its own: Seerr hands the request to Radarr → Radarr asks Prowlarr where to find it → qBittorrent downloads it through your VPN → Radarr files it into your Movies folder → Jellyfin picks it up. A few minutes later (longer for big or rare files) it appears in Jellyfin, ready to play on any screen.
That's the entire loop. From here on, everyone in the house just uses Seerr to request and Jellyfin to watch — they never touch the apps underneath.
8. Troubleshooting (the spots people get stuck)
Almost everyone who hits a snag hits one of these. Each has a one-line fix.
Seerr's "Add Radarr/Sonarr" shows an empty root-folder dropdown, or "Add Server" is greyed out
This is the most common one. It means the movie/TV manager has no root folder set yet — which is almost always a folder-permissions issue on your media drive. Fix it with:
sudo sparkbox upOn current versions, up re-runs the wiring and self-heals the folder permissions. If that doesn't clear it, force the wiring step:
sudo sparkbox arr-bootstrapFor a stubborn case where the folder ownership is wrong, fix the ownership and bring the stack back up (replace <MEDIA_ROOT> with your media folder, e.g. /volume1/data on a UGREEN NAS):
sudo chown -R 1000:1000 <MEDIA_ROOT> && sudo sparkbox up(1000:1000 is the user the SparkBox apps run as — don't change it.)
"Failed to authenticate with qBittorrent" in Sonarr or Radarr
The download client's password drifted out of sync. Reset it and bring the stack back up:
sudo sparkbox reset-password qbit
sudo sparkbox up
VPN won't connect / downloads are stuck
Check the VPN banner on the dashboard — green means tunneled, anything else means it's not connected. The usual culprit is the credentials mistake from Step 1 (you pasted your VPN login instead of the WireGuard service credentials). Re-open Edit VPN settings and double-check the private key and address against your provider's manual-setup page. For deeper VPN diagnosis, see the Media Guide's VPN troubleshooting section in the docs.
Seerr's wizard won't let you continue at the "select libraries" step
This means your Jellyfin libraries haven't been created yet, so Seerr has nothing to select. Let SparkBox create them:
sudo sparkbox media-finish(Or add a Movies and a TV library in Jellyfin by hand first, then continue the Seerr wizard.)
You just want to start the media side over from scratch
If Seerr has gotten into a confused state and you'd rather restart its setup cleanly without touching the rest of your box:
sudo sparkbox repair-seerrThat resets Seerr to a fresh wizard. Then sign in with your Jellyfin account again and run sudo sparkbox media-finish to finish.
9. Where to get help
If you've worked through the troubleshooting above and you're still stuck, post in the SparkBox community at d/sparkbox. Include a screenshot of what you're seeing and, if you can, the output of sudo sparkbox doctor. Real humans answer (often Tom), and every report helps us make the setup smoother for the next person.
Next steps
Your own request box, no per-app config.
SparkBox is the free, open-source self-hosting platform built for people who don't want to learn Linux. Enable Media, add your VPN, and SparkBox wires the whole movie-and-TV stack together for you — so you and your family just request and watch.