How to Control Your Smart Home From Your Phone Without Using the Cloud
Here's something most people never think about: when you tap a button in your smart-light app, the command usually doesn't go straight to the light. It travels out of your house, across the internet to a company's servers, and back again — just to turn on a bulb that's twenty feet away. This guide explains that round trip in plain English, and shows how to set up phone control where the command stays inside your own home instead.
Tested on: SparkBox 1.6.315, running on a UGREEN DXP4800 Plus and a $7/month Hostinger VPS. The two apps involved are Home Assistant and Tailscale, both of which SparkBox can install for you.
1. What happens when you tap a light
Most off-the-shelf smart devices are built around the maker's app and the maker's servers. When you press "on," your phone sends that request to the company's cloud, the cloud passes it along to your device, and the confirmation comes back the same way. It works, but it has three quiet downsides.
First, it's slower than it should be — there's a little lag because the signal is taking a long way around. Second, it stops working when your internet is down or the company is having an outage; your lights become unreachable in your own living room. And third, every tap is a small report to a company about what you do and when. None of that is dramatic on its own, but it's the deal you didn't realize you signed up for.
2. What "local control" actually means
Local control flips the path around. Instead of your phone talking to a far-away server, it talks to a small hub running in your own home, and that hub talks directly to your devices. The command never leaves your house. The light turns on the instant you tap, your automations keep running even if the internet drops, and there's no third party logging the activity.
To get there you need two things: a hub to be the brain, and a private way for your phone to reach that hub when you're out and about. Both can run on a SparkBox, which is a free, one-command way to turn a mini PC or a UGREEN NAS into a home server. If the whole idea of running your own server is new, start with our plain-English intro to running a home server without the terminal.
3. The two pieces you need
Keep these two jobs separate in your head — it makes the whole thing click:
- The hub (Home Assistant) is the brain. It connects to your devices, gives you one place to control everything, and runs your automations ("turn the porch light on at sunset"). It works with thousands of brands and runs entirely on your hardware.
- The private tunnel (Tailscale) is how your phone reaches that brain securely from anywhere — at work, on holiday, on mobile data — without opening your home network to strangers on the internet.
At home, you don't even need the tunnel; your phone just talks to the hub over your own Wi-Fi. The tunnel is purely for the "I'm not home" case. Let's set up each piece.
4. Piece one: a hub that lives in your house
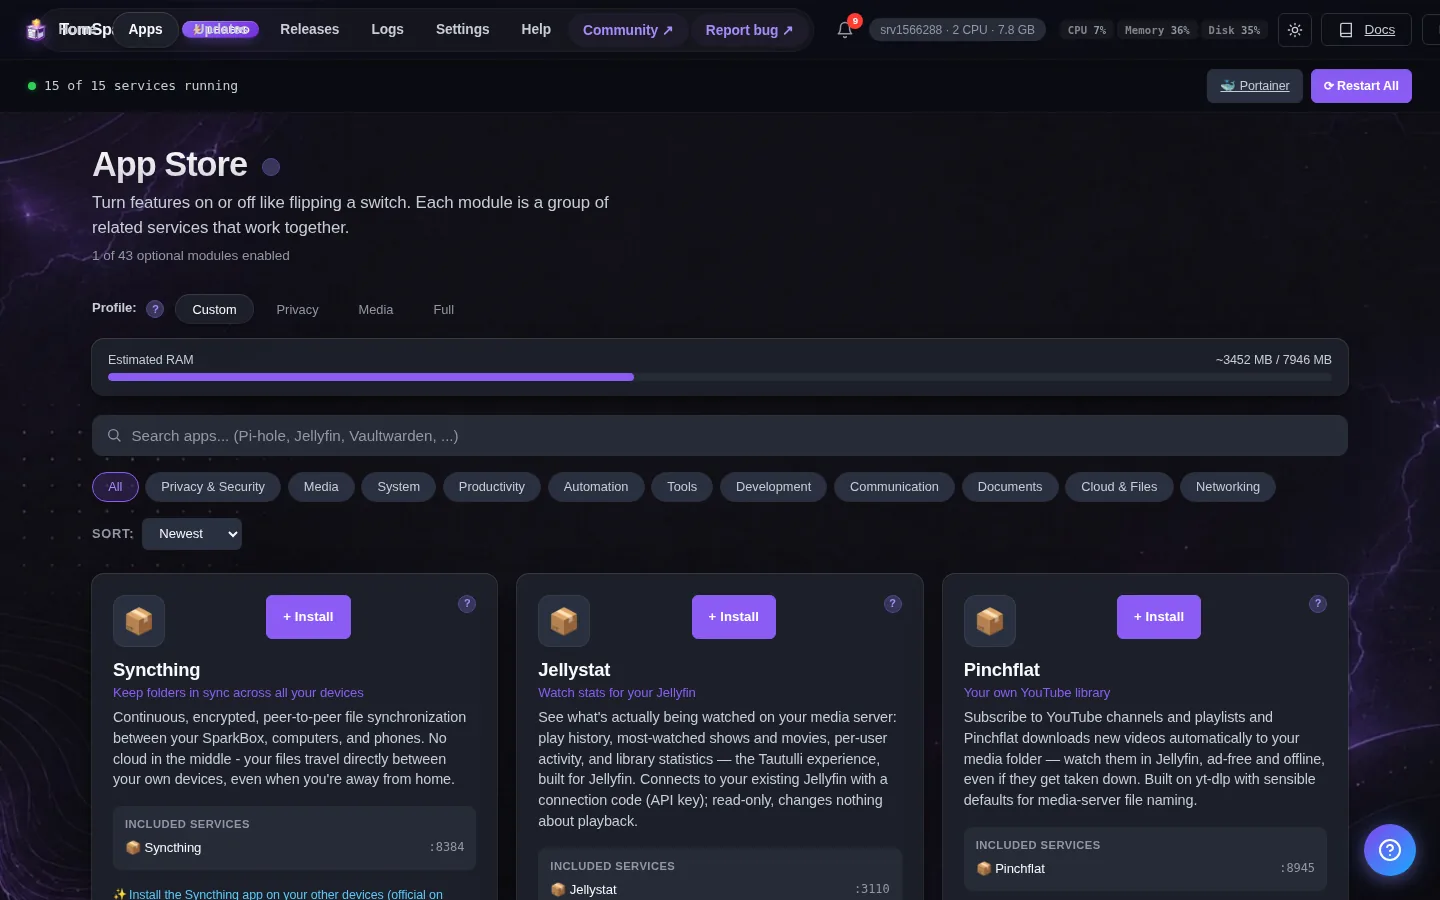
The hub is Home Assistant — an open-source smart-home brain that connects to over 3,000 device types and runs locally on your own hardware. In your SparkBox dashboard, switch it on; it's a light app (it uses around 400 MB of memory) and SparkBox handles the install for you. The first time you open it, Home Assistant walks you through a short setup wizard where you create your account — just follow the steps.
You reach it on your own network at its address, which looks like this:
http://<your-NAS-IP>:8123From there you start adding devices. This guide is about the phone-control side, so I won't repeat the full hub walkthrough here — our companion guide on private home automation without Google or Alexa covers installing Home Assistant and adding your first devices step by step, and the Home Assistant setup guide has the SparkBox-specific details.
One honest heads-up: some devices announce themselves on your network so Home Assistant can find them automatically. On SparkBox, Home Assistant runs in a mode that keeps things tidy and isolated, which means a few of those auto-discovery tricks need an extra setup step (covered in the Home Assistant docs). Most devices you'll add by name without trouble — just know that "it didn't appear by magic" isn't a bug, it's that tradeoff.
5. Piece two: the phone app
Home Assistant has its own free mobile app — search your phone's app store for "Home Assistant" and install it. When you open it, it asks for the address of your hub. On your home Wi-Fi, that's the same http://<your-NAS-IP>:8123 address from above. Sign in with the account you made in the wizard, and you've got every device and automation in your pocket.
Right now, while you're at home, this already works with zero cloud involved — your phone and your hub are both on your own network, talking directly. Tap a light and it responds instantly. The only thing missing is reaching it when you leave the house, which is the next piece.
6. Controlling it when you're not home
The usual way smart-home companies handle "control it from anywhere" is to route everything through their cloud — which is exactly what we're avoiding. The private alternative is Tailscale: think of it as a private network that only your own signed-in devices can join. Nothing is exposed to the public internet, and only gadgets you've personally logged in (your phone, your laptop) can reach your home.
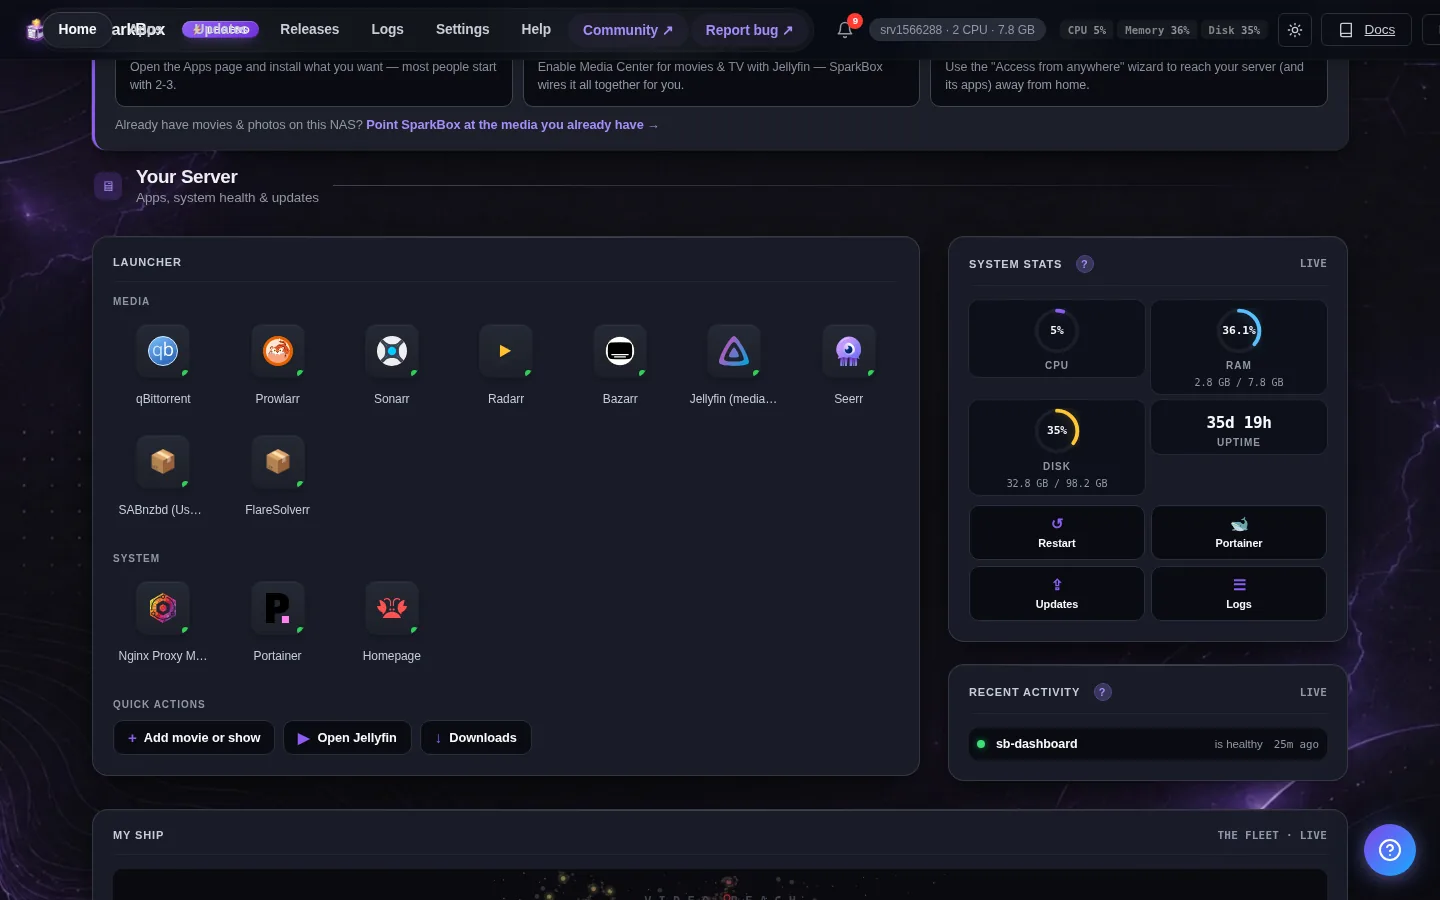
In your SparkBox dashboard, switch on Tailscale (it's tiny — about 50 MB of memory). It needs a free Tailscale account and a one-time sign-in code, plus one toggle flipped in that account. Then you install the Tailscale app on your phone and sign in with the same account. After that, your phone can reach your home hub from anywhere, as if you were sitting on your own couch.
The full click-by-click — including the two free toggles you flip in the Tailscale account before it works — is in our reach your home server from anywhere guide and the Tailscale setup guide. Once it's on, open the Home Assistant app from anywhere and it just works; you don't have to think about it again.
7. The honest part: what still touches the cloud
It would be dishonest to promise that everything is now 100% local. A few realities worth knowing:
- Some devices are cloud-only by design. Certain brands only talk to their own app and refuse to work locally at all. When you shop for new gear, look for devices that advertise "local control," "Matter," "Zigbee," or "Z-Wave" — those play nicely with a local hub. The ones that only mention "works with our app" are the ones to avoid if local control matters to you.
- Voice assistants are their own thing. If you want to keep saying "Hey Google" or use Alexa, those still go through their companies. Home Assistant has its own local voice option, but that's a bigger project than this guide.
- The first setup is a little more effort. A commodity smart bulb is genuinely faster to set up on day one — scan a code, done. Running your own hub means a bit more upfront work in exchange for speed, privacy, and lights that keep working when the internet doesn't. For a lot of people that trade is worth it; for one smart plug, maybe not.
Next steps
That's the whole idea: a hub in your house instead of a server far away, your phone talking to it directly at home, and a private tunnel for when you're out. No company in the middle, no monthly anything, and a smart home that keeps working on a bad-internet day. Pick the two guides linked above when you're ready to do the click-by-click setup.
Your smart home, on hardware you own.
SparkBox is a free, one-command way to turn a mini PC or UGREEN NAS into a home server — with Home Assistant, private remote access, photos, media, and more, all running locally. Your commands stay home, and nobody charges you to flip a switch.