How to Get Your Own Google Drive (Without Touching Code)
Google Drive is convenient right up until you think about what it costs over the years, or about a company quietly reading the files you keep in it. The good news: you can have the same thing — a folder that syncs between your phone, your laptop, and a box at home, with share-by-link and a phone app that backs up your photos — except it lives on your own hardware, costs nothing per month, and answers to nobody but you. The part people assume is hard (the code, the config, the Linux) is the part SparkBox does for you. This guide walks a complete beginner through turning it on.
Tested on: a UGREEN DXP4800 Plus running SparkBox v1.6.315, with the same flow verified on a $7/month Hostinger VPS. No prior terminal, Linux, or Docker experience assumed.
1. What you actually get
When people say "self-hosted Google Drive" they usually mean an app called Nextcloud, and what it gives you is genuinely the same set of everyday features you already use:
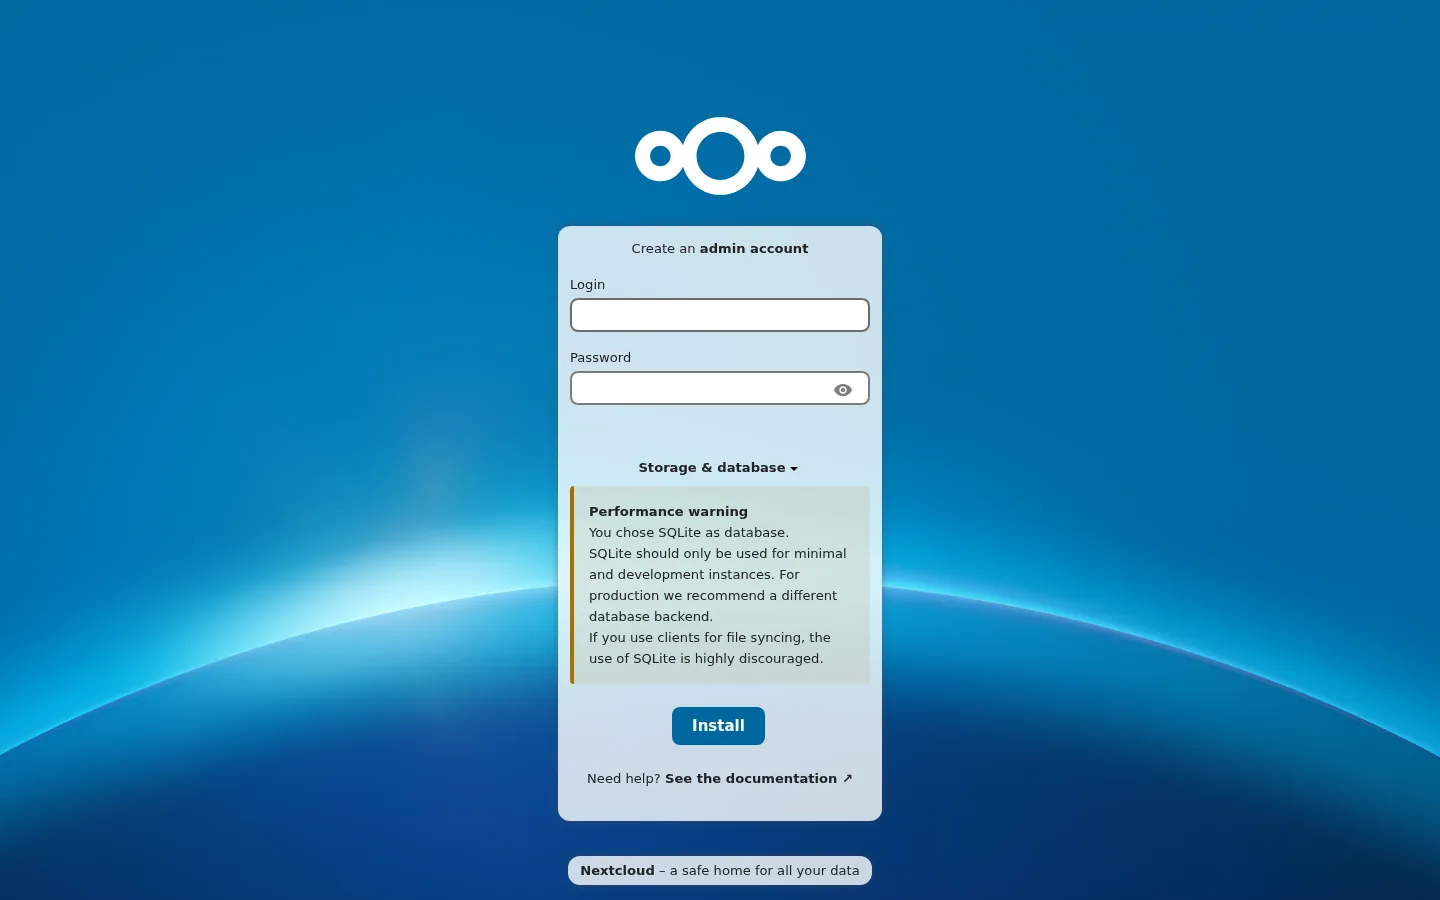
- A folder on your computer that syncs automatically — drop a file in, and it appears on every other device.
- A phone app that backs up your camera roll in the background, the way Google Photos does.
- Share-by-link: right-click a file, get a link, send it to anyone — no account required on their end.
- A calendar and contacts that sync across your devices, if you want them.
The difference is where it all lives. Instead of sitting on Google's servers, your files sit on a small computer in your home (a NAS, an old laptop, or a cheap cloud server). There's no monthly bill, no storage tier to upgrade, and nothing scanning your documents to build a profile of you. Your "drive" is exactly as big as the drive you put in the box.
2. What's running under the hood (in plain English)
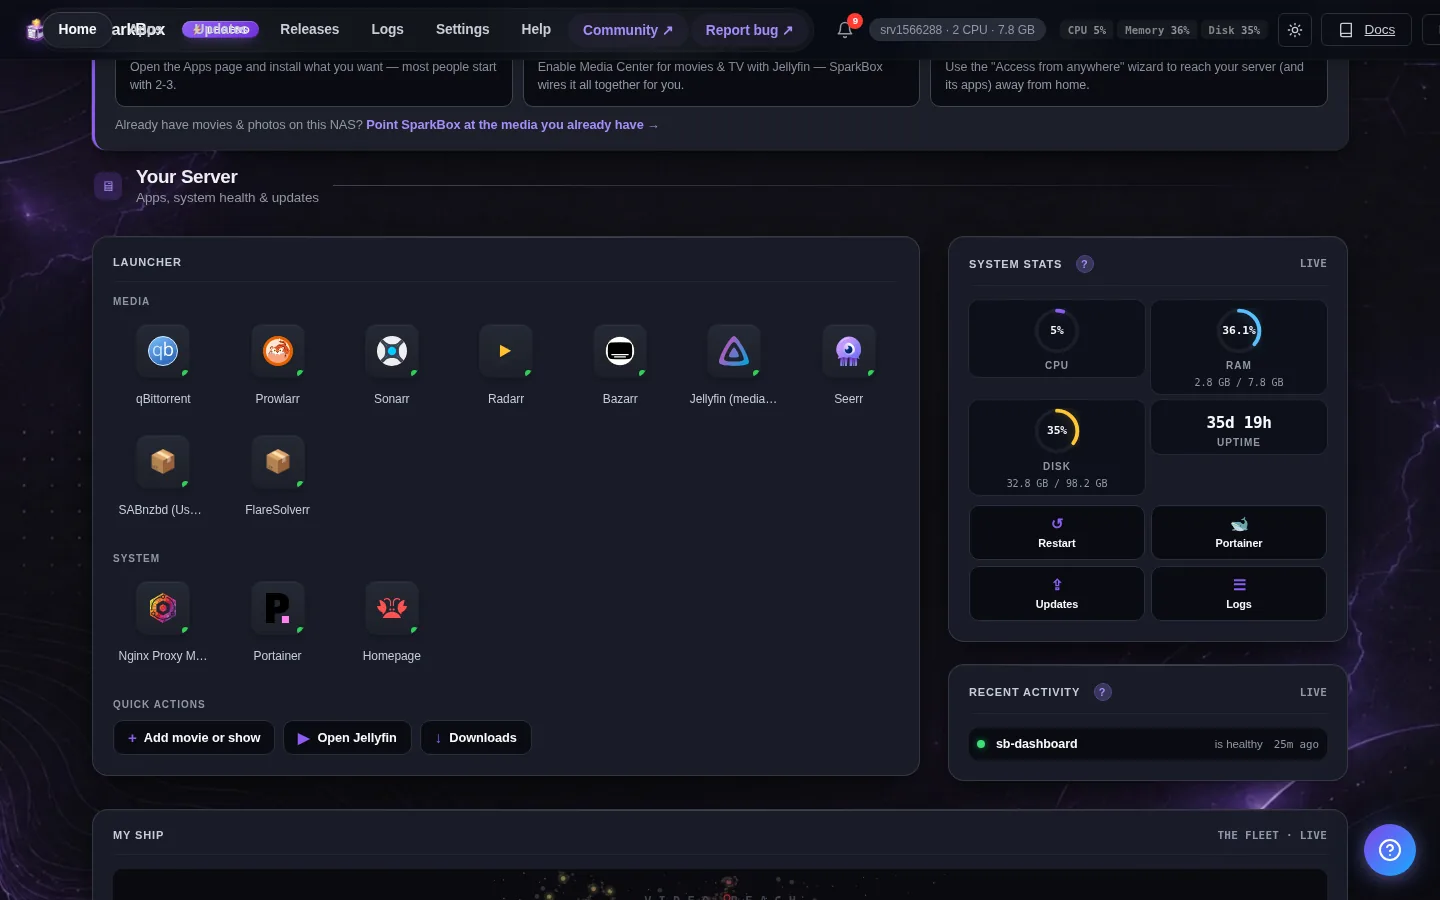
You don't need to know any of this to use it, but a one-paragraph map helps. The app is Nextcloud — a well-established, open-source project that thousands of businesses and home users run. Behind it, SparkBox quietly runs two helpers: a small database (MariaDB) that remembers where your files and shares are, and a cache (Redis) that keeps the interface feeling fast. You will never touch either one — SparkBox sets them up, connects them, and generates their passwords for you. On the dashboard you'll just see one tile called Cloud Storage.
If the idea of installing something by pasting a command still feels like a leap, read self-hosting without the terminal first — it walks through the single install line word by word. Everything after that line is clicking in a browser.
3. Turning it on: one click in SparkBox
Once SparkBox is installed, you open its dashboard in your browser and you're looking at a grid of app tiles — the same idea as the app store on your phone. To get your drive:
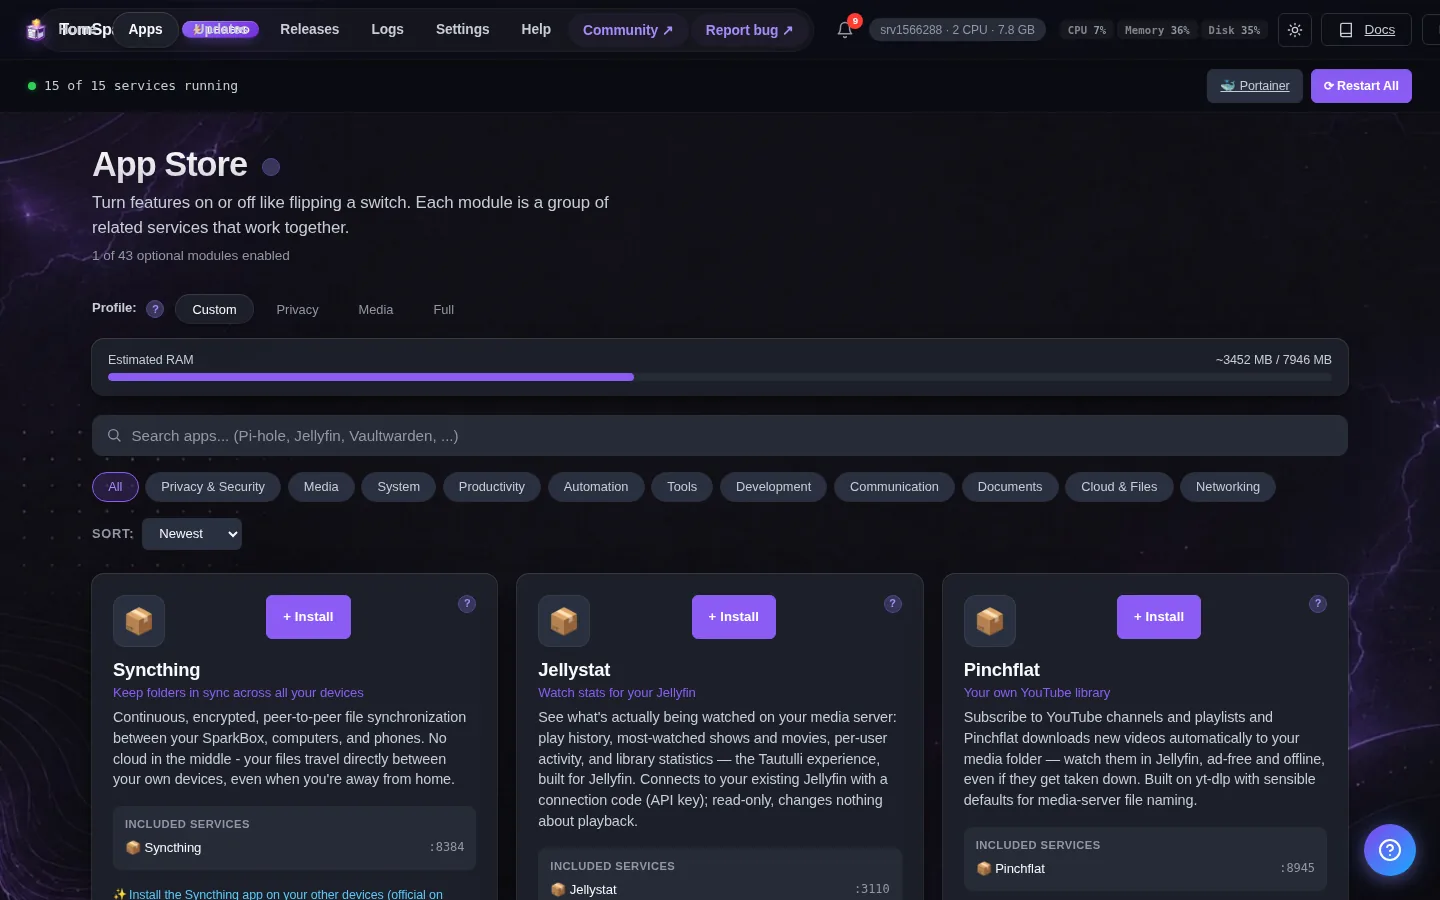
- Open your SparkBox dashboard and go to the Apps page.
- Find Cloud Storage (the cloud icon) and click Enable.
- Wait a minute or two. SparkBox downloads Nextcloud and its two helpers, wires them together, and creates the admin login for you.
That's the whole installation. No config files, no database setup, no choosing ports. When the tile goes green, click Open and you'll land on the Nextcloud login screen. Your username and the auto-generated password are shown right in SparkBox — on the app's tile and in Settings — so you're not hunting for them.
4. The one catch: a secure web address
Here's the honest tradeoff, and it's worth understanding before you start. On your home network you can reach your drive in a browser right away at an address like https://your-nas-ip:8445 — your browser will show a one-time "this connection isn't private" warning because the box is using its own local security certificate, and you click through it. That's fine for poking around from your couch.
But the desktop and phone apps — the ones that do the automatic syncing — want a proper secure web address with a real padlock (an https address that doesn't throw a warning). Setting that up is a separate, also-no-code step: SparkBox includes an app called Nginx Proxy Manager that hands you a real certificate and a clean address for your drive. The full walkthrough lives in the SparkBox docs and the cloud setup guide linked from the app itself.
Short version: browsing from home works immediately at the :8445 address. For the sync apps to connect cleanly from anywhere, set up the web-address app (Nginx Proxy Manager) once. It's clicking, not coding — but it is a step, so don't be surprised when the phone app asks for a proper address.
5. Syncing your computer
This is the part that makes it feel like Google Drive. On your Windows PC or Mac:
- Download the free Nextcloud Desktop client from nextcloud.com (it's a normal installer — double-click, next, next, done).
- When it asks for your server address, enter your drive's web address.
- Log in with the username and password from your SparkBox dashboard.
- Pick a folder on your computer to be the synced folder.
From then on, that folder behaves like your Google Drive or Dropbox folder: anything you save into it is copied to your box within seconds, and anything that lands there from another device shows up on your computer automatically. You can right-click individual folders to choose what syncs, so a laptop with a small disk doesn't have to mirror your entire library.
6. Syncing your phone (and auto-uploading photos)
Install the Nextcloud app from the App Store or Google Play. Open it, choose "Log in," type your drive's web address, and sign in with the same credentials. Two things worth turning on right away:
- Auto upload — point it at your camera roll and it quietly backs up new photos and videos to your box as you take them. This is the Google Photos replacement most people are actually after.
- Instant access — every file from your computer is now browsable on your phone, and you can open or share any of them on the go.
If photo backup specifically is your main goal and you want a Google-Photos-style gallery with face grouping, there's a dedicated app for that too — but for "everything in one place that syncs," the Nextcloud app covers it.
7. Sharing a file with a link
Open your drive in a browser (or either app), find the file, and click the share icon. You'll get options that will feel familiar from Google Drive: create a public link, optionally protect it with a password, and optionally set an expiry date so the link stops working after, say, a week. Send the link to anyone — they don't need an account, a login, or the app to download what you shared. You can revoke the link any time, and the file never left your control.
8. The honest part: what to know going in
A private drive is a genuinely good trade, but it's an honest one, so here's the fine print in plain terms:
- Your storage is your hardware. Your drive is as big as the disk in your box, and SparkBox is careful to store your files on your large storage drive rather than the small system disk — so a big upload won't get rejected for lack of space. If you fill the disk, you add a bigger one; there's no "buy more storage" button.
- Backups are now your job. Google keeps copies of your files across its data centers. On your own box, a drive can fail, so you'll want a backup plan — the good news is SparkBox has its own encrypted backup feature, so this is also a few clicks rather than a project.
- It uses a bit of memory. Cloud Storage needs roughly 500 MB of RAM to run comfortably (Nextcloud plus its database and cache). On a NAS with 4 GB or more you won't notice; on a tiny VPS, keep an eye on it.
- What you give up: Google's "it just works from any network with zero setup." You trade that one-time setup step (the secure web address) for never paying a subscription and never wondering who's looking at your files.
None of these are dealbreakers — they're just the difference between renting space on someone else's computer and owning your own. For most people the math, and the privacy, land firmly on the side of owning it.
Next steps
Your files, your box, no monthly bill.
SparkBox installs a browser dashboard that runs Nextcloud and 35+ other self-hosted apps as one-click tiles — it writes every config file, picks every port, and generates every password for you. Free and open. The only line you type is the one that installs it.