How to Share Files With Family Without Using Google Drive or Dropbox
You want everyone in the house to share photos, documents, and the odd "can you send me that?" file — without paying for storage every month, and without a tech company keeping a copy of all of it. This guide shows you how to set that up on a server in your own home, with a separate login for each family member and one shared folder they can all reach. No coding, and no monthly bill.
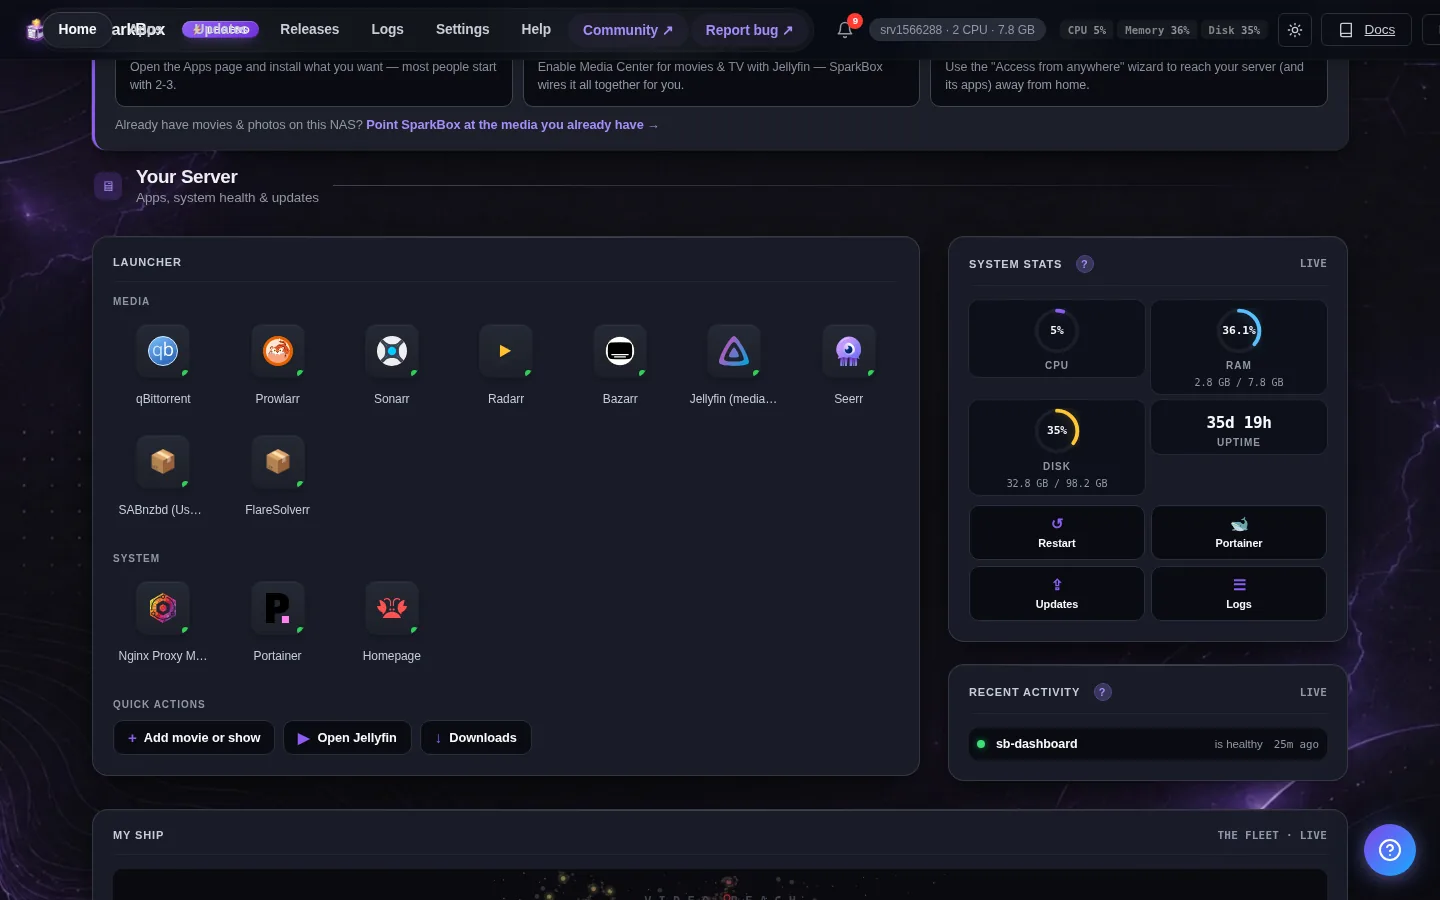
Tested on: a UGREEN DXP4800 Plus and a $7/month Hostinger VPS, both running SparkBox 1.6.315. The file-sharing part is powered by Nextcloud (version 30.0.4 in this build), which SparkBox sets up for you behind the scenes.
- Why not just use Google Drive or Dropbox?
- What you're actually building
- Step 1: Turn on the Cloud app
- Step 2: Give each person their own account
- Step 3: Make a shared family folder
- Step 4: Get everyone's phones and laptops connected
- Sharing a single file with a link
- The honest list of things to know
- Next steps
1. Why not just use Google Drive or Dropbox?
Those services are genuinely easy, and for a lot of people they're fine. But two things tend to wear thin over time.
The first is the bill. A family quickly outgrows the free tier — a few years of phone photos alone will do it — and then you're renting space forever. Stop paying and you start losing access to your own files.
The second is privacy. Your photos and documents live on someone else's computers, and you're trusting a company to look after them, scan them, and not change the rules later. For family stuff — kids' photos, scanned passports, tax paperwork — a lot of people would rather those simply never left the house.
The fix is to run your own version. You get the same "shared folder the whole family can see" experience, except the folder lives on a small server in your home, the storage is just the drive you already bought, and nobody outside the house has a copy unless you choose to send them one.
2. What you're actually building
SparkBox is a free tool that sets up useful apps on a home server (a UGREEN or other NAS, an old PC, or a cheap cloud server) without you having to be a Linux person. One of those apps is the Cloud app, which is built on a well-known open-source project called Nextcloud.
Think of it as your own private Dropbox. It gives you:
- A separate login for each family member, so everyone has their own private space.
- Shared folders that chosen people can all see and add to.
- Phone apps (iPhone and Android) and desktop apps that sync automatically, exactly like Dropbox does.
- The ability to send any single file as a link, with an optional password and an expiry date.
It runs comfortably in the background — this part of SparkBox uses roughly 500MB of memory — and it also quietly does calendar and contacts if you ever want them, though we'll stay focused on files here.
If you only want a personal version for yourself rather than the whole family, we have a simpler walkthrough for that: set up your own private Google Drive. This guide picks up where that leaves off and adds the family side.
3. Step 1: Turn on the Cloud app
This assumes you've already got SparkBox installed. If you haven't, the self-hosting without the terminal guide covers getting to that point without touching a command line.
Once SparkBox is running:
- Open your SparkBox dashboard in a web browser.
- Find the Cloud app (it may be listed as Nextcloud) and turn it on.
- Give it a minute or two the first time — it's setting up a small database and getting itself organized. This is normal, and it only happens once.
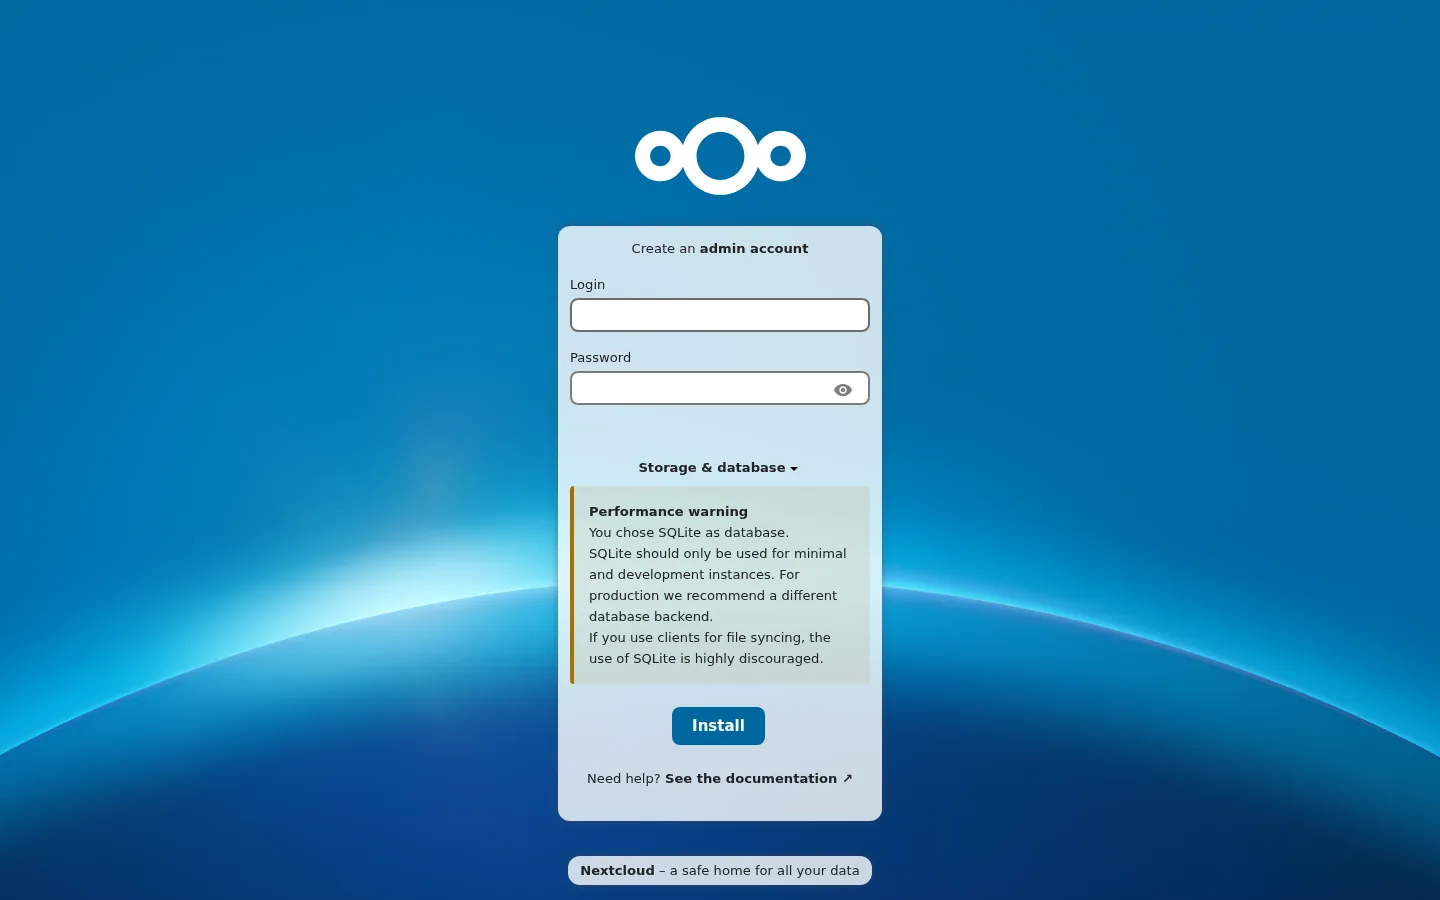
- When it's ready, click to open it. SparkBox shows you the admin login it created; use that to sign in the first time.
4. Step 2: Give each person their own account
The whole point of doing this for a family — instead of everyone sharing one login — is that each person gets their own private space and a shared space. Set up the accounts first.
- While logged in as admin, click your profile icon in the top-right corner and choose Users (or "Account management").
- Click New account.
- Type a username (something simple like a first name) and a password. You can let each person change their own password later.
- Repeat for everyone in the house.
That's it — each person now has their own login, their own files area, and their own photo backup space, all kept separate from everyone else's. Nobody can see anyone else's private files unless something is deliberately shared.
5. Step 3: Make a shared family folder
Now for the part everyone actually wants: one folder the whole family can open, drop things into, and see each other's additions. There are two easy ways to do this. We'll use the simplest.
The simple way — share a folder with each person:
- Log in as admin (or as whoever should "own" the family folder).
- On the Files page, create a new folder and call it something obvious, like Family.
- Hover over that folder and click the share icon (it looks like a small "less-than" symbol or a person with a plus).
- In the share box, type each family member's username and add them. For each one, you can choose whether they're allowed to only view, or to add and edit files too. For a true shared folder, give everyone edit rights.
Everyone you added will now see a Family folder appear in their own account automatically. Anything anyone puts in it shows up for the rest — that's your shared space.
If your household grows or you want tidier control, Nextcloud also has a "Group folders" feature (set up under the admin settings) that creates a single folder shared with a whole group at once, so you don't have to add people one by one. That's a nice upgrade later, but the per-person share above is the fastest way to get going today.
6. Step 4: Get everyone's phones and laptops connected
Browsing files in a web page is fine, but the magic is the automatic sync — drop a photo on your phone, it appears on the family folder, and everyone else sees it. That's the free Nextcloud apps doing the work.
On a phone (iPhone or Android):
- Install the free Nextcloud app from the App Store or Play Store.
- Open it and choose to log in to an existing server.
- Enter the address of your Cloud app (the same web address you open it at) and that person's username and password.
- Turn on auto-upload if you want their phone photos to back up to their own private space automatically. The shared Family folder shows up alongside their own files.
On a Windows or Mac computer:
- Download the free Nextcloud desktop app from the Nextcloud website.
- Log in with the server address and that person's account.
- It creates a folder on the computer that syncs both ways, just like the Dropbox or Google Drive folder you may be used to. The Family folder is right there inside it.
7. Sharing a single file with a link
Sometimes you don't want to add someone to a folder forever — you just want to send Grandma one video. Nextcloud handles that the same way the big services do:
- Hover over the file and click the share icon.
- Choose Share link. It creates a web link anyone can open — no account needed on their end.
- Click the small settings on that link to add a password, set an expiry date, or allow them to upload back to you.
- Copy the link and send it however you like — text, email, a chat app.
The difference from Dropbox is simply that the file is served straight from your own box, and the link stops working whenever you say so.
8. The honest list of things to know
This setup is genuinely good, but it isn't magic, so here's the straight talk.
- You are now the IT person. If the box is off, the family folder is off. That's the trade for not paying a company to run it — and in practice a small home server just sits there working, but it's your responsibility now.
- Back it up. Your files living in your house is the point, but it also means a dead drive could take them with it. SparkBox has a built-in backup feature — turn it on, and ideally keep a copy somewhere off-site too. Don't skip this; it's the one thing people regret.
- Storage is your drive, not infinite. The good news is you can add more by adding a bigger drive, and you'll never get a "you're out of space, pay us" email. The flip side is you have to keep half an eye on free space yourself.
- First-time setup is slower than signing up for Dropbox. You're trading twenty minutes now for no monthly bill and full privacy forever. After it's running, it feels exactly like the services you're replacing.
None of these are dealbreakers — they're just the things nobody tells you up front. For a family that's tired of subscriptions and tired of handing photos to strangers, the trade is an easy yes.
9. Next steps
Once the family folder is humming, the same box can quietly do a lot more — automatic phone-photo backup for everyone, a shared calendar, and ad-blocking for the whole house. It's all the same idea: useful stuff, running at home, owned by you.
Want this without the fiddly parts?
SparkBox is free and sets up the Cloud app (and a lot more) on your own server without the command line. Point it at a UGREEN NAS, an old PC, or a cheap cloud server and it does the heavy lifting.