How to Build Your Own Private Wiki for Personal Knowledge
You have notes scattered everywhere — a few in your phone's notes app, some in a Google Doc, a couple in a notebook you can't find. A personal wiki is one place that holds all of it: your recipes, your home-network passwords, the steps you figured out last time the printer broke, the reading list, the car's service history. The difference from a notes app is that a wiki is built to organize — to nest things, link them together, and search across the whole pile in a second. This guide shows you how to run one on your own hardware, where nobody can read it but you and nobody can take it away or start charging for it.
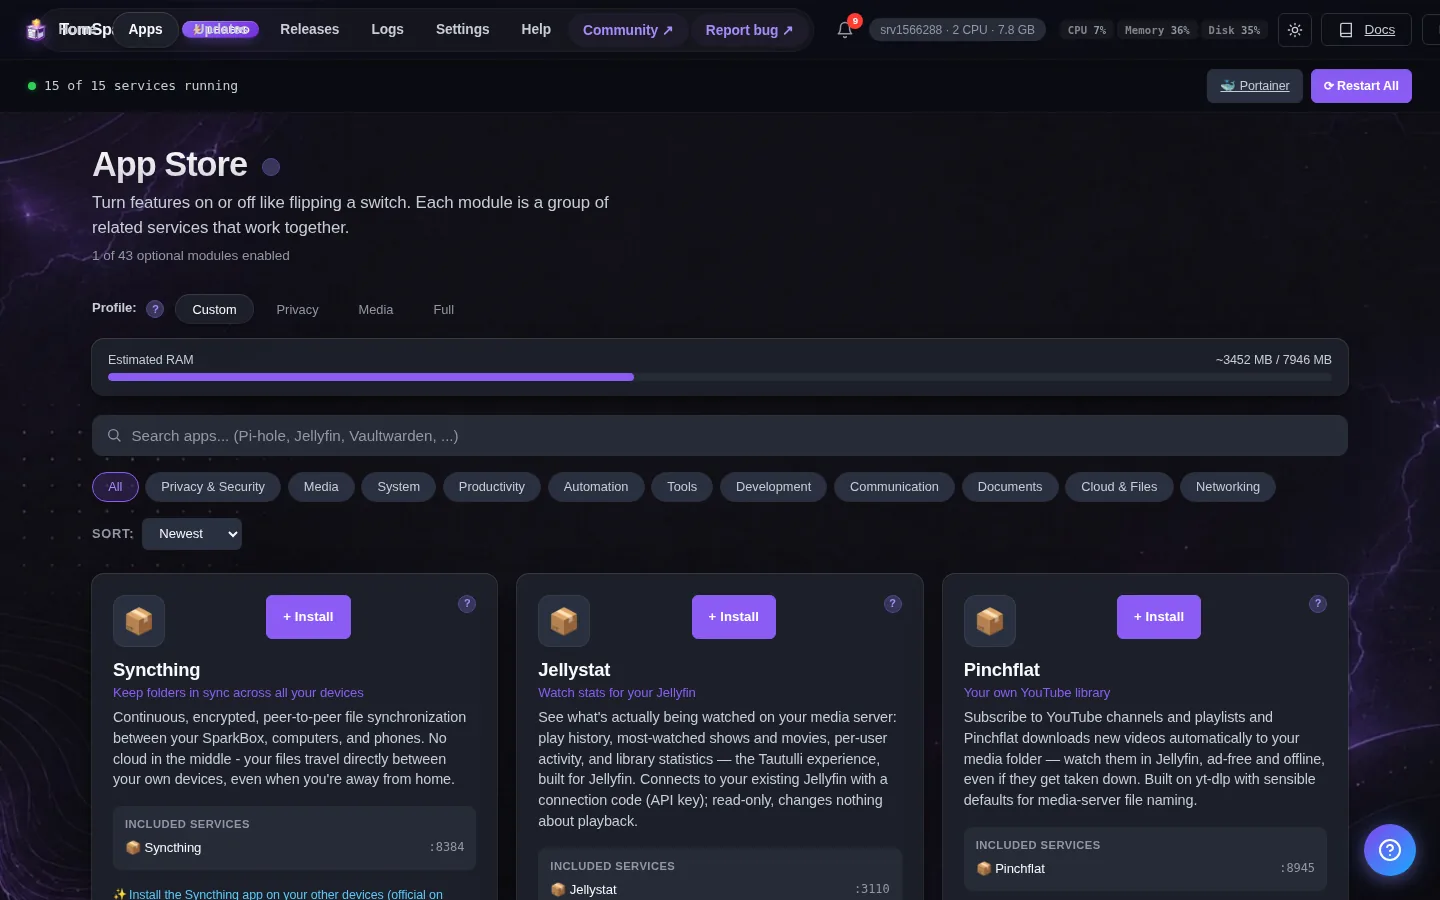
Tested on: a UGREEN DXP4800 Plus NAS and a $7/month Hostinger VPS, both running SparkBox 1.6.182 with the BookStack app turned on.
- What a personal wiki is (and why a notes app isn't one)
- Meet BookStack: shelves, books, and pages
- What you need before you start
- Turning it on — the part with no terminal
- First login, and the one thing you must change
- Writing your first book
- The honest part: what a personal wiki is bad at
- Keeping it yours: backups and where to go next
1. What a personal wiki is (and why a notes app isn't one)
A notes app is a shoebox. You drop things in, and finding them later means scrolling or hoping search guesses right. That's fine for ten notes. It falls apart at two hundred.
A wiki is a filing cabinet that was designed by someone who hated losing things. It gives you structure — folders inside folders — plus two things a shoebox never had: links between pages, so "my home server setup" can point straight to "my router settings," and real search that reads the inside of every page, not just the titles. The word "wiki" sounds like a thing for big teams and software companies, but the same tool works just as well for one person keeping track of one life.
Most online wiki and note services do this for you — for a monthly fee, on their servers, where your private notes sit on a company's hard drive. The version in this guide does the same job on a small computer in your own home. No subscription, and the only person who can read it is you.
2. Meet BookStack: shelves, books, and pages
The app we'll use is called BookStack. The name is the whole idea: it organizes your notes the way a library organizes paper. There are four levels, and you'll feel at home with them in about a minute because they're exactly what they sound like:
- Bookshelves — the top level. A shelf groups related books together. You might have a "Home" shelf and a "Work" shelf.
- Books — the main way you separate topics. "Recipes," "Network & Passwords," "Car." A single book can sit on more than one shelf if it fits both.
- Chapters — optional grouping inside a book, for when one book gets big. You can skip these entirely at the start.
- Pages — where the actual writing lives. Everything you type goes on a page.
You write pages in your browser with a normal word-processor-style editor (bold, headings, lists, images you can paste straight in). If you happen to like writing in Markdown, there's an editor for that too — but you never have to touch it. BookStack also lets you attach files to a page, so a manual PDF or a warranty scan can live right next to the notes about it. And the search box at the top reads the contents of every page, so "what was that paint color" finds the page even if the title was something else.
3. What you need before you start
Three things, and you very likely have the first two already:
- A small always-on computer. A NAS like a UGREEN box, an old laptop, a mini PC, or a cheap VPS all work. BookStack is light — it uses around 400 MB of memory, so it runs comfortably alongside your other apps.
- SparkBox installed on it. SparkBox is the free dashboard that runs all your apps as one-click tiles and handles the fiddly parts (config files, ports, passwords) for you. If you haven't installed it yet, the no-terminal install guide walks through the single command that sets it up.
- About ten minutes. Most of that is you deciding what your first book should be called.
You do not need to know anything about databases, web servers, or the command line. BookStack quietly uses a database behind the scenes (a second small container called the BookStack Database), but SparkBox sets that up and connects it for you. You never see it.
4. Turning it on — the part with no terminal
Open your SparkBox dashboard in a browser. (If you're not sure how to get there, the beginner's dashboard guide covers finding it.) From here it's all clicking:
- Find BookStack in the list of available apps. Its icon is an open book.
- Switch it on / install it.
- Wait about a minute while it starts up the first time.
That's the whole installation. Behind that one toggle, SparkBox writes the configuration, generates the two secret keys BookStack needs (the database password and an encryption key), starts the app and its database, and wires them together. You don't create or remember any of those secrets — that's the part that usually scares people off self-hosting, and it's the part SparkBox does for you.
When it's running, BookStack lives at your NAS's address on port 6875. So if your NAS is at 192.168.1.50, you'd open:
http://192.168.1.50:6875SparkBox already knows your NAS's address and fills it into BookStack's settings, so the "Open" button on the dashboard tile takes you straight there. The reason the address matters — rather than just "localhost" — is that BookStack builds its internal links from whatever address it thinks it lives at, and "localhost" would only work on the NAS itself, not on your laptop or phone. SparkBox sets the real one for you so links work from any device on your network.
5. First login, and the one thing you must change
The first time you open BookStack, it gives everyone the same starter account so you can get in:
- Email: [email protected]
- Password: password
Log in with those — and then change them right away. This is the one step you should not skip. The starter login is identical on every fresh BookStack in the world, so leaving it as-is is like leaving your front door key under a mat that everyone knows about.
While you're in there, you can also set your name and a profile picture if you like, but those are optional. The email and password are the part that matters.
6. Writing your first book
Now the fun part. Don't overthink the structure — you can move things around later. The fastest way to feel the payoff is to put one real thing in:
- Click Shelves (or Books) and create a Bookshelf — call it something broad like "Home."
- Inside it, create a Book. A great first book is "Network & Passwords" or "How Things Work Around Here" — the stuff you currently re-figure-out every six months.
- Open the book and create a Page. Give it a title, type your notes, and save.
Paste in a screenshot, drag in a PDF manual, add a few headings. Then try the search box at the top — type a word from inside the page you just wrote, and watch it come straight back. That moment, where you find something by its contents instead of remembering where you filed it, is the reason a wiki beats a pile of notes.
A few first-book ideas that pay off fast for a personal wiki:
- Network & passwords — router login, NAS address, which app lives on which port. (Keep true secrets like banking in a real password manager — see the next section.)
- Home how-tos — how to reset the thermostat, bleed the radiator, restart the internet when it drops.
- Recipes — the ones you actually cook, in your words, with your tweaks.
- Projects — anything ongoing where "what did I decide last time" keeps getting lost.
7. The honest part: what a personal wiki is bad at
A wiki is the right tool for a lot of things, but not everything. Worth knowing up front so you don't get frustrated:
- It's not a password vault. BookStack can hold notes about your setup, but for actual secrets — bank logins, recovery codes — use a real password manager built for that. SparkBox includes one; the password manager guide covers it.
- It's not great for quick capture on the go. Jotting a one-line thought while standing in line is still easier in your phone's notes app. A wiki shines when you sit down to organize, not for split-second capture.
- It doesn't sync like a notes app. It's a website you open in a browser, not an app that quietly syncs in the background. That's usually fine — it's reachable from any device on your network — but it's a different shape than something like Apple Notes.
- Reaching it away from home takes one more step. By default it's reachable on your home network only. Getting to it from a coffee shop means setting up a private way in, which is its own small project.
None of these are dealbreakers — they're just the edges. For "the durable record of how my life and my home actually work," a wiki is hard to beat.
8. Keeping it yours: backups and where to go next
The whole point of running this yourself is that the data is yours — which also means backing it up is now your job, not a company's. The good news is SparkBox treats every app's data the same way, so once you have a backup routine, your wiki is covered along with everything else. If you haven't set that up, do it before your wiki becomes the place you keep things you'd hate to lose.
If you want the deeper, screen-by-screen version of getting BookStack configured — themes, multiple users for family members, the Markdown editor — the dedicated BookStack setup guide goes further than this overview does.
But honestly, the best next step is to go write the second page. A wiki gets useful the moment it has the thing you were about to go look up somewhere else.
Next steps
Your private wiki is running on hardware you own, holding notes only you can read, with no monthly bill attached. From here, the natural moves are locking down your real secrets in a password manager and making sure everything's backed up.
One toggle, and the wiki sets itself up.
SparkBox runs BookStack and 35+ other self-hosted apps as one-click tiles — it writes every config file, picks every port, and generates every password for you. Free and open. The only line you type is the one that installs SparkBox itself.