Run SparkBox on Windows with WSL2 — Install, Setup, and Clean Reinstall
This is a step-by-step, checklist-style guide for running SparkBox on a Windows PC using WSL2 (Windows Subsystem for Linux) and Ubuntu. It's written for someone who's comfortable on Windows but only somewhat comfortable on Linux. Every command is copy-pasteable, the steps are numbered, and there's a full recovery section at the end for when the dashboard won't come up and you just want to start clean.
Honest heads-up: SparkBox's officially supported homes are a VPS or a NAS — WSL2 is not an official target, and we haven't put it through the same testing. The good news: WSL2 is just a real Ubuntu Linux running on your PC, so the standard Linux install works there. This guide is the standard install with the WSL-specific gotchas called out explicitly. Where we're not 100% sure something behaves the same on WSL as on a real server, we say so plainly and point you to the community. If you have a spare always-on machine or a cheap VPS, those are smoother. WSL2 is best for trying SparkBox out on a PC you already have.
1. Before you start
Check these off before you touch a terminal. Everything here is on the Windows side.
- ☐ Windows 10 (version 2004 / build 19041 or newer) or Windows 11. Windows 11 is smoother for this. To check: press Win+R, type
winver, press Enter. - ☐ Virtualization is enabled. WSL2 needs it. Open Task Manager (Ctrl+Shift+Esc) → Performance tab → CPU, and look for "Virtualization: Enabled" at the bottom right. If it says Disabled, you'll need to turn it on in your PC's BIOS/UEFI (search your PC model + "enable virtualization").
- ☐ Enough RAM. 8 GB is a realistic floor for a small SparkBox; 16 GB+ if you want the media stack. Remember Windows itself is also using RAM.
- ☐ Enough disk space. Plan for 20 GB minimum for the system and apps, much more if you'll store movies/photos. WSL stores everything on your C: drive by default.
- ☐ A VPN subscription — only if you plan to enable the Media Center module (Surfshark, NordVPN, ProtonVPN, Mullvad, AirVPN, etc.). Not needed for anything else.
2. Install WSL2 + Ubuntu
This whole section is WSL-specific — it's the part that doesn't exist on a normal server, because here you're building the Linux machine first. Work through it in order.
Step 2.1 — Install WSL2 and Ubuntu
- Click Start, type PowerShell, right-click Windows PowerShell, and choose Run as administrator.
- Run:
This installs the WSL2 engine and the Ubuntu distribution in one shot.wsl --install -d Ubuntu - Reboot Windows when it asks (or reboot manually). This is required — WSL won't be fully ready until you do.
Step 2.2 — Set up your Ubuntu user
- After the reboot, an Ubuntu window usually opens by itself. If it doesn't, click Start and open Ubuntu.
- It will ask you to create a UNIX username and password. This is the Linux login, separate from your Windows account. Pick something simple and remember the password — you'll type it for
sudocommands. (The password won't show as you type; that's normal.)
Step 2.3 — Turn on systemd (do not skip this)
This is the single most common place WSL users get stuck with SparkBox. SparkBox runs on Docker, and on WSL the Docker Engine that the installer sets up is started by systemd. Fresh Ubuntu-on-WSL doesn't always have systemd turned on, so you turn it on once.
- Inside the Ubuntu window, open the config file:
sudo nano /etc/wsl.conf - Add these two lines (if the file already has a
[boot]section, just add thesystemd=trueline under it):[boot] systemd=true - Save and exit nano: Ctrl+O, Enter, then Ctrl+X.
- Now go back to your PowerShell window (or open a new one) and fully restart WSL so the change takes effect:
Wait about 10 seconds, then reopen Ubuntu.wsl --shutdown - Confirm systemd is running:
You wantsystemctl is-system-runningrunning(ordegraded— that's fine, it just means one unrelated service isn't happy). If you get an error like "System has not been booted with systemd," thewsl.confchange didn't take — recheck the file and runwsl --shutdownagain.
docker command already works inside Ubuntu. The SparkBox installer checks for an existing Docker first — when it finds one, it logs "Docker already installed" and skips installing its own Docker Engine and the systemd step above isn't strictly required for Docker. (Confirm Docker works first by running docker ps in Ubuntu — if you get a table back, you're set.) If you're not using Docker Desktop, do the systemd step above so the installer's own Docker Engine can start.
3. Install SparkBox
From here on, everything is the same as the standard Linux install — you're running the exact command from our install guide. Do all of this inside the Ubuntu window.
Step 3.1 — Update Ubuntu
sudo apt update && sudo apt upgrade -yStep 3.2 — Run the installer
This is the one and only install command. Paste it exactly:
curl -fsSL https://get.tomsparkbox.com/install.sh | sudo bashThe installer will:
- Install Docker and required system packages (skipped if you already have Docker).
- Download SparkBox to
/opt/sparkbox. - Generate a
.envfile with random secrets. - Bring up the core services + the dashboard.
This takes a few minutes. When it finishes, it prints a one-time bootstrap token (16 hex characters) and the dashboard URL. Copy the token somewhere — you need it to claim the dashboard.
docker ps. If that errors with something about the daemon not running, go back and finish Step 2.3 (systemd) or start Docker Desktop, then re-run the install command — it's safe to run again.
Step 3.3 — Claim the dashboard
- Open a browser on Windows (Chrome, Edge, whatever) and go to:
WSL2 forwardshttp://localhost:8443localhostfrom Windows into Ubuntu, so this normally just works. Iflocalhost:8443doesn't load, get your Ubuntu IP by running this in the Ubuntu window:
Take the first IP it prints (e.g.wsl hostname -I172.x.x.x) and openhttp://THAT-IP:8443in your browser instead. - You'll see a "Claim your SparkBox" form. Paste the bootstrap token from the installer and pick an admin password.
- Lost the token? Get it back from the Ubuntu window:
If it says it's already been claimed, just log in with the admin password you set. Forgot that too?sudo sparkbox bootstrap-tokensudo sparkbox reset-password
After you claim it, the dashboard walks you through a short first-run wizard: your timezone, a profile (Privacy / Media / Full / Custom), and which modules to turn on. Pick Custom if you just want to start small with the core + dashboard and add apps later.
4. Open your dashboard + enable your first apps
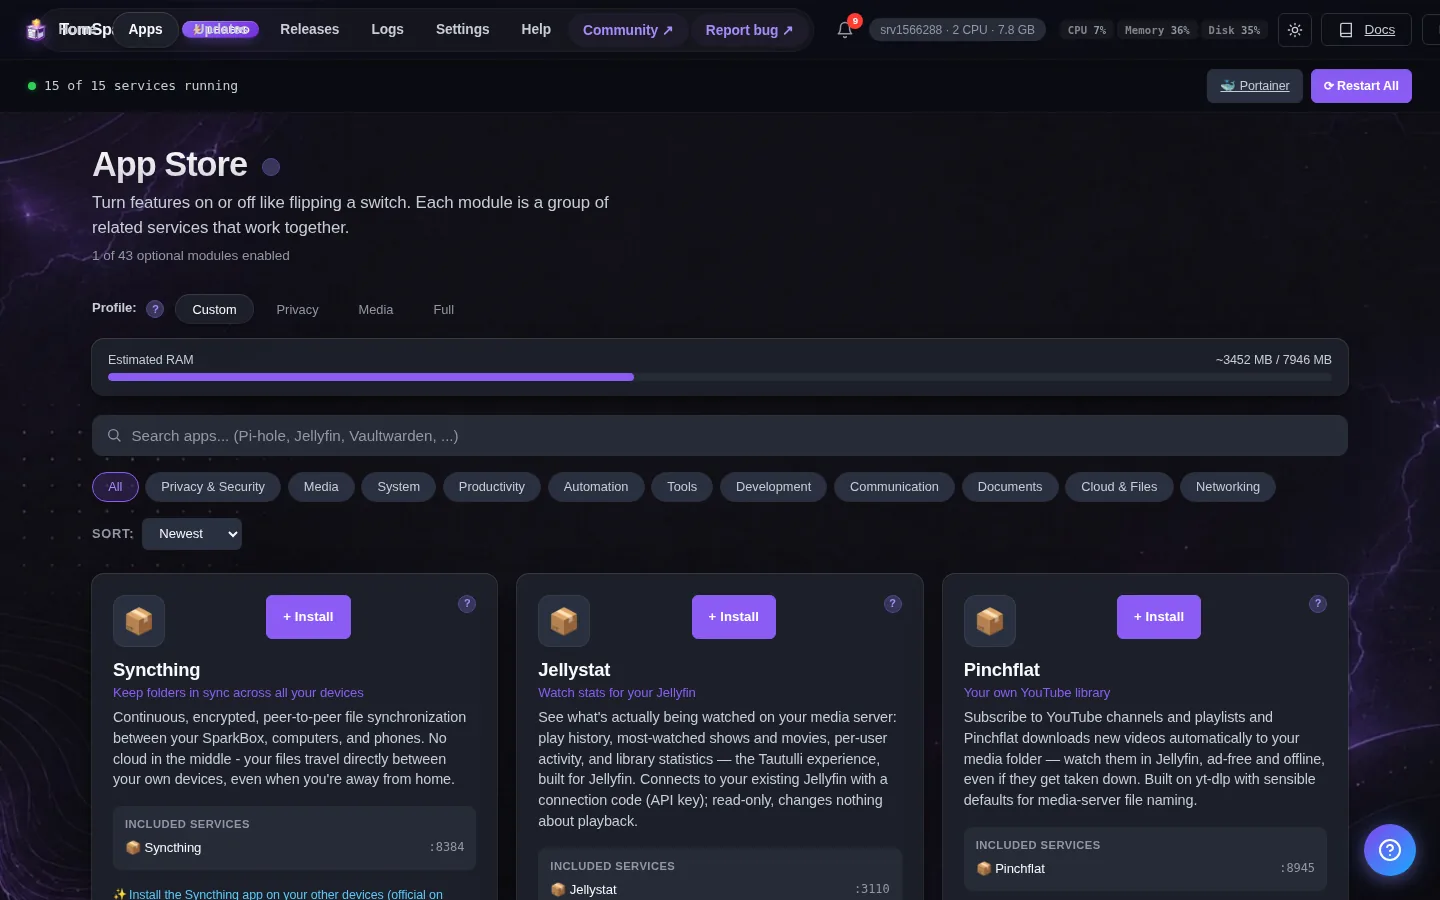
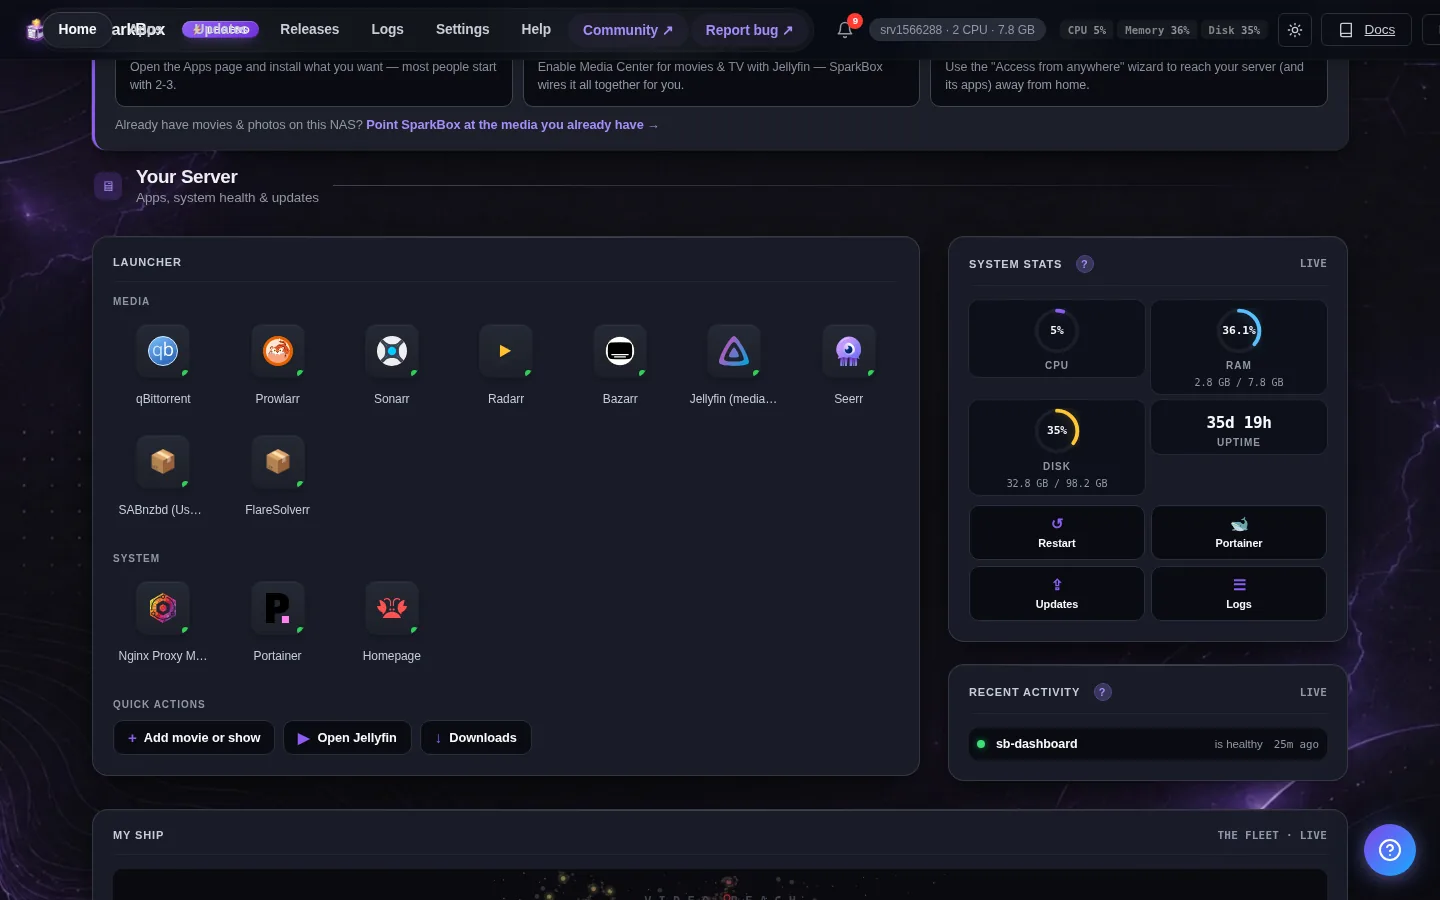
You're now looking at the SparkBox dashboard — one screen listing every app you can install as tiles. Adding an app is: click the tile, click Install, wait, click Launch. The dashboard generates the password for you and shows it in the Launch popup, so there's nothing to write down in advance.
- ☐ Find the Apps page in the dashboard.
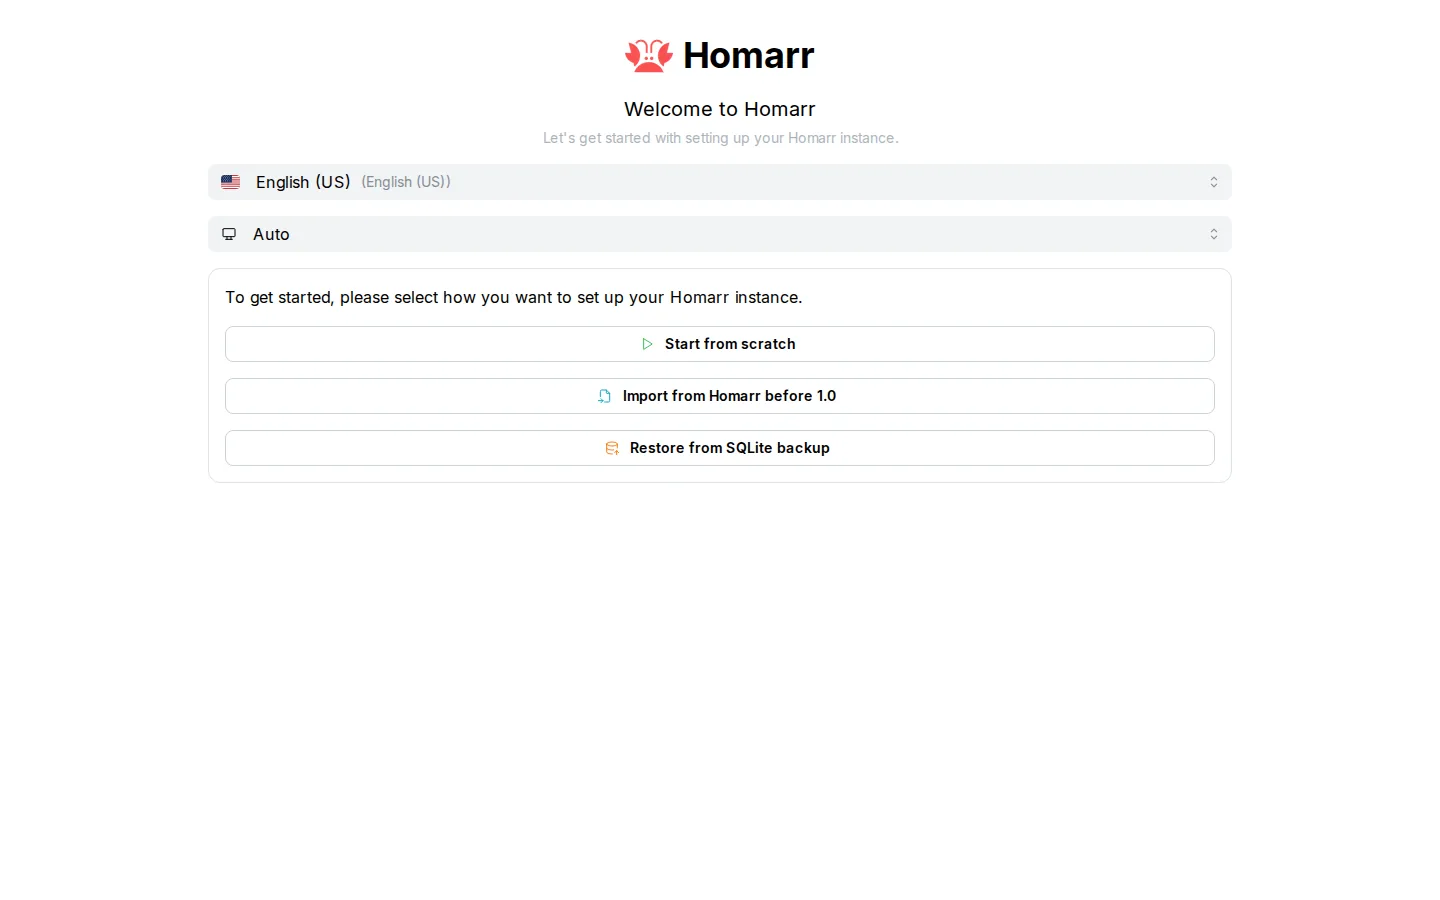
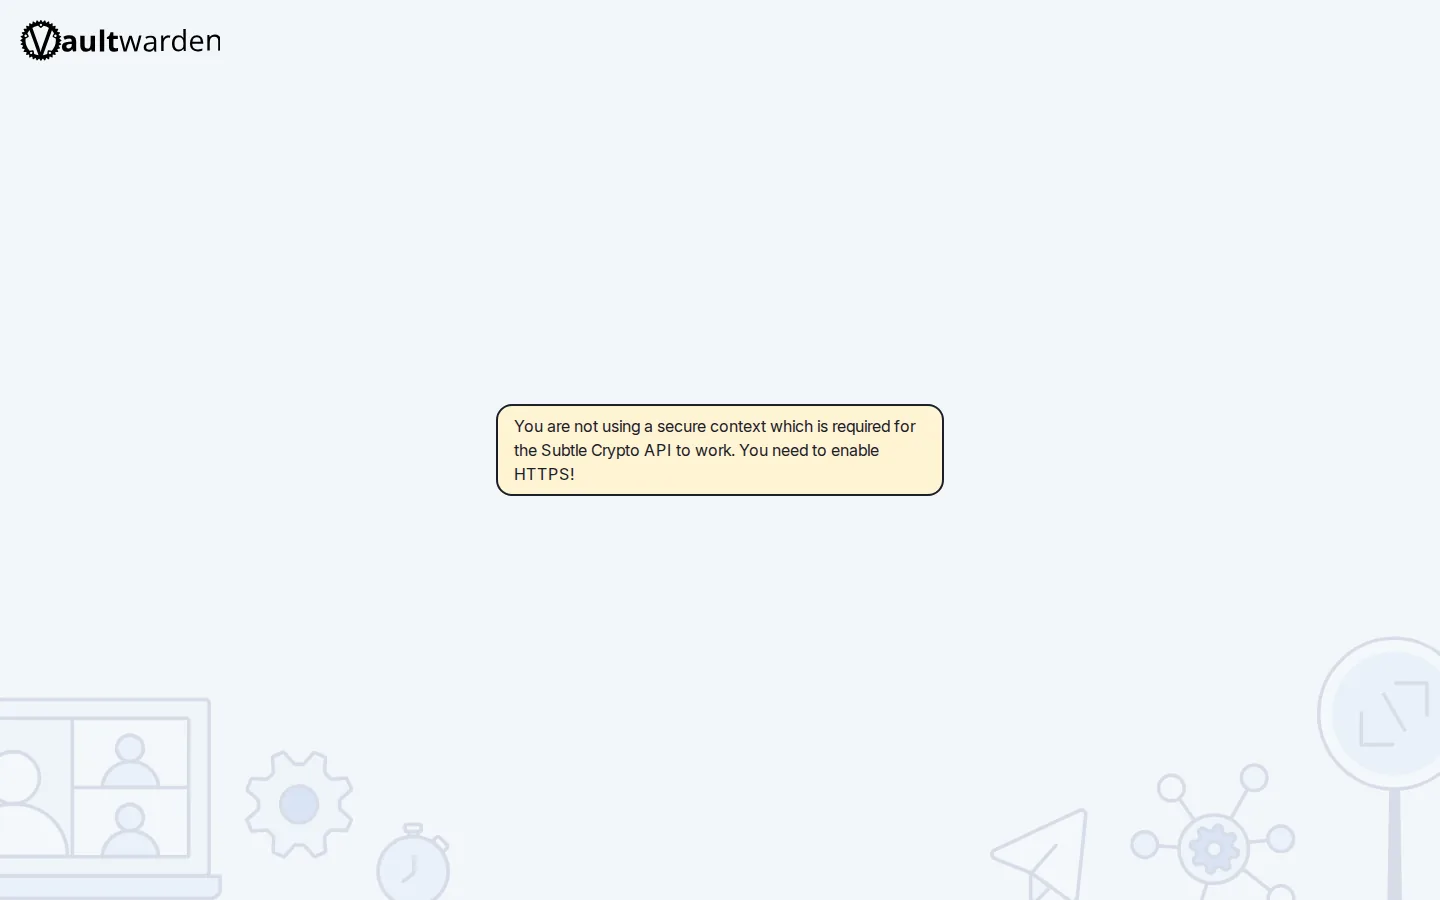
- ☐ Install one app that solves a problem you already have — Vaultwarden (passwords), Pi-hole (network ad-blocking), or Immich (phone photo backup) are good first picks.
- ☐ Click Launch, copy the URL + password from the popup, and finish that app's own first-run setup.
New to all of this? The self-hosting dashboard for beginners guide walks through the dashboard and the five-click app install in plain English.
5. Setting up media (optional)
If you enabled the Media Center profile (Jellyfin + the *arr stack + qBittorrent behind a VPN), there are two things to know:
- A VPN subscription is required for the media profile — qBittorrent runs locked behind the VPN container, and it won't come up without working VPN credentials. Enter them in the dashboard under Settings → Network → VPN.
- Don't wire the apps together by hand. SparkBox has commands that do it for you. From the Ubuntu window:
The first auto-connects Sonarr + Radarr + Prowlarr + qBittorrent; the second creates your Jellyfin libraries and finishes the Seerr setup.sudo sparkbox arr-bootstrap sudo sparkbox media-finish
The full walkthrough — including how to pull VPN credentials for each provider — is in the media docs. See the Jellyfin setup guide and the in-dashboard media docs rather than reinventing it here.
6. "It's jammed up" — troubleshooting
The dashboard won't load, or an app shows a red dot instead of green. Work through these in order, all from the Ubuntu window. Most of the time you never get past the first two.
Step 6.1 — See what's actually running
sparkbox statusThis shows which modules are enabled and which containers are up. A healthy stack shows everything running. Note anything that's stopped or restarting.
Step 6.2 — Try just bringing it back up
The most common fix by far. This re-starts everything that should be running and self-heals a lot of common problems (it's safe to run any time):
sudo sparkbox upOn WSL specifically, if the dashboard went away after you closed all your Ubuntu windows or rebooted the PC, that's expected — WSL stops the distro when nothing's using it. Open Ubuntu and run sudo sparkbox up to bring it back. (If you want it to come back on its own, that's a WSL auto-start topic outside this guide — ask in the community for the current best approach.)
Step 6.3 — Run the doctor
This pattern-matches common problems (wrong install path, Docker not reachable, port conflicts, missing config) and tells you what's wrong and how to fix it, in plain language:
sudo sparkbox doctorStep 6.4 — Read the logs for the one app that's broken
If one specific container won't start, look at its logs. Use the container name from sparkbox status (they all start with sb-):
sparkbox logs sb-dashboard
sparkbox logs sb-jellyfin-media
The last 20-or-so lines usually say what's wrong in English.
WSL-specific things to double-check
- Dashboard loads on the IP but not on
localhost: use thewsl hostname -Iaddress from Step 3.3. Localhost forwarding occasionally hiccups after Windows sleep/wake — awsl --shutdownin PowerShell followed by reopening Ubuntu andsudo sparkbox upusually fixes it. - Everything's stopped after a PC reboot: normal for WSL. Open Ubuntu, run
sudo sparkbox up. - Firewall: on WSL you generally don't need to open any firewall ports to reach the dashboard from your own PC — Windows reaches Ubuntu over localhost. (The firewall steps in the standard install apply to public VPS servers, not your local PC.) If you can't reach it from another device on your network, that's a more advanced WSL networking topic — ask in the community.
7. Clean slate / start over — the recovery ladder
If you can't get the dashboard up and you'd rather wipe and start over, here's the ladder from least destructive to most destructive. Start at the top and only move down if the previous step didn't get you there. Run all of these from the Ubuntu window.
YES to confirm (add --yes only if you're certain).
Rung 1 — Just bring it back up (removes nothing)
sudo sparkbox upRemoves: nothing. Use when: always try this first. Re-starts everything and self-heals common issues.
Rung 2 — Soft reset (keeps all your data)
sudo sparkbox reset --softRemoves: stops and deletes the SparkBox containers and their Docker networks. Keeps: all your data, settings (.env), state, and backups. Use when: a container is wedged or in a bad state and a plain up didn't fix it. Afterward, run sudo sparkbox up to start everything fresh. (Note: sparkbox reset with no flag does the same thing as --soft.)
Rung 3 — Factory reset (keeps your media + login, wipes app settings)
sudo sparkbox factory-resetRemoves: per-app settings — it wipes state/, every app's config and per-app data, and resets you back to core + dashboard only, so the dashboard boots into the first-run wizard again. Keeps: your .env (so your admin password and license still work), your backups, and your top-level media files. It automatically runs sparkbox up for you at the end, so core services come straight back. Use when: you set things up in the wrong order or your app config got tangled and you want a clean first-run wizard without losing your media or having to re-claim the box.
Rung 4 — Hard reset (DELETES EVERYTHING except the install folder)
sudo sparkbox reset --hardRemoves: the containers/networks plus /data (media, configs, databases), .env (passwords, license key, secrets), state/, your backups/, and module configs. Keeps: only the SparkBox install directory itself. Use when: you want a completely fresh configuration and you're sure you don't need the existing data or backups. You'll type YES to confirm. Afterward, re-run the install command (Step 3.2) to reconfigure. Good to know: this also tells our license server to free this machine's activation slot, so wiping and reinstalling won't burn one of your license activations.
Rung 5 — Nuke + full reinstall (removes SparkBox entirely)
sudo sparkbox reset --nukeRemoves: everything in --hard mode, plus the entire SparkBox install directory (/opt/sparkbox), the sparkbox command shortcut, and the Docker images SparkBox pulled. Keeps: Docker itself stays installed. Use when: the install is so broken that even a hard reset won't reconfigure cleanly, and you want a truly blank slate. Then do a completely fresh install:
curl -fsSL https://get.tomsparkbox.com/install.sh | sudo bashwsl --unregister Ubuntu then wsl --install -d Ubuntu, and start this guide over from Step 2. Only do this if the in-Ubuntu commands above won't run at all.
Most of these are also available inside the dashboard under Settings → Server Management (Soft Reset / Reset to Defaults / Factory Reset) — but if the dashboard won't load, the Ubuntu-window commands above are how you recover.
8. Still stuck? Ask on d/sparkbox
If you've worked down the troubleshooting list and you're still stuck — especially on anything WSL-specific where this guide hedged — post in the SparkBox community at d/sparkbox. Include a screenshot and, if you can, the output of sudo sparkbox doctor and sparkbox status. Real humans answer (often Tom), and we track where people get stuck so we can fix the dashboard or improve the guide. WSL2 isn't our primary target, so your reports genuinely help.
Next steps
One screen, every app, no Docker config.
SparkBox is the free, open-source self-hosting platform built for people who don't want to learn Linux. Once it's running on WSL2, adding an app is one tile click — and there's a real community when something goes wrong.