How to Block Trackers on Every Device in Your House at Once
You can install an ad-blocker in your browser and still be tracked all day. The browser extension only covers that one browser — not your phone's apps, not your smart TV, not the laptop your kid uses, not the speaker in the kitchen quietly reporting back. This guide is about the other approach: blocking trackers for every device in your house at once, from one place, with nothing to install on each gadget.
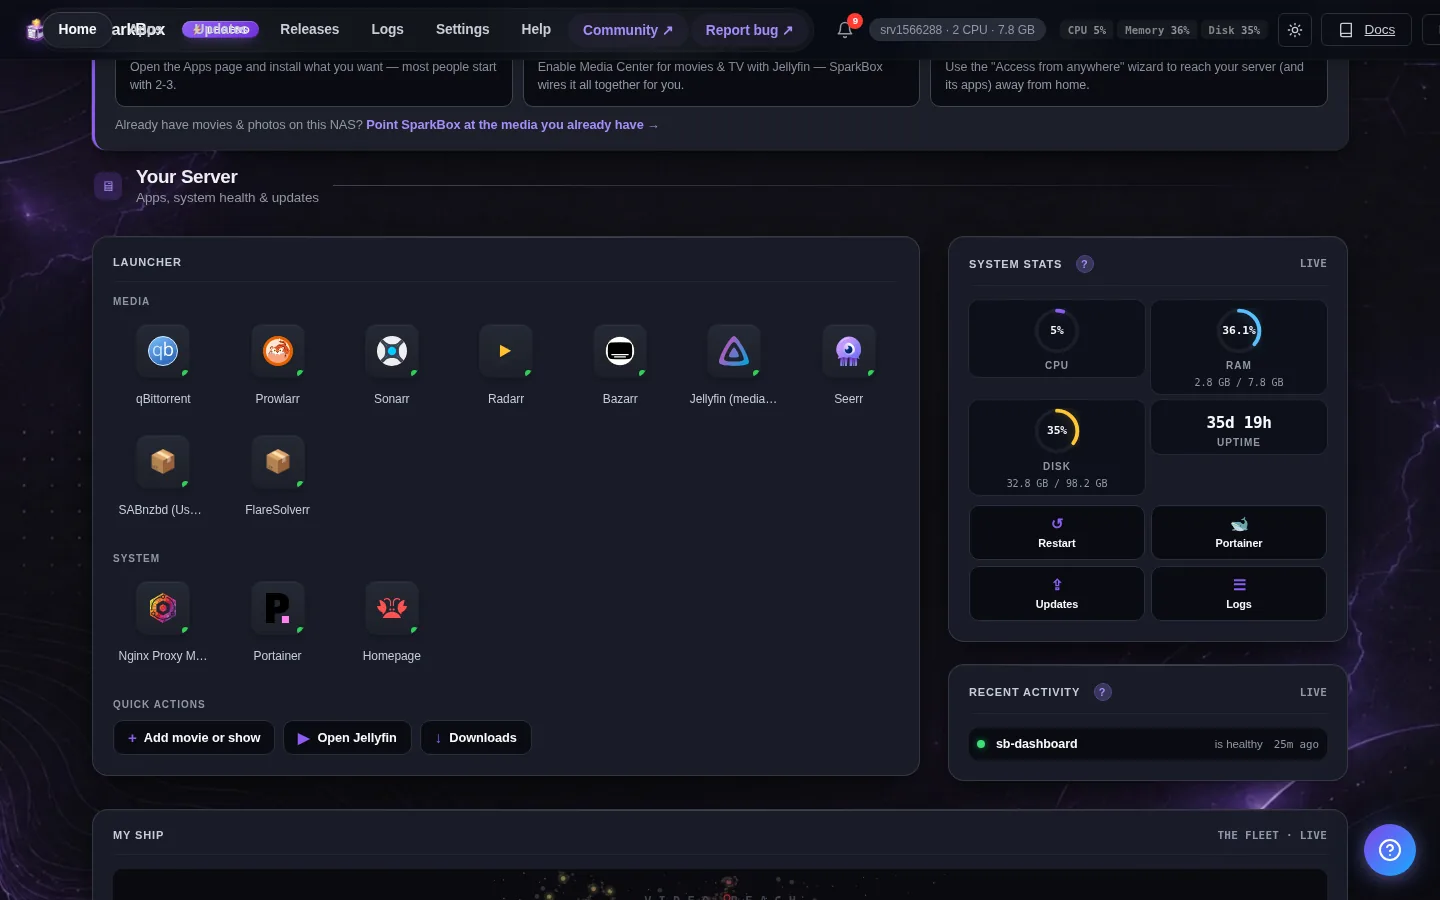
Tested on: UGREEN DXP4800 Plus and a $7/month Hostinger VPS, both running SparkBox v1.6.265 with Pi-hole 2026.05.0. The same steps work on any SparkBox install — a NAS, a mini-PC, or a spare laptop.
- What a "tracker" actually is
- Why a browser ad-blocker isn't enough
- The trick: block at the "phone book," not the device
- Point your house at the blocker (the one step that matters)
- See it working in real time
- Add a tracker-focused blocklist
- When an app breaks (the 30-second fix)
- Honest limits: what this can't do
1. What a "tracker" actually is
When you open a normal web page, your device usually loads stuff from more than just the site you're looking at. A news article might pull in pieces from a dozen other companies in the background — an analytics service that records what you read, a social-media "pixel" that ties the visit back to your profile, an ad-tech firm building a picture of what you might buy. None of that shows up on the page. You don't click anything. It just happens.
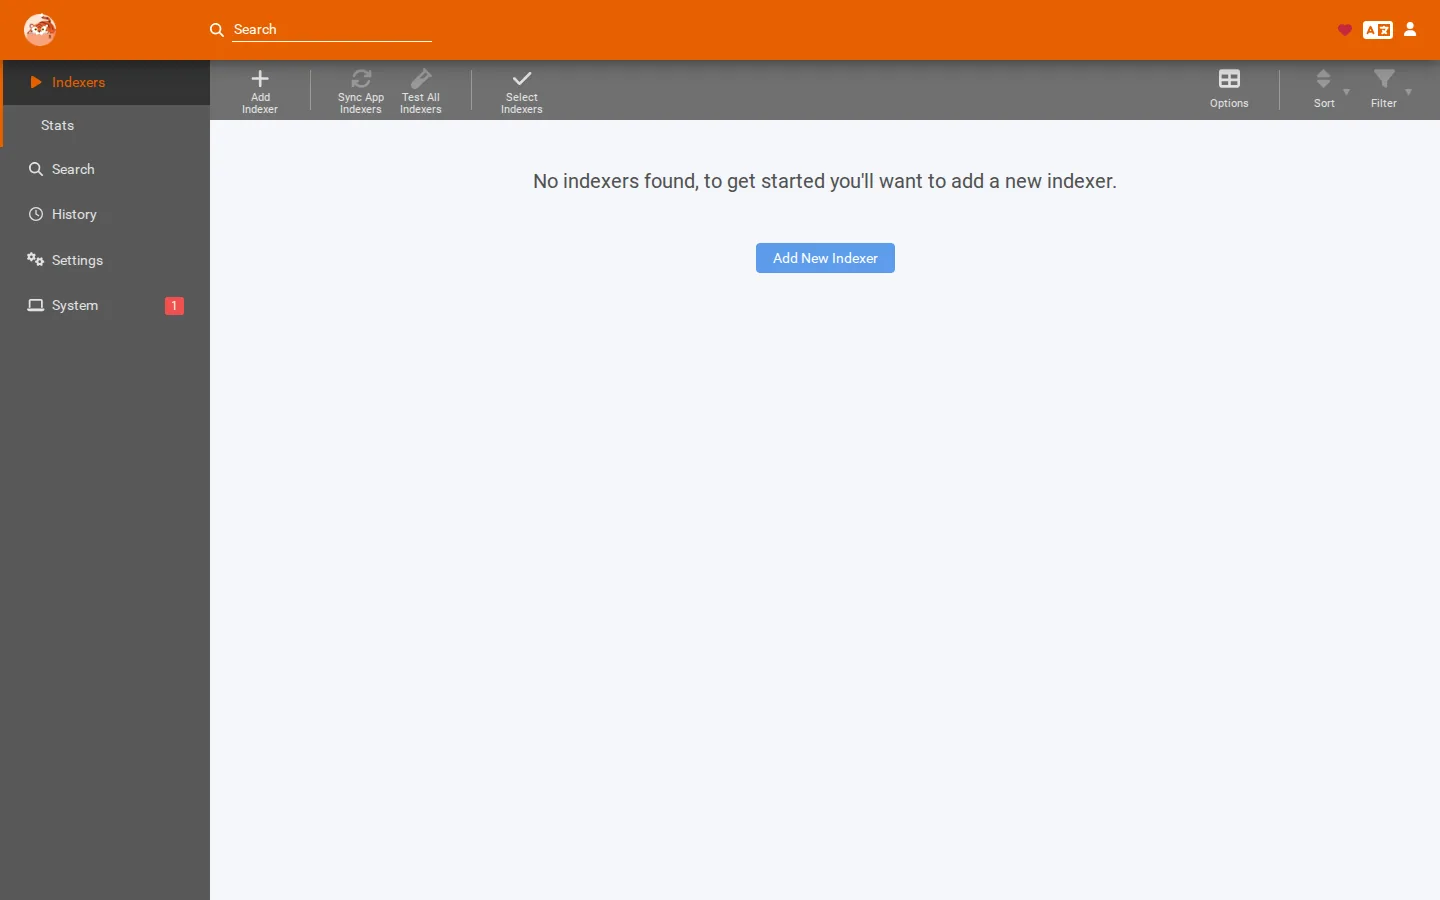
That background traffic is what people mean by "trackers." And here's the part most folks don't realize: a tracker is not the same thing as an ad. An ad is something you can see. A tracker is invisible, and a lot of them aren't advertising at all — they're plain data collection. A weather app phoning home with your location. A smart TV reporting every show you watch. A free game pinging an analytics company every few seconds.
Blocking ads makes pages cleaner. Blocking trackers is about the quieter goal: cutting down on how much of your daily life gets shipped off to companies you've never heard of.
2. Why a browser ad-blocker isn't enough
Browser extensions like uBlock Origin are genuinely good — inside the browser. The problem is the word "browser." That extension can't see anything that happens outside it, and a huge slice of modern tracking happens outside it:
- Phone apps. Most tracking on your phone comes from apps, not the mobile browser. The extension never gets a look in.
- Smart TVs and streaming sticks. These are some of the chattiest devices in any home, and you can't install an extension on them.
- Other people's devices. Guests, kids, your partner's laptop — anything that joins your Wi-Fi.
- "Smart" everything. Speakers, doorbells, thermostats, light bulbs. They all talk to the internet, and none of them take a browser plug-in.
To cover all of that, you have to move the blocking off the individual device and put it somewhere every device already passes through. That somewhere is your network's DNS.
3. The trick: block at the "phone book," not the device
Every time any device wants to reach a website or a server, it first has to look up the address — the same way you'd look up a number in a phone book. That lookup system is called DNS. Your phone asks "what's the address for tracker-company.com?" and something answers.
The idea behind a network-wide blocker is simple: be the phone book. When a device asks for a known tracker's address, the blocker just shrugs and returns nothing, so the connection never gets made. The tracker isn't slowed down or hidden — it's never reached at all. And because every device on your network uses the same phone book, one setup covers all of them. Phones, TVs, the lot.
The tool that does this is called Pi-hole, and if you're running SparkBox it's already installed and running. It comes switched on by default and uses about 128 MB of memory — small enough that it isn't competing with anything else on your server. The only thing left to do is point your network at it, which is the next step.
Already have an ad-blocking setup? If you followed our guide to blocking ads with Pi-hole, you've already done most of the work here — Pi-hole blocks ads and trackers from the same place. This guide just leans into the tracker side and adds the lists that target it.
4. Point your house at the blocker (the one step that matters)
This is the step almost everyone skips, then wonders why nothing seems blocked. Pi-hole can only block what asks it. Until you tell your network to use Pi-hole as its phone book, none of your devices know it exists.
There are two ways to do it. The router way covers everything automatically and is the right answer. The per-device way is a fallback if your router won't cooperate.
Option A: At the router (best — every device, automatically)
Log in to your router's settings page (usually an address like 192.168.1.1 typed into a browser). Find the section called DHCP, or sometimes LAN or Local Network. Inside it, look for a box labeled DNS Server, Primary DNS, or DHCP DNS.
Set that to your server's IP address — the same address you use to open the SparkBox dashboard. Save. From then on, every device gets handed Pi-hole as its phone book the next time it reconnects to Wi-Fi (or right away if you reboot the device).
One thing to watch: a few internet-provider routers ignore that DNS box and force their own. If yours does that, either set DNS per-device (Option B) or swap the provider's router for one you control.
Option B: Per device (when you can't change the router)
Set the DNS server by hand on each device you care about. Put in your server's IP address as the primary DNS:
- iPhone / iPad: Settings → Wi-Fi → tap the (i) next to your network → Configure DNS → Manual → Add Server → paste your server's IP and drag it to the top.
- Android: Settings → Network & internet → long-press your Wi-Fi → Modify → Advanced → IP settings = Static → DNS 1 = your server's IP.
- Windows: Settings → Network & Internet → your connection → Edit DNS settings → Manual → turn IPv4 on → Preferred DNS = your server's IP.
- Mac: System Settings → Network → your connection → Details → DNS → click + and add your server's IP at the top.
This works fine for a handful of devices, but you have to repeat it on each one, and it won't cover guests or anything new that joins later. That's why the router option is worth the extra five minutes if you can manage it.
5. Log in and see it working in real time
Now open Pi-hole's own dashboard to watch it do its job. On a SparkBox install it lives at:
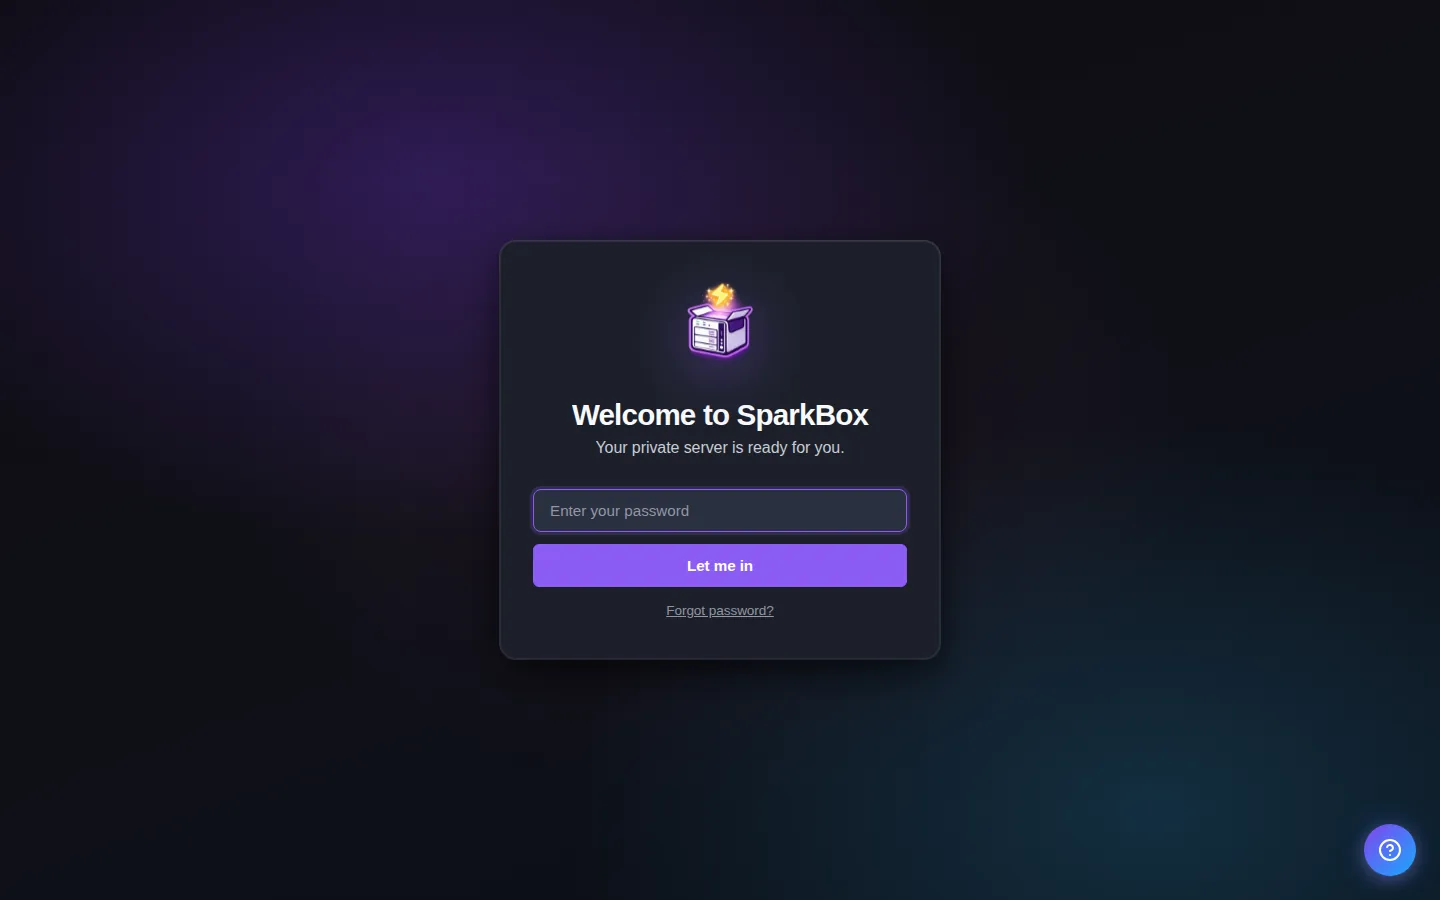
http://<your-server-IP>:8053/admin/That trailing /admin/ matters — leave it off and Pi-hole shows a "forbidden" message on the bare address. That's normal, not a bug; just add /admin/ to the end.
SparkBox made a Pi-hole password for you at install time, so you're not setting one up. The username is admin, and you can find the password in three places:
- Easiest: click the Pi-hole tile in your SparkBox dashboard — the pop-up shows the username and password.
- Settings page: SparkBox dashboard → Settings → Passwords, where every auto-made password is listed.
- On the server itself: the file
state/pihole-admin-password.txtholds the same value.
Once you're in, the quick proof that a device is really using Pi-hole is the Query Log — it lists every lookup your network makes, live, with blocked ones marked in red. Open a few apps on your phone and watch the red lines scroll past. Each one is a tracker that just got stopped.
Want a hard test? On a device that's pointed at Pi-hole, try looking up a well-known tracking domain and a normal one:
# A known tracking domain — should come back as 0.0.0.0 (blocked):
nslookup doubleclick.net

# A normal site — should come back with a real address:
nslookup github.com
If the first one returns a real address instead of 0.0.0.0, that device isn't actually using Pi-hole yet — its phone book is still set somewhere else. Reconnect it to Wi-Fi or reboot it to pick up the change.
6. Add a tracker-focused blocklist
Out of the box, Pi-hole ships with one solid default list (StevenBlack/hosts) that already covers a huge swath of ad and tracker domains. For most people that's plenty. But if your goal is specifically tracking, you can add lists that lean that way.
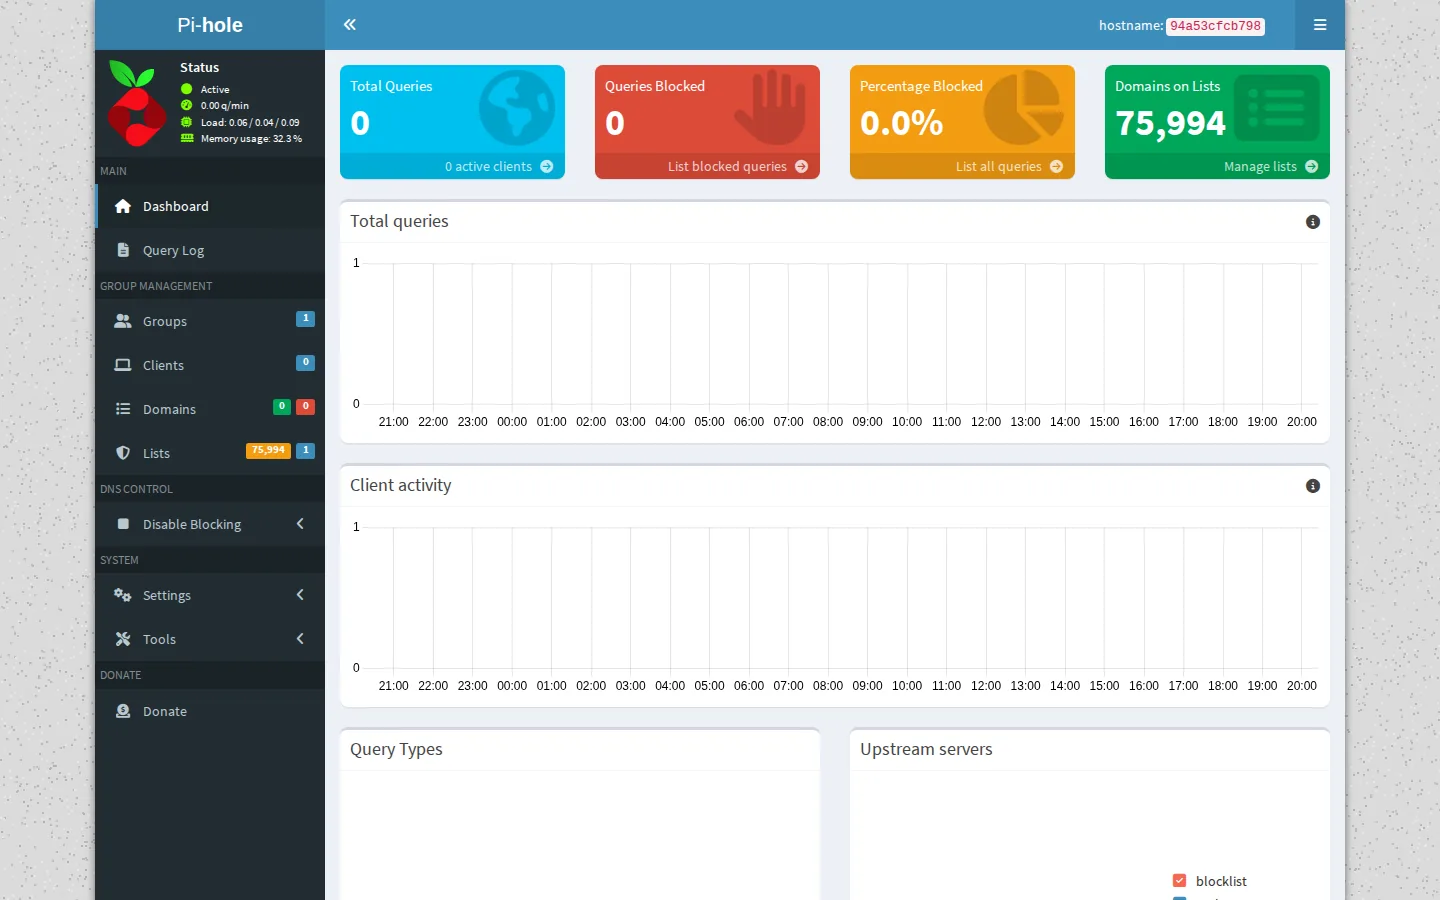
In the Pi-hole admin, go to Group Management → Adlists. Paste a list's address into the Address box, add a short note so you remember what it is, and click Add. A couple of well-regarded, tracker-leaning lists to start with:
# Smart-TV and streaming-device telemetry
https://perflyst.github.io/PiHoleBlocklist/SmartTV.txt

# Known malware and phishing domains (worth having anyway)
https://urlhaus.abuse.ch/downloads/hostfile/
After you add any list, go to Tools → Update Gravity and click Update. "Gravity" is just Pi-hole's name for the combined list it actually blocks from — it has to rebuild before new entries count.
One piece of advice: don't go list-crazy. It's tempting to subscribe to a dozen blocklists, but they overlap heavily, and each extra list raises the odds of accidentally blocking something you wanted. Two or three well-chosen lists block almost everything a pile of them would, with far fewer surprises.
7. When an app breaks (the 30-second fix)
Once in a while, blocking trackers breaks something you actually use. The usual suspects: a banking app that routes fraud checks through an ad-tech domain, a streaming app that handles login through a tracking server, or a smart speaker that refuses to set up if its telemetry is blocked. When this happens it's almost never the whole app — it's one specific domain getting caught.
The fix is quick once you've done it once:
- With the broken app open, go to Pi-hole → Query Log.
- Filter by the device running the app.
- Find the recent red (blocked) rows — the domain listed is the thing being blocked.
- Click the domain, then click Whitelist.
No restart needed — the allow takes effect within seconds. Reopen the app and it'll work. If a few blocks happened at once and you're not sure which one matters, allow them all, confirm the app works, then re-block them one at a time to find the real culprit.
8. Honest limits: what this can't do
Network-wide blocking is a big upgrade, but it isn't magic, and it's worth knowing where it stops so you're not surprised:
- It blocks by domain, not by pixel. If a site serves its tracking from the same address as its actual content (this is called first-party tracking, and big platforms do it), Pi-hole can't separate the two without breaking the site. A browser content-blocker still has a role for that.
- It doesn't hide what you look up. Pi-hole stops your devices from reaching trackers, but on its own it doesn't encrypt your lookups, so your internet provider can still see the domains you visit. Pairing it with encrypted DNS and a VPN closes that gap.
- A device can ignore your phone book. Some apps and gadgets are coded to use their own hard-wired DNS to dodge exactly this kind of blocking. Those need a per-device or router-level rule to force them back in line — an advanced step, not a default.
- It's not a full privacy plan by itself. Think of it as one strong, easy layer — not the only one.
If you're on a UGREEN NAS, there's a nice bonus already handled for you: SparkBox blocks UGREEN's own telemetry (domains like ugnas.com, ug.link, and ugreen.cloud) out of the box, so your NAS isn't quietly reporting home either. You'll see those get blocked in the Query Log if you filter by the NAS's own address.
Next steps
Trackers are one layer. Here's the rest.
Blocking trackers at the network level is the easy win — one setup, every device. The natural next steps are blocking the chattiest device of all (your smart TV) and adding a VPN so your traffic is private on the way out, not just filtered. On SparkBox, all of this lives in one dashboard instead of a dozen separate tools.
If you don't have SparkBox yet, it sets up Pi-hole and the rest with a single install command — no wiring things together by hand.