How to Block Ads on Your Smart TV (Without Installing Anything on the TV)
Modern smart TVs are loud. There are banner ads on the home screen, a row of "sponsored" tiles you never asked for, ads that play before your own apps load, and a constant trickle of data going back to the manufacturer about what you watch. The annoying part is that there's usually no setting to turn it off — the TV is built to show you ads. The good news: you can block a big chunk of it from one place on your network, and you never have to install anything on the TV or void a warranty doing it.
Tested on: A UGREEN DXP4800 Plus running SparkBox v1.6.156 with Pi-hole. The same steps work on any SparkBox install — NAS, mini-PC, or VPS — and against any brand of smart TV (Samsung, LG, Sony, Roku, Fire TV, the lot).
1. What this blocks — and what it honestly can't
Let's start with the truth, because a lot of guides oversell this. The method here blocks ads and tracking at the DNS level — more on what that means in a second — and that's powerful, but it isn't a magic "zero ads forever" switch.
What it blocks well:
- The data your TV sends back to the manufacturer about what you watch (the tracking and "viewing analytics" that run quietly in the background).
- Most banner and tile ads that load from known ad-serving domains.
- Ads inside a lot of free apps and channels on the TV.
- Pop-ups and "recommended for you" content that's pulled from ad networks.
What it can't fully block:
- Ads baked into a stream. If an ad is stitched into the video itself (some free streaming channels do this, and so does YouTube), it arrives down the same pipe as the show. DNS blocking can't tell the two apart.
- First-party home-screen ads. Some of the ad rows on a Samsung or LG home screen are served by the TV maker's own servers — the same ones the TV needs to function — so blocking them can break the home screen. We'll cover where to draw that line.
Realistically, you'll kill the tracking almost entirely and remove most of the visible junk. That's a huge upgrade for a five-minute setup that costs nothing extra and touches the TV zero times. If you came here expecting to also strip mid-roll ads out of a YouTube video, that's a different (and much harder) problem.
2. How it works (the one-minute version)
Every time any device looks up a website or service — including your TV phoning home — it first asks a DNS server to translate the name (like ads.samsung.com) into a numeric address it can actually connect to. Think of DNS as the phone book of the internet.
A network-wide ad-blocker is just a phone book you control. When the TV asks for a known ad or tracking domain, the blocker answers "that doesn't exist" and the connection never happens. When the TV asks for something legitimate, the blocker passes it straight through. Because every device on your network uses the same phone book, you set this up once and it covers the TV, your phones, laptops, tablets, and any smart-home gadget — no app per device.
The tool that does this is called Pi-hole, and on SparkBox it's already installed and running. You don't need to build anything. You just need to point your network at it and add one extra blocklist tuned for TVs. If you haven't set Pi-hole up at all yet, our full Pi-hole setup guide walks through the basics first — this article picks up where that one leaves off and focuses on the TV angle.
3. Open your ad-blocker
On a SparkBox install, Pi-hole's admin page lives at:
http://<your-NAS-IP>:8053/admin/That's the same IP address you use to reach the SparkBox dashboard, with :8053/admin/ on the end. The trailing /admin/ matters — Pi-hole returns a 403 Forbidden page on the bare address by design, which trips a lot of people up. If you land on a 403, you just forgot the /admin/ part.
SparkBox generated an admin password for you when it installed Pi-hole. The easiest place to get it: open the SparkBox dashboard, go to Settings → Passwords, and copy the Pi-hole one. (The username is admin.) If you'd rather grab it straight from the machine, it's saved at /opt/sparkbox/state/pihole-admin-password.txt. Paste it into the login form and you're in.
4. Point your whole network at it
This is the step that actually does the work, and it's the one people skip. Until you tell your network to use Pi-hole as its DNS, the TV has no idea it exists and nothing gets blocked. The cleanest way to cover the TV (and everything else) is to set it at the router, once.
Log in to your router's settings page — usually 192.168.0.1 or 192.168.1.1 in a browser. Find the DHCP section (sometimes labelled LAN or Local Network) and look for a field called DNS Server, Primary DNS, or DHCP DNS.
Set the primary DNS to your NAS's IP address. Leave the secondary blank if the router allows it. Save. From here on, every device that renews its network lease — including the TV next time it reconnects — will use Pi-hole for DNS automatically.
If you can't or don't want to change the router, most TVs also let you set DNS by hand in their network settings — but hold off on that for a moment, because there's an important catch covered in section 7 about TVs that quietly ignore whatever DNS you give them.
5. Add the smart-TV blocklist
Out of the box, Pi-hole on SparkBox loads a solid general blocklist (the widely used StevenBlack list) that already catches a lot of TV tracking. But there's a community-maintained list built specifically for smart-TV telemetry and ads, and adding it noticeably tightens things up.
In the Pi-hole admin, go to Group Management → Adlists. Paste this URL into the Address box, add a short comment so you remember what it is, and click Add:
# Smart TV ads + telemetry
https://perflyst.github.io/PiHoleBlocklist/SmartTV.txt
Adding a list doesn't activate it on its own — Pi-hole keeps the active blocklist in a database it calls "gravity," and that has to rebuild. Go to Tools → Update Gravity and click Update. Give it a few seconds and the new TV domains are live.
One piece of advice from experience: resist the urge to pile on ten more blocklists "just in case." Each one adds hundreds of thousands of domains with massive overlap, and the more aggressive lists are the ones that start breaking apps. The default list plus this one TV-specific list covers the overwhelming majority of what you care about, with far less chance of a false positive.
6. Check it's actually working on the TV
Here's the satisfying part. Reboot the TV so it grabs the new DNS setting (a quick power-cycle is enough), then open a couple of apps on it. Back in Pi-hole, open the Query Log.
The Query Log shows every DNS request your network makes, in real time, with blocked ones highlighted in red. Find your TV in the client list — it'll usually show up by its brand name or IP — and filter by it. Within seconds of using the TV you'll see it firing off requests to ad and telemetry domains, and you'll watch them get blocked. That's the moment it clicks: you can finally see how chatty the thing actually is.
If the log shows nothing from the TV, the TV isn't using Pi-hole yet — it's still on its old DNS. Power-cycling it usually fixes that. If it still shows nothing, you've likely hit the gotcha in the next section.
7. The gotcha: TVs that ignore your DNS
This is the honest catch nobody mentions until you're an hour into troubleshooting. Some smart TVs — and a lot of streaming sticks — are built to ignore the DNS your network hands them and talk to a hardcoded one instead (often Google's 8.8.8.8). They do it specifically so that ad and tracking traffic can't be blocked the easy way. It's not a bug on your end; the TV is doing it on purpose.
How to spot it: you set everything up correctly, but the TV's requests never appear in the Pi-hole Query Log. That silence is the tell — it's resolving DNS somewhere you don't control.
You've got two practical options:
- Block the hardcoded DNS at the router. If your router has firewall rules, you can block outbound connections to
8.8.8.8and8.8.4.4on port 53 from the TV's IP. With its hardcoded server unreachable, a well-behaved TV falls back to the DNS your network provides — which is Pi-hole. This is the proper fix, but it depends on having a router that supports firewall rules (many ISP-supplied boxes don't). - Accept partial coverage. Even a stubborn TV usually only hardcodes its main phone-home channel. Plenty of its apps and ad calls still go through normal DNS and still get blocked. You won't get 100%, but you'll get a lot.
A few newer TVs go a step further and use encrypted DNS (DNS-over-HTTPS) to a fixed server, which is harder to redirect. There's no clean consumer fix for that short of a router that can intercept it. If you hit one of these, the realistic move is to stop using the TV's built-in apps for the worst offenders and plug in a cheaper, more controllable streaming box instead — or lean on your own media server so you're not in the TV's ad ecosystem at all.
8. If you'd rather use AdGuard Home
Everything above uses Pi-hole because it's the default on SparkBox. SparkBox also ships an AdGuard Home module, which does the same network-wide DNS blocking with a more modern interface and built-in encrypted DNS. Either one blocks smart-TV ads the same way — the choice is mostly about which interface you prefer.
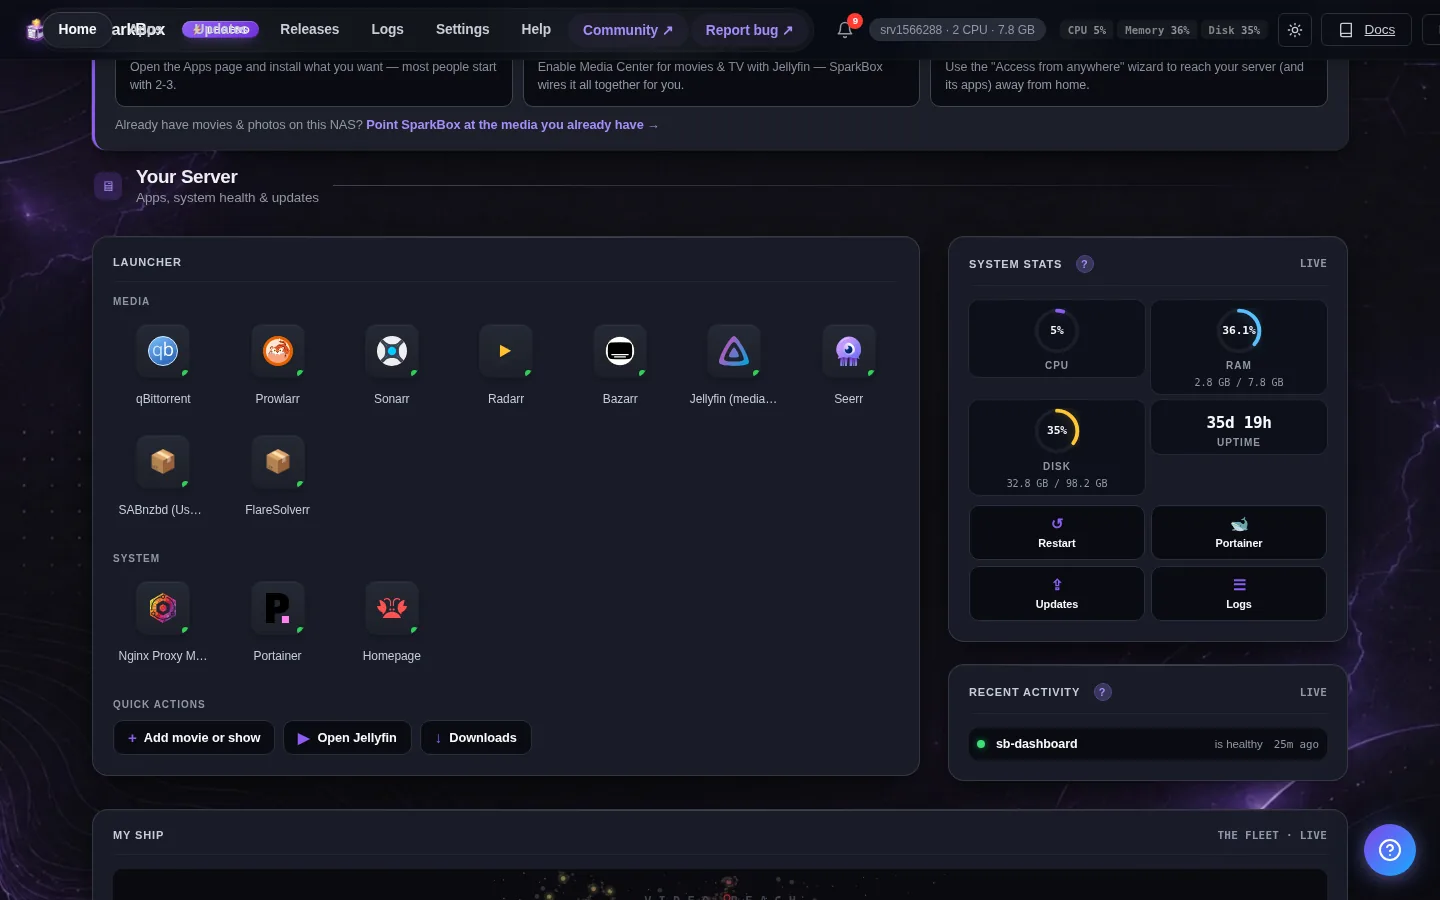
One hard rule: run only one of them at a time. Pi-hole and AdGuard both want to be your network's DNS server (port 53), and they'll collide if both are enabled. SparkBox actually blocks you from turning on both at once for this reason. If you want to switch from Pi-hole to AdGuard, disable Pi-hole first, then enable AdGuard and run through its first-launch setup wizard (it asks you to pick a username and password right there — there's no preset login like Pi-hole has).
For blocking TV ads specifically, AdGuard's setup is nearly identical: add the same Perflyst SmartTV list under its Filters section, point your router's DNS at the NAS, and check its Query Log. If you're brand new to all of this, Pi-hole is the gentler starting point and the one the rest of our guides assume.
Next steps
One ad-blocker, every screen in the house.
The best part of doing this at the network level is that it was never really about the TV — once Pi-hole is your DNS, the same blocking covers your phone, your laptop, the kids' tablets, and every smart-home gadget, with nothing installed on any of them. If you're running SparkBox, Pi-hole is already there waiting; you just pointed your network at it. If you're not set up yet, SparkBox installs Pi-hole and a whole stack of private apps with a single command.