How to Replace iCloud Photos With Your Own Server (Even on iPhone)
iCloud Photos is convenient right up until the day it says you're out of space and asks for a monthly fee — forever, for photos you already took. The good news: you can move your whole photo library onto a server you own, have your iPhone back it up automatically just like iCloud does, and stop paying. The part people don't believe is that it works on iPhone, with the iPhone's own photo format, without you fiddling with anything. It does. Here's the plain walkthrough. Tested on: SparkBox 1.6.314, running on a UGREEN DXP4800 Plus and a $7/month Hostinger VPS.
- What you're actually replacing (and what you're not)
- Meet Immich, your own photo cloud
- The iPhone question: does it really auto-back-up?
- HEIC and Live Photos — do they survive?
- Step 1: turn on the photo server
- Step 2: the app and automatic backup
- Step 3: moving your existing iCloud library over
- The honest limits
- Next steps
1. What you're actually replacing (and what you're not)
Let's be precise, because "replace iCloud" can mean a lot of things. This guide replaces iCloud Photos — the part that backs up your camera roll and lets you see your pictures everywhere. It does not replace iMessage in the cloud, full device backups, or Find My. Those are separate.
For most people, photos are the part eating all the storage and driving the monthly bill, so swapping just that piece is where the savings and the privacy win are. Your photos stop living on Apple's servers and start living on a little box in your home that only you control.
2. Meet Immich, your own photo cloud
The tool that does this is called Immich (say "im-itch"). In SparkBox's own words, it's a self-hosted photo and video backup with AI-powered search, face recognition, and mobile apps — built specifically to replace Google Photos or iCloud Photos with something you own.
In practice it feels familiar: a clean timeline of your photos, albums, a search bar that actually understands "beach" or "dog," and automatic grouping of faces so you can find every photo of one person. The difference is there's no monthly fee and nobody else can see your library. SparkBox sets the whole thing up for you, including the face-recognition engine that powers smart search.
3. The iPhone question: does it really auto-back-up?
Yes — and this is the part that makes it a real iCloud replacement rather than a chore. Immich has a proper iPhone app in the App Store. You sign it into your server once, flip on automatic backup, and from then on it uploads new photos and videos on its own, in the background, the same way iCloud does. Take a picture, and a little while later it's safely on your home server without you lifting a finger.
SparkBox even reminds you of this during setup: install the Immich mobile app and turn on automatic photo backup. That one toggle is the whole "set it and forget it" experience people are used to from Apple.
4. HEIC and Live Photos — do they survive?
This is the worry that stops most iPhone owners, so here's the straight answer: yes. iPhones save photos in a format called HEIC (it's just Apple's space-saving image format), and Immich handles HEIC files fine — it stores your original and shows you a normal preview in any browser, so you're not stuck with files nothing can open. Live Photos come across too, keeping both the still image and the little motion clip together.
So you're not converting anything by hand or losing quality. Your originals go up as-is, exactly as your phone took them.
5. Step 1: turn on the photo server
There's one moment with a single line of text, and then you're done with anything technical. On your always-on box at home (a NAS, a mini PC, or an old computer), install SparkBox with one line:
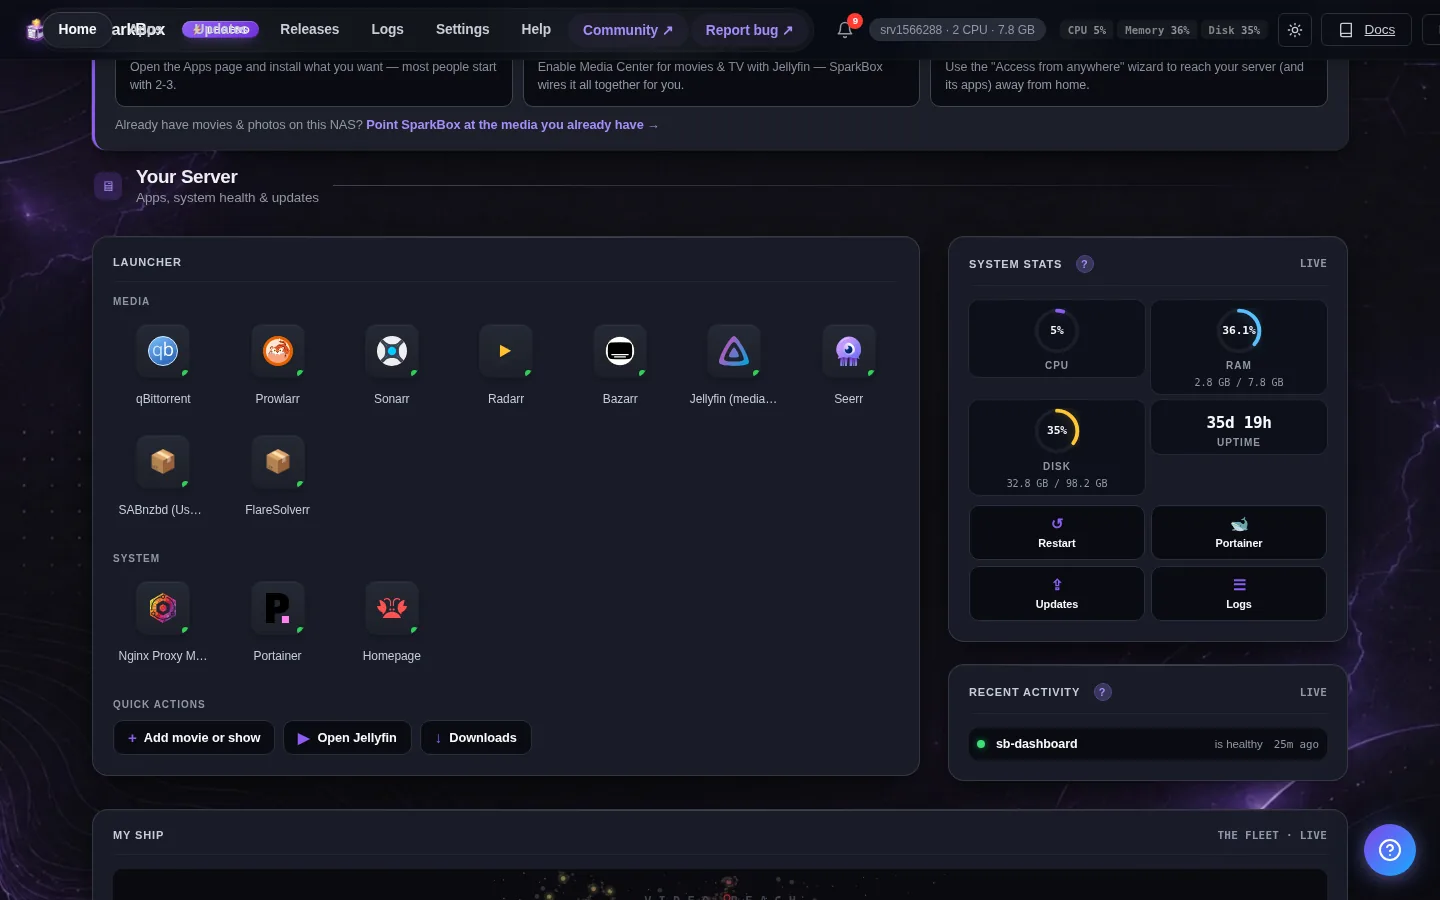
curl -sSL https://get.tomsparkbox.com/install.sh | sudo bashCopy that exactly. When it finishes, open your SparkBox dashboard in a browser and turn on the Immich module — it's a single click. Then open Immich (your dashboard shows you the link; it runs on port 2283) and register an account. Heads up on one thing: there's no default login, and the first account you create automatically becomes the admin, so make that one yours. Pick a password you'll remember.
Tip: Make your own account the very first one you register, before anyone else in the house signs up — whoever registers first gets admin control of the server. There's a slower, picture-by-picture version of this in our Immich setup guide if you'd like to follow along screen by screen.
6. Step 2: the app and automatic backup
On your iPhone, install the Immich app from the App Store. Open it, and it asks for your server's address and your new login — enter them once. Then go to the backup setting and switch on automatic backup. Pick whether you want it to upload only on WiFi or on cellular too (WiFi-only is the safe default so you don't burn through a data plan).
That's the finish line. Leave the app be, keep your phone on WiFi for a bit, and your camera roll starts flowing onto your own server. The first upload of a big library takes a while; after that it just keeps up quietly with each new photo. Do the same on any other phones in the family, each with their own account.
7. Step 3: moving your existing iCloud library over
New photos are handled automatically, but you probably have years of pictures already in iCloud. The simplest way to bring those across without anything technical: make sure your iPhone has the actual photo files on it (Settings, Photos, choose "Download and Keep Originals" so the phone holds full copies rather than thumbnails), then let the Immich app's backup do its thing — it uploads everything in your camera roll, old and new.
If you have a huge library or some of it only lives on a computer, you can also request a copy of your photos from Apple's privacy site and add those files to Immich from a browser. Either way, once it's all uploaded and you've confirmed it's there, you can decide whether to keep paying iCloud or scale it down.
8. The honest limits
This is a genuine iCloud-Photos replacement, but go in clear-eyed:
- The first backup takes time. A library of tens of thousands of photos can take many hours or a few days to upload, depending on your internet. After that initial catch-up it's instant. Be patient on day one.
- Your home box has to stay on. Immich lives on your server, so it needs to be running for backups to happen and for you to view photos away from home. It's a small always-on computer, not a phone in your pocket.
- You're the backup now. The trade for owning your photos is that protecting them is on you. Keep a second copy of your server's photo folder somewhere safe — an external drive or an off-site backup — so a dead hard drive never means lost memories.
- It replaces iCloud Photos, not all of iCloud. Your contacts, messages, and device backups still belong to Apple unless you replace those separately. This is the photos piece.
None of these are dealbreakers — they're the normal trade for owning your library instead of renting space for it month after month.
9. Next steps
Once it's running, replacing iCloud Photos stops feeling like a project: your iPhone backs up on its own, your photos are searchable by face and content, and the monthly storage nag is gone. You bring the phone and a few minutes of setup; SparkBox and Immich do the rest, on hardware you actually own.
Ready to own your photos? SparkBox is a free download that sets up Immich in one step, so your iPhone can start backing up to your own server today.
Download SparkBoxComing from Google instead? See leaving Google Photos if you're not technical. Curious about the face search? Private face recognition for your photos explains it.